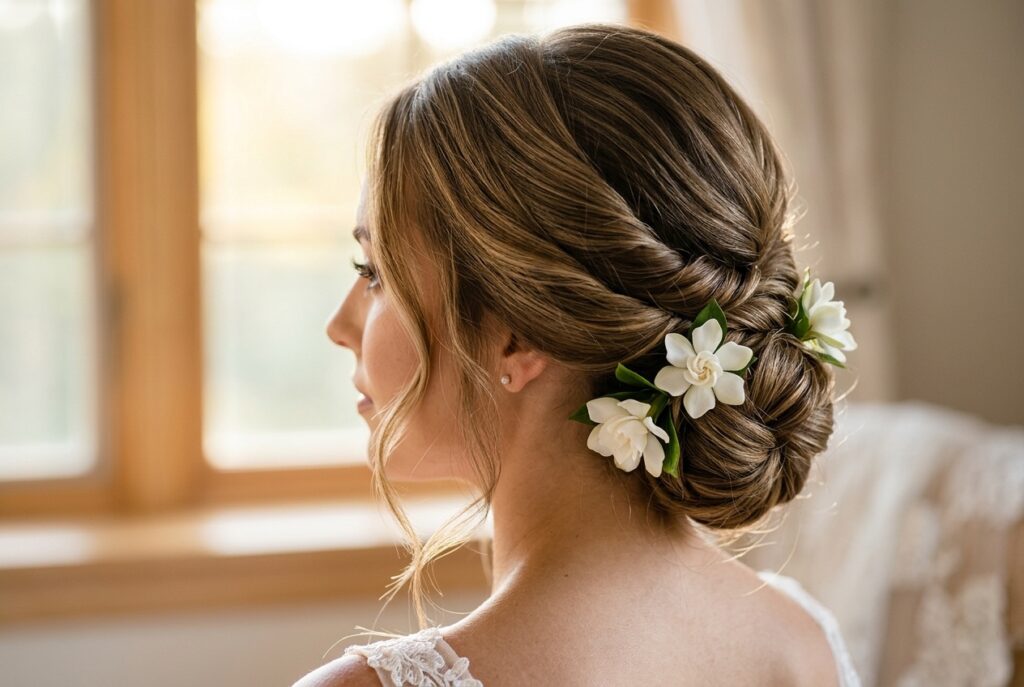
Most brides pick their wedding nail look based on what they see on a screen and love in that moment — but your hands will be in hundreds of photographs for the rest of your life.
The design that reads as delicate in real life can disappear entirely in a ring shot, and the one that seemed subtle can photograph as a distracting smear of color you’ll notice every time you open the album.
Elegant bridal nails that photograph consistently well share one quality: deliberate restraint with one specific point of interest, never two.
1. Milky Sheer with High-Gloss Topcoat
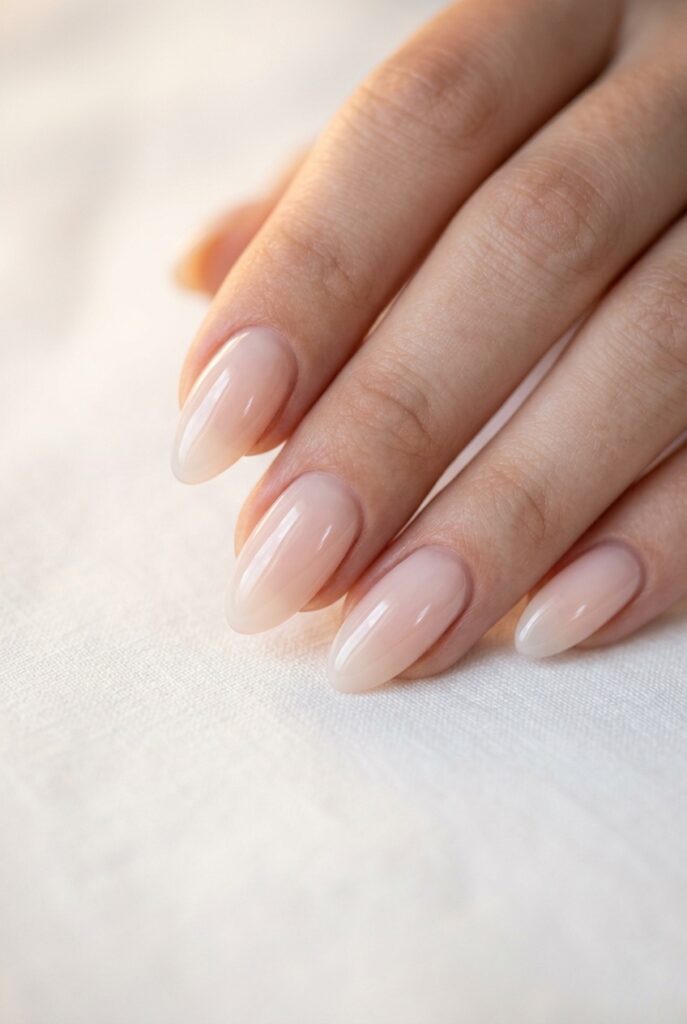
A sheer milky base — OPI Bubble Bath or Essie Blanc — layered with a high-quality gel topcoat creates a finish that reads as polished in person and luminous in photographs, doesn’t compete with your ring, your dress, or your bouquet, and works on every skin tone without requiring skin-tone calibration.
The version that fails is a regular polish topper rather than a proper gel topcoat — the shine difference is significant and visible in every photograph — so budget $60–$120 at a dedicated nail salon, ask specifically for hard gel or gel overlay for longevity, and for the full range of sheer and milky formulas across different skin depths, the bridal nail guide covers which milky variations photograph best from fair through deep skin tones.
2. Soft Almond Shape in Blush or Barely-There Nude
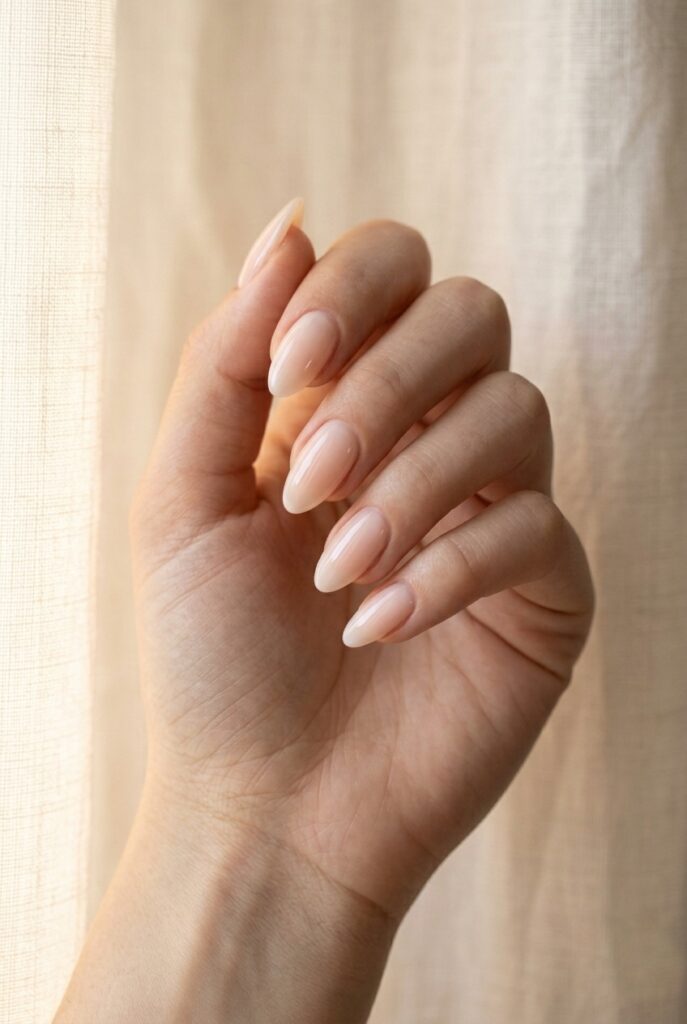
Shape is doing more work than you realize — a square nail with a short free edge on a wide nail bed can read as blunt and stubby in ring shot close-ups even with a perfect color, while almond shape softens the nail sides, creates a natural taper, and elongates the entire hand across every skin tone and hand shape.
Choose your shape before your color, in that order, tell your technician you want soft almond rather than stiletto because they are not the same shape at the tip, and the skin tone nail color guide covers exactly which barely-there nude reads as polished rather than bare on your specific undertone once the shape is decided.
3. The Pearl Accent (Placed Correctly)
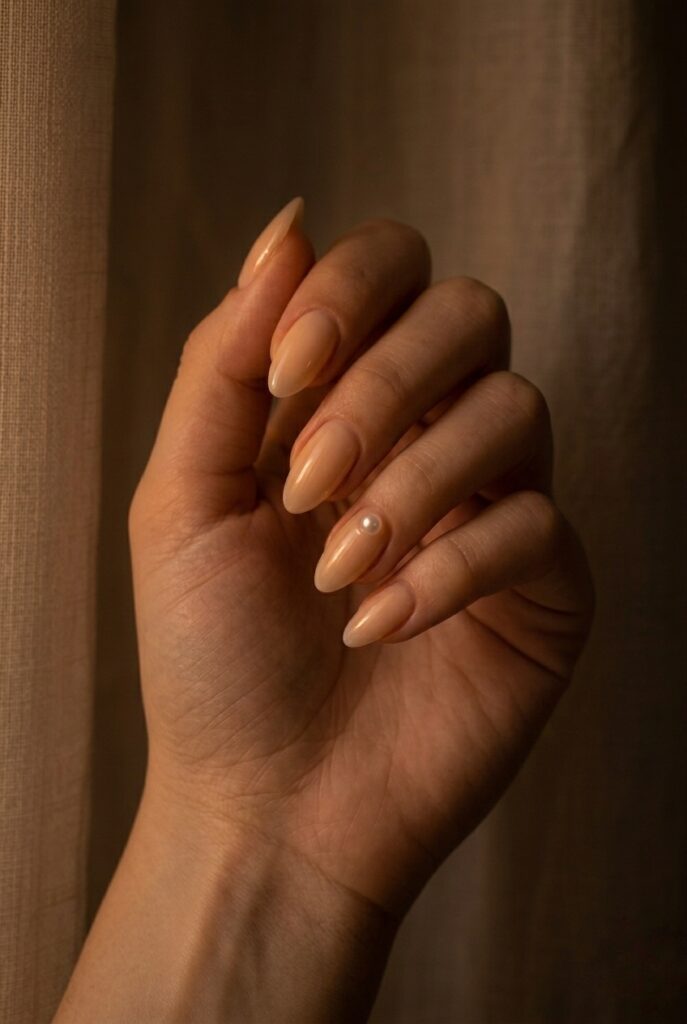
One or two Swarovski HOTFIX pearls adhered with gel and cured under UV on the ring finger only — a single pearl near the cuticle base — photographs as intentional and sculptural, while a cluster of five or six plastic pearls spread across multiple nails reads as crafty in the mirror and falls off by cocktail hour.
The difference between these two approaches is entirely restraint rather than cost, bring your own flat nano-pearls to the appointment from Amazon at $8–$12 per 100 to save $25–$35 on the salon sourcing markup, and the bridal nail ideas guide covers exactly how the pearl-on-one-nail composition interacts with the ring and whether to use the ring finger or the non-ring hand as the placement anchor.
💡 Budget Hack #1: Skip the bridal nail surcharge at wedding-focused salons, which typically adds 25–40% to your service cost for the word “bridal” on the booking form. Instead, book at a Korean nail salon in your area (search “nail salon” on Yelp filtered by highest-rated), describe exactly what you want, and bring a reference photo. A gel manicure with pearl accent at a Korean-owned nail salon in most US cities runs $45–$65 all-in versus $95–$140 at a salon marketing specifically to brides. The quality is frequently identical or better — Korean nail techs train extensively in gel application precision.
4. Micro-French with Off-White Tip (Not Bright White)
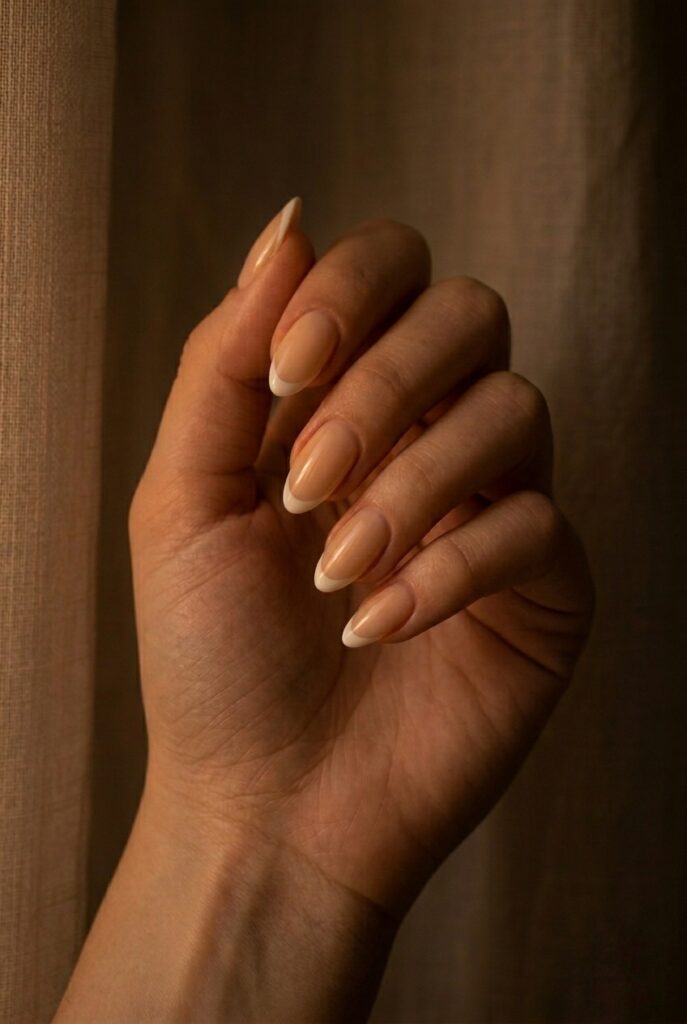
The original French manicure was designed for stage performance under fluorescent lighting — under natural ceremony light or reception candlelight, that thick bright-white band reads as harsh and dated, while a 1.5–2mm smile line in ivory or cream rather than stark white reads as a very healthy, well-groomed natural nail that holds up across every photography condition of a wedding day.
Ask for Nail Envy in Natural or CND Shellac in Cream Puff as the tip color rather than Alpine Snow which is too cold-white, this version needs at least 3–4mm of free edge to read as a tip rather than a pale stripe so confirm your nail length before booking this design, and the French bridal nail guide covers every French tip variation from hairline micro to standard band width with specific tech instructions for each.
5. The Ring-Hand Accent Strategy ⚡ [Gap Idea #1]
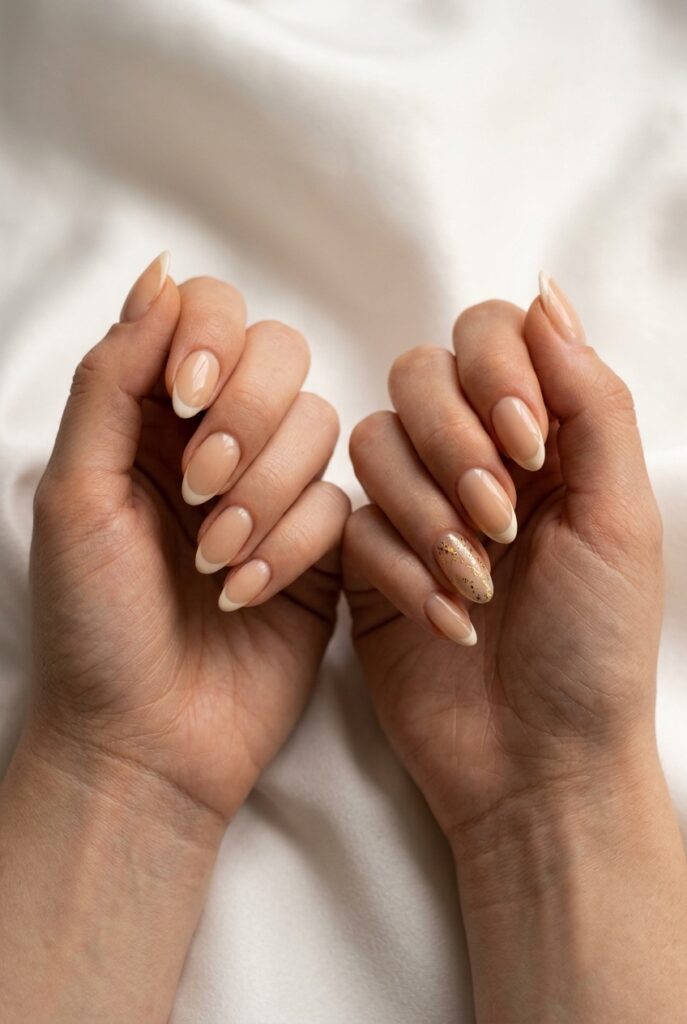
When a bride puts her accent nail on her ring finger, the nail and the ring compete for visual hierarchy in every close-up — the eye goes to whichever object has more detail, and if the nail has a pearl or foil, the ring often loses.
The solution is to place your one accent nail on a finger of your non-ring hand — your right middle or right index finger — so your ring gets its own clean backdrop on the left hand while your non-ring hand gets its moment, and both hands read as intentional and composed when photographed together, which is exactly the level of considered compositional thinking the bridal nail art guide explores across every art technique.
6. Chrome Powder French Tip (Done with Restraint)
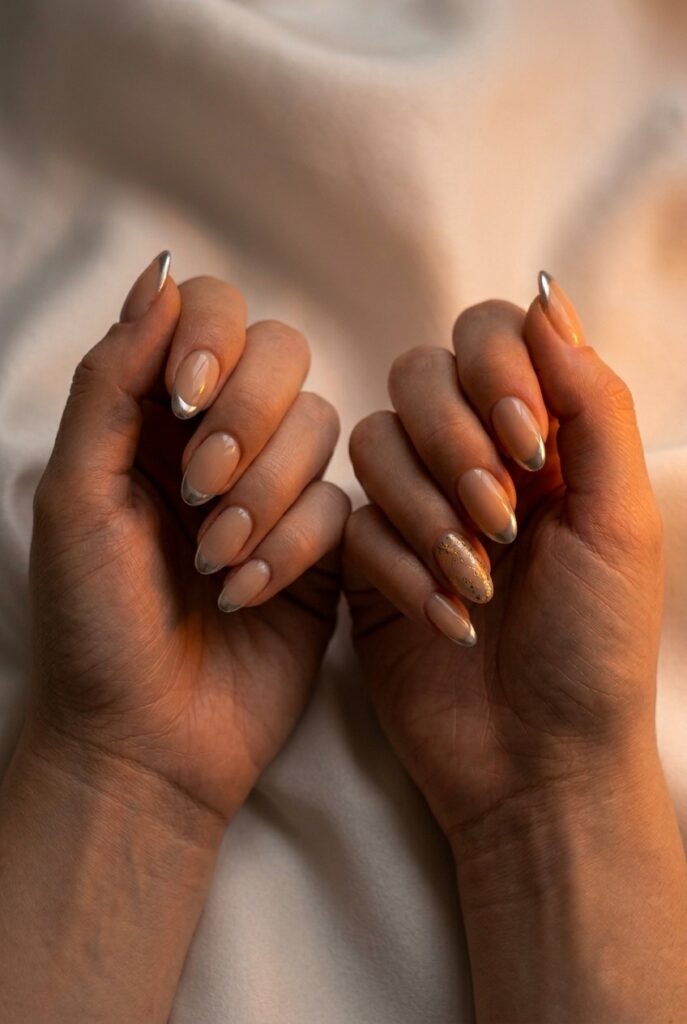
Chrome applied to the full nail turns the hand into a reflective surface that photographs as a silver blur and shows every fingerprint and surface imperfection — while chrome on the tip only, 1.5–2mm over a milky or sheer nude base, catches light in photographs the way a diamond does: one bright point that drops away cleanly.
Expect $75–$120 at a salon experienced with chrome application, ask to see their previous chrome work before booking because application over incompletely cured gel produces a dull patchy result rather than a mirror finish, and the bridal nail photography guide covers how this specific finish performs across natural morning light, outdoor ceremony, and indoor flash photography conditions.
💡 Budget Hack #2: Chrome powder application is where budget salons frequently fail brides — they apply it before the gel is fully cured, which gives a dull, patchy result instead of a mirror-like finish. To avoid this entirely without paying premium salon prices, buy Kiara Sky Chrome Powder in Rose Gold or Silver (Amazon, $12–$15 per pot) and a silicone applicator sponge ($8 on Amazon). Apply it yourself over a cured gel base at home as a final step, then seal with no-wipe top coat. The same chrome powder that costs $35–$50 extra at a salon costs you $23 total for materials you can use multiple times.
7. Soft Ombré in Two Neutral Tones
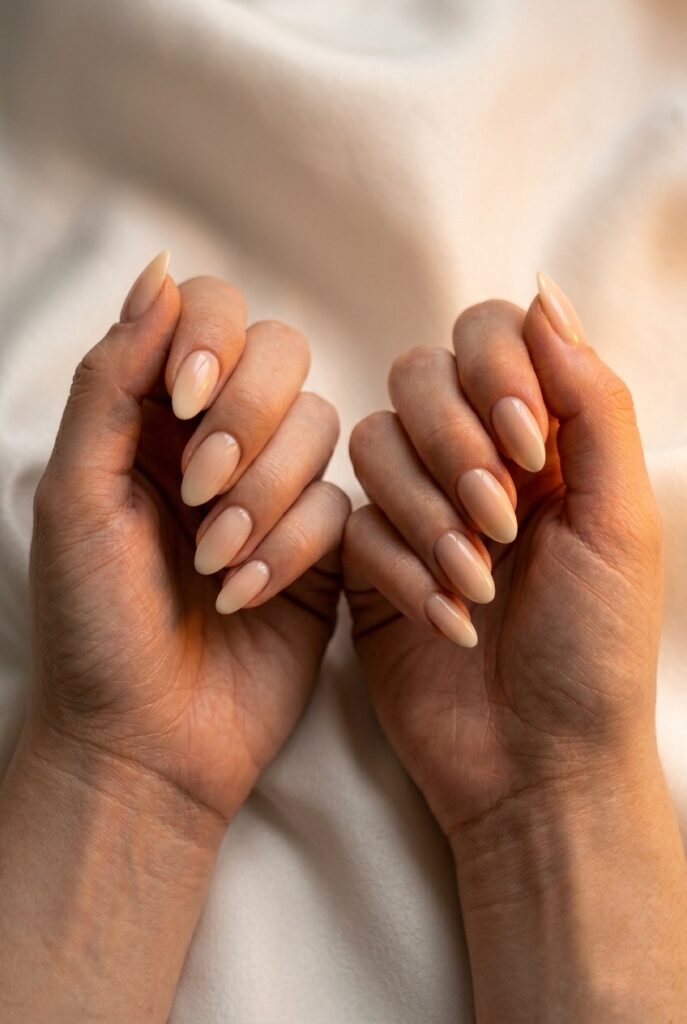
A properly done bridal ombré uses a fan brush with two gel shades mixed at the midpoint — the transition is invisible at arm’s length and only reveals dimension under close-up — while the sponge version leaves a visible texture line between the two colors that reads as a mistake rather than a gradient in ring shot photography.
Ivory-to-warm-champagne photographs as a single sophisticated tone with depth and pairs naturally with the kind of elegant reception where the entire visual palette leans soft and monochromatic — ask specifically whether your salon uses brush or sponge application before booking, because brush only produces the result you want at $75–$130.
8. Textured Base — Velvet or Brushed-Satin Finish
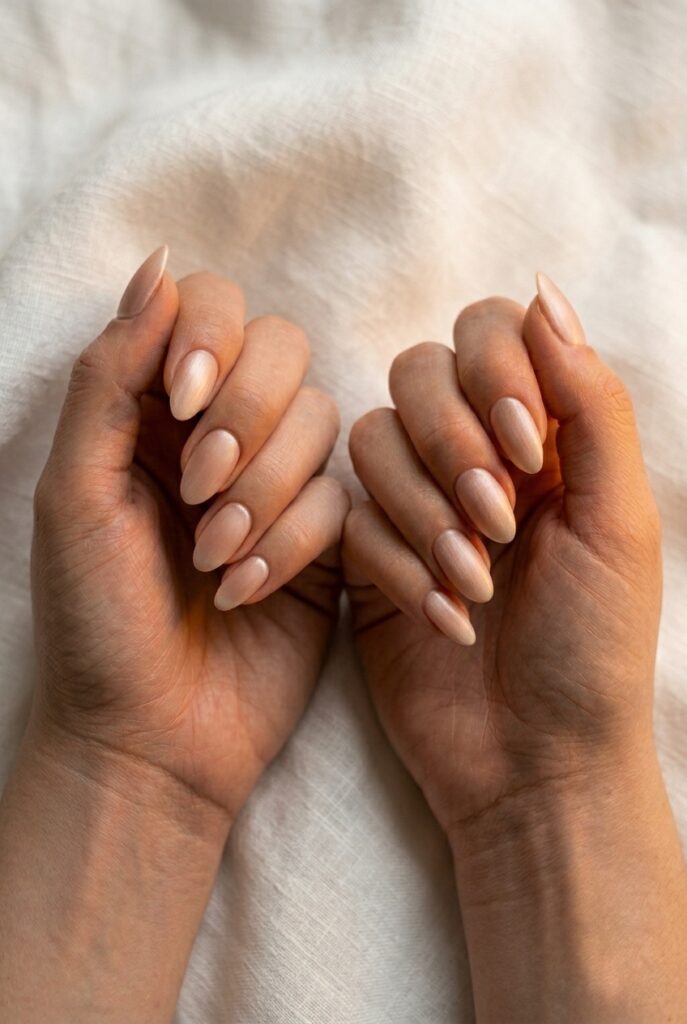
A velvet or satin-finish topcoat over a warm nude gel base creates a finish that absorbs rather than reflects — the nails look sculptural and intentional rather than shiny, the tactile quality against a satin or crepe gown sits in the same texture family, and it photographs with genuine depth in natural light in a way that high-gloss and matte both cannot.
Zoya Matte Velvet at $12 from ULTA or OPI Matte Top Coat at $12.99 on Amazon handle this perfectly — and this finish sits especially well within an indoor wedding setting with good ambient or window light, where the matte surface reads as sculptural rather than flat.
9. The Pre-Wedding Nail Prep That Changes Everything
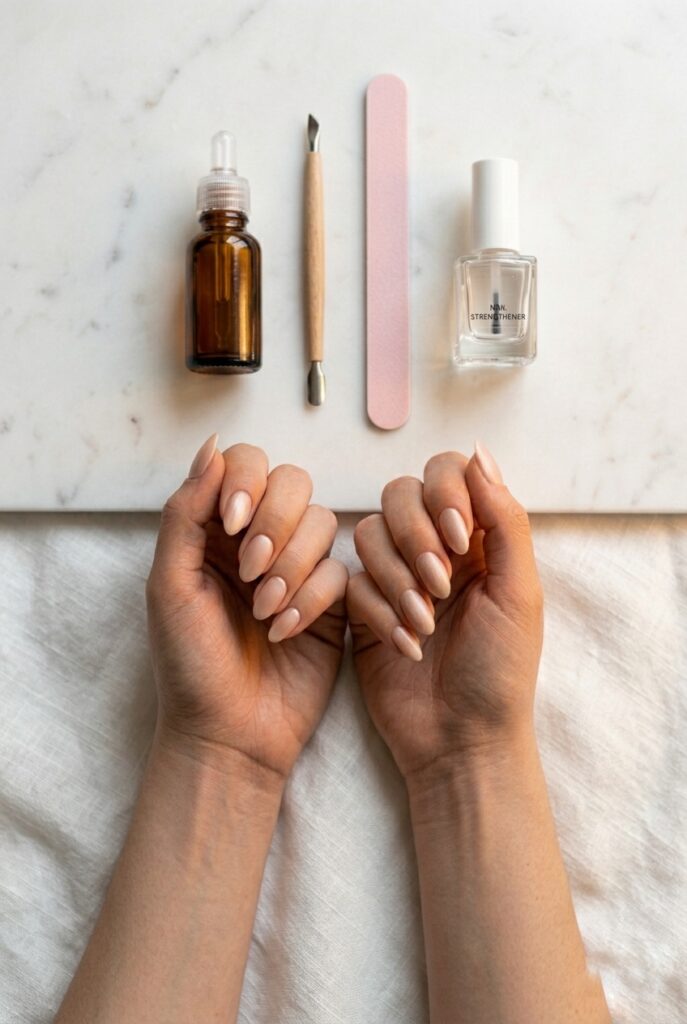
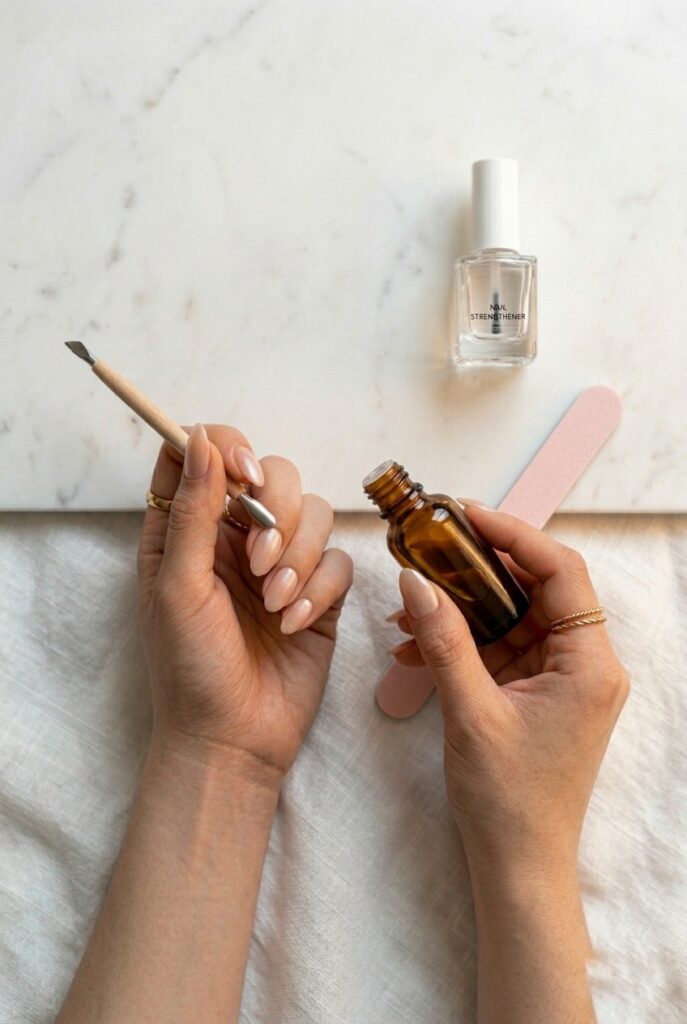
A cracked or dry cuticle visible in a ring-shot close-up is the one detail that cannot be fixed in post-production — applying CND SolarOil cuticle oil twice daily starting at the six-week mark transforms the skin around your nails and makes even a simple sheer polish look finished and intentional in photographs.
OPI Nail Envy strengthening base coat at $15 from Amazon or ULTA applied twice weekly prevents the thin nail edges that chip within hours on a wedding day, the total investment of $30–$45 over eight weeks frequently eliminates the need for any elaborate nail design because well-prepared healthy nails already read as intentional and curated without additional spend, and book your manicure 36–48 hours before your wedding morning rather than the night before to ensure full gel cure before the dress goes on.
💡 Budget Hack #3: The biggest hidden cost in bridal nails isn’t the appointment — it’s the removal. If you get acrylic extensions for your wedding and then have them removed afterward, most salons charge $25–$40 for the removal service. Book your nail removal appointment at the time you book your wedding manicure, ask specifically about their removal fee, and factor it into the total. Better still: choose hard gel extensions over acrylic. Hard gel removes with a file rather than acetate soak, causes less damage, and many techs charge nothing extra for gel removal when you’re returning as a client. You save $25–$40 and protect the health of your actual nails going into post-wedding events.
10. Negative Space or Sheer Overlay with Bare Nail
A sheer gel overlay — no color, just the strengthening layer and a high-shine topcoat — lets your ring be the object of visual interest your hand is presenting, the skin around the nail becomes part of the composition, and this reads as extraordinary against both a heavy silk gown and lightweight crepe in a way that colored nails simply cannot achieve.
This is the lowest-maintenance option for a week where you are moving things, hugging people, and getting dressed multiple times — and if the principle of trusting restraint over addition is where your minimal wedding aesthetic already sits, the sheer overlay is the nail equivalent of that same design philosophy applied to your hands.
Decide your shape first, then your finish, then your color family, then one accent only — write those four decisions down before you sit in the chair and you will leave with something that holds up in every photograph rather than something that looked right under salon lighting.
For the full range of nail art techniques that work as that single accent element, the bridal nail art designs guide covers every design with its durability rating and specialist requirement so you know before booking what you are actually committing to.