

Most brides spend six months choosing a dress and six minutes choosing their nails — and it shows in every photo taken after the first dance.
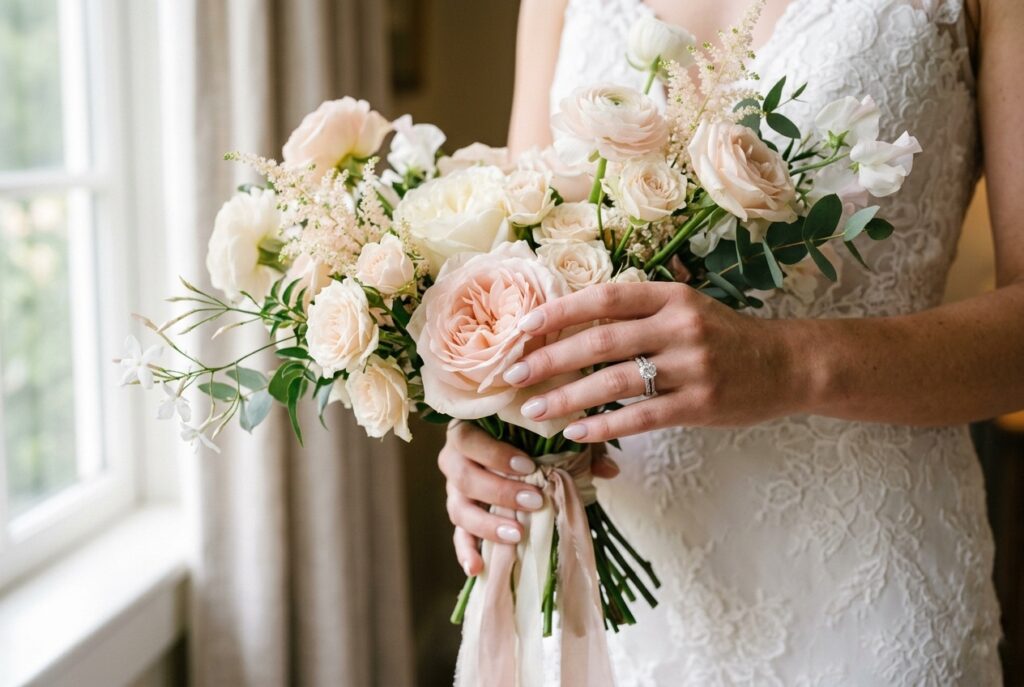
Your hands appear in more frames than your centerpieces, your shoes, and probably your cake combined: the ring exchange, the bouquet grip, the toasting flutes, the signed certificate, every single table interaction.
Here is exactly what works right now, why the trendy options sometimes fail on camera, and how to pick the one look that photographs well from every distance.
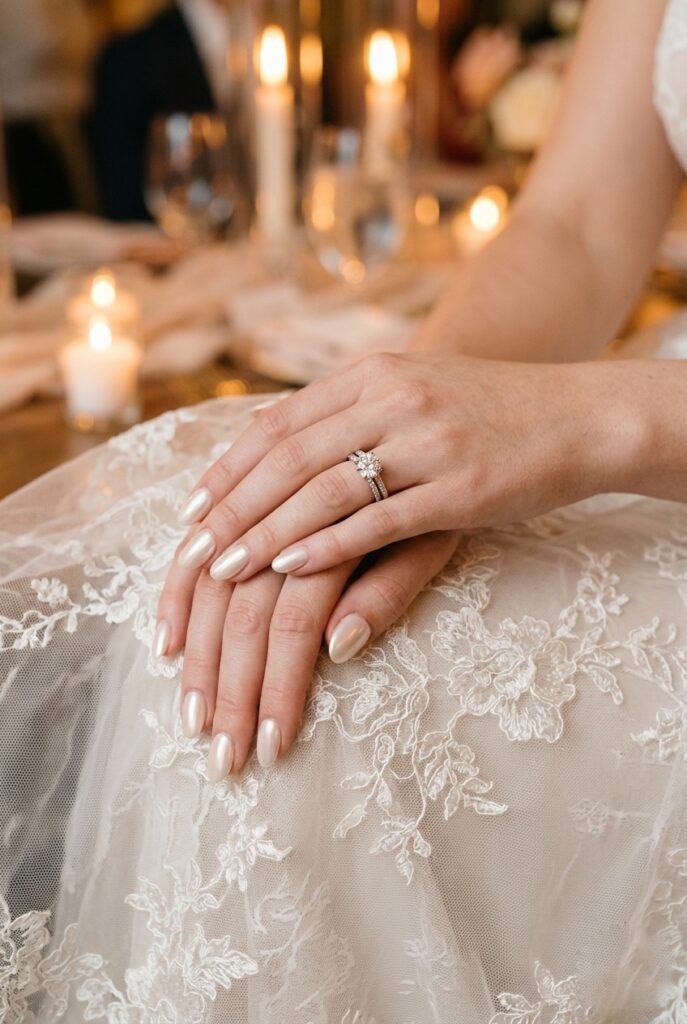
1. Glazed Milky White
This is the single most requested bridal look right now for good reason: it reads as clean and luminous at every focal length, from macro ring shots to candid wide shots across the reception room.
The finish sits between a sheer and an opaque — you see the nail, not a coating on the nail.
It works on every skin tone and nail length, which almost nothing else does.
The cheap version of this look is a flat white cream polish from a drugstore brand applied in two thick coats. It looks chalky, shows every ridge, and photographs as dull.
What you want instead is a gel base in a shade marketed as “milky” or “glazed” — OPI’s Bubble Bath layered under a high-gloss gel topcoat, or Aprés Gel-X in Milk Me gets you the right depth.
Budget $65–$90 at a gel salon, or find the Aprés system on Amazon for around $28 for a press-on kit.
Only do this if your dress is ivory, champagne, or white — soft warm skin tones in particular look extraordinary against this finish.
2. Micro-French with a Chrome Tip
The thick white band of the classic French tip is actively aging in photos right now — it reads as a salon choice from fifteen years ago when you look back at the images.
The micro-French solves this. The line is barely 1–2mm wide, the base is sheer nude, and the tip effect gives dimension without announcing itself.
Add a champagne chrome dust to that thin line instead of matte white and the nail catches light every time your hand moves.
Nail techs apply the chrome with a sponge applicator over a chrome-compatible gel — ask specifically for “rose gold chrome tip” or “champagne mirror tip” and show a reference photo.
Expect to pay $70–$95 at a specialty nail studio. Etsy sellers like NailsByLori offer chrome micro-French press-ons at $18–$26 for a custom set if you’re working with a tighter timeline.
Skip this if you have very short or wide nail beds — the thin line can visually shorten an already-short nail. Go glazed milky instead.
3. Soft Pearl Chrome
Pearl chrome is the finish that earns the most audible reactions when it appears in photos — it shifts color slightly with every angle, which means it never looks flat in any lighting condition.
It suits the same occasions as milky white but adds a subtle iridescence that reads as jewelry, not just polish.
This is the right call if your dress has any lace, crystal, or beading detail, because the nail picks up that texture without competing with it.
[COMPETITOR GAP IDEA #1 — Nail-to-dress fabric coordination] Most nail content tells you to match nail color to your palette.
That’s surface-level advice. What actually matters is matching the nail finish to your dress fabric.
Matte crepe dresses look cohesive with sheer soft finishes — milky white or bare skin pink.
Satin dresses can carry a high-gloss chrome because the fabric already has sheen.
Lace and organza dresses are best paired with pearl or iridescent finishes because the shimmer echoes the texture without copying it.
Cirque Colors and Kiara Sky both make salon-quality pearl chrome gels. Applied at a nail studio, expect $70–$100. Press-on versions by Clutch Nails on Amazon run $15–$22 for a full set.
BUDGET HACK #1: Skip the bridal nail appointment at a wedding-specific salon, which charges a 20–30% markup simply for writing “bridal” in the booking notes. Book the identical service — gel polish, same topcoat — at a non-bridal nail studio for $45–$65 instead of $90–$120. The same OPI Bubble Bath gel applied at a neighborhood nail bar is identical to what the bridal studio charges double for. Search Vagaro for nail studios in your zip code, filter by gel polish, and ask specifically for the shade at booking.
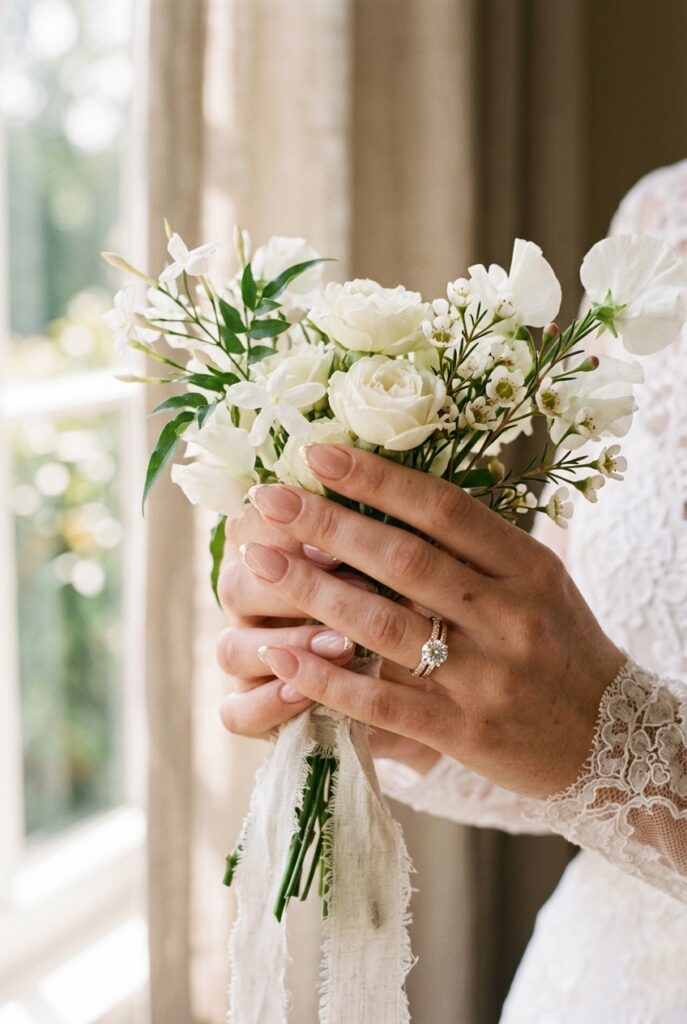
4. Almond Shape with Nude Sheer
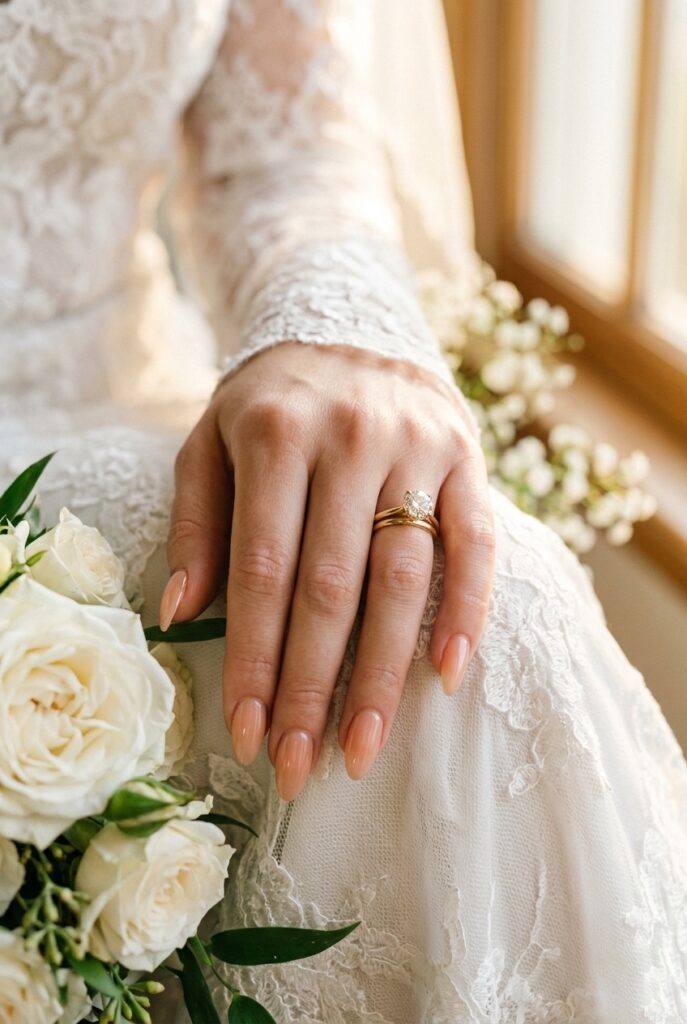
Almond shape is having a genuine moment in bridal nails right now because it elongates the finger in photos without requiring length.
A sheer peachy nude or warm beige on an almond shape is the single most universally flattering option across skin tones — it photographs as healthy, polished skin rather than a specific nail color, which means it never distracts from the ring or bouquet.
According to The Knot’s bridal beauty coverage, blush pinks and sheer nudes consistently deliver what pros call the “your nails but better” effect that holds up in every lighting condition throughout a full wedding day.
For medium-to-deep skin tones, look for shades described as “honey nude” or “caramel sheer” — Sally Hansen’s Bare It All or Essie’s Topless and Barefoot.
For fair skin, Essie Ballet Slippers is the industry standard for good reason. Gel application at any nail studio runs $40–$60.
5. Baby Boomer Gradient
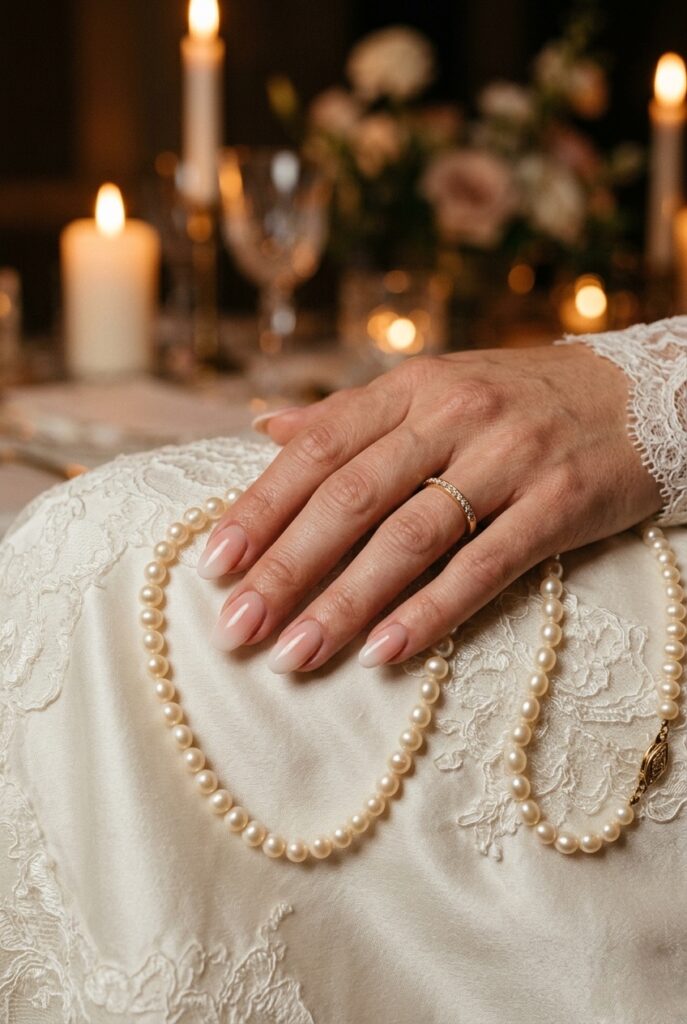
Baby boomer nails — the ombre fade from pink to white — are the one bridal nail style that has survived multiple trend cycles because they work.
The gradient reads as dimensional in photos, more interesting than a flat nude but softer than a graphic French.
They suit vintage, classic, and garden wedding aesthetics particularly well because the gradient feels organic rather than designed.
The version that fails is when the gradient is applied too quickly and the pink and white sit next to each other as distinct stripes rather than blending.
A skilled tech uses a sponge gradient method and takes three to four passes to build the fade correctly.
Ask to see their previous baby boomer work before you book — a bad baby boomer is obvious immediately.
Price range: $55–$85 at a gel nail studio, or Beetles Gel Polish Baby Boomer kit on Amazon for $22 if you’re doing them at home with practice time.
6. Personalized Ring Finger Accent
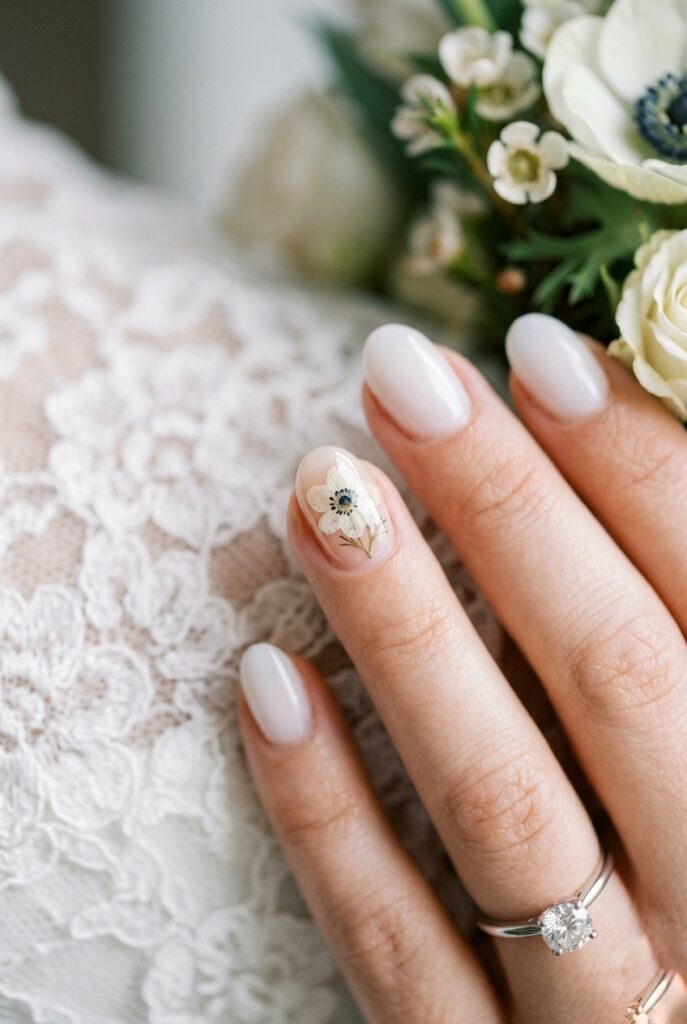
If you want one personalized detail without committing to nail art across all ten fingers, the ring finger accent is where to put it.
Currently, the most refined options are a single freshwater pearl pressed near the cuticle, a tiny dried flower embedded under clear gel, or a hand-lettered initial on the inside of the nail tip that only appears in macro shots.
It is the difference between nails that look expensive in wide shots and nails that surprise you in close-ups.
[COMPETITOR GAP IDEA #2 — The nail trial] Every competitor mentions “book a nail trial” as a bullet point and moves on. But brides skip the nail trial because no one tells them what it is actually for.
A nail trial is not about choosing a color — you can do that from a swatch card.
A nail trial is about testing how gel cures on your specific nails (some people’s nail oil content causes lifting within 24 hours), confirming the shape works with your engagement ring, and making sure the finish photographs correctly on your skin tone under flash.
Book it exactly as you’d book a makeup trial: same time of day, with photos taken under similar lighting to your wedding venue. Do it 6–8 weeks before the wedding.
The Knot’s bridal beauty section recommends this practice explicitly, and the brides who do it almost never panic about their nails the week of the wedding.
Find dried flower nail art supplies on Etsy (search “pressed flower nail art kit”) for $12–$18. Pearl nail accents are available on Amazon (Wokoto Nail Charms) for $8–$12. Application at a nail studio that does nail art: add $15–$30 to your base service.
BUDGET HACK #2: Press-on nails have genuinely crossed into bridal territory — not because they look cheap, but because the custom handmade sets on Etsy now rival salon work. Search Etsy for “custom bridal press-on nails” and filter by 4.8+ stars. Sellers like NailsByLori and AlmaHandcrafted charge $20–$45 for a full custom set including your nail measurements. Order 6–8 weeks in advance, request a sizing kit first ($5–$8, usually refunded toward the order), and apply the morning of with nail glue tabs rather than adhesive for easier removal. You save $50–$80 compared to salon pricing and have backup nails for travel or a destination wedding.
7. Short Square with Matte Blush
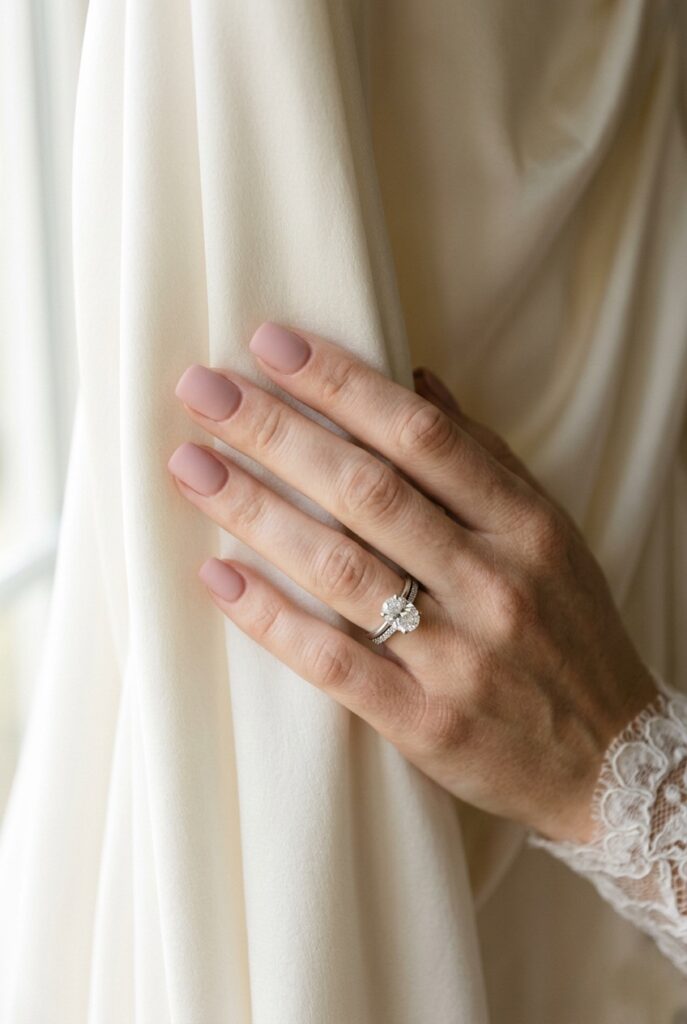
Matte finish is the move for brides who want their nails to read as intentional and modern without any shimmer or gloss.
Short square with a matte blush is currently the most photographed “minimalist bridal nail” look — it has a graphic quality at close range but completely disappears in wide shots, which is exactly what you want if your dress or accessories are doing the heavy lifting.
The dusty rose tone photographs warmer than a flat pink and cooler than a nude, landing in a genuinely photogenic middle zone.
Zoya Naked and Deborah Lippmann Blush have excellent matte versions.
Ask your nail tech for a matte topcoat over any blush gel — Kiara Sky’s Matte Me Over topcoat ($12 on Amazon) applied over any cured gel converts it instantly. Total salon cost: $40–$65.
8. Something Blue — Subtle Lavender Milk
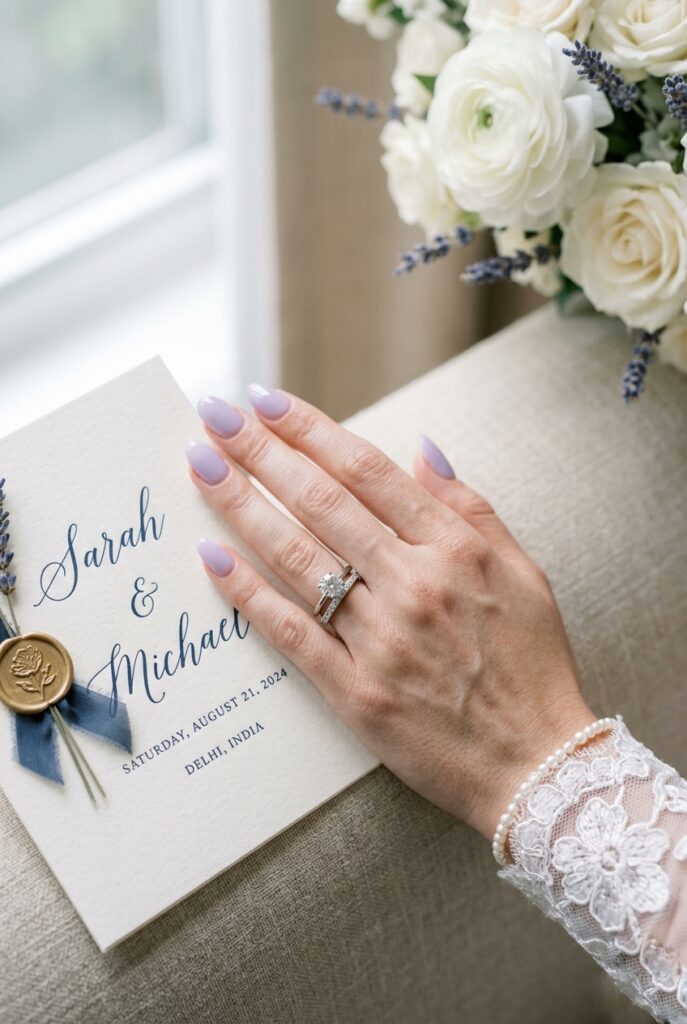
Cool-toned pastels arrived in bridal nails and this lavender milk shade is the most wearable version. It reads as a pale neutral in wide shots and reveals its color in close-up — which is precisely why it works as a “something blue” play without committing to a statement.
On warm skin tones it photographs as a sophisticated lilac. On cooler skin tones it almost disappears into a sheer grey-lavender.
Either version is more interesting than standard white without being a departure from bridal convention.
Orly Velvet Fog and ILNP Sunday Morning are both available on Amazon for $8–$14. In gel format, DND Duo Gel in Lavender Fog runs $12. Salon application: $40–$60.
Only do this if your wedding palette already has a cool-toned element — a navy tie, dusty blue bridesmaid dresses, a silvery floral arrangement. Without that anchor, lavender reads as random.
9. Floral Nail Art on a Short Round Shape
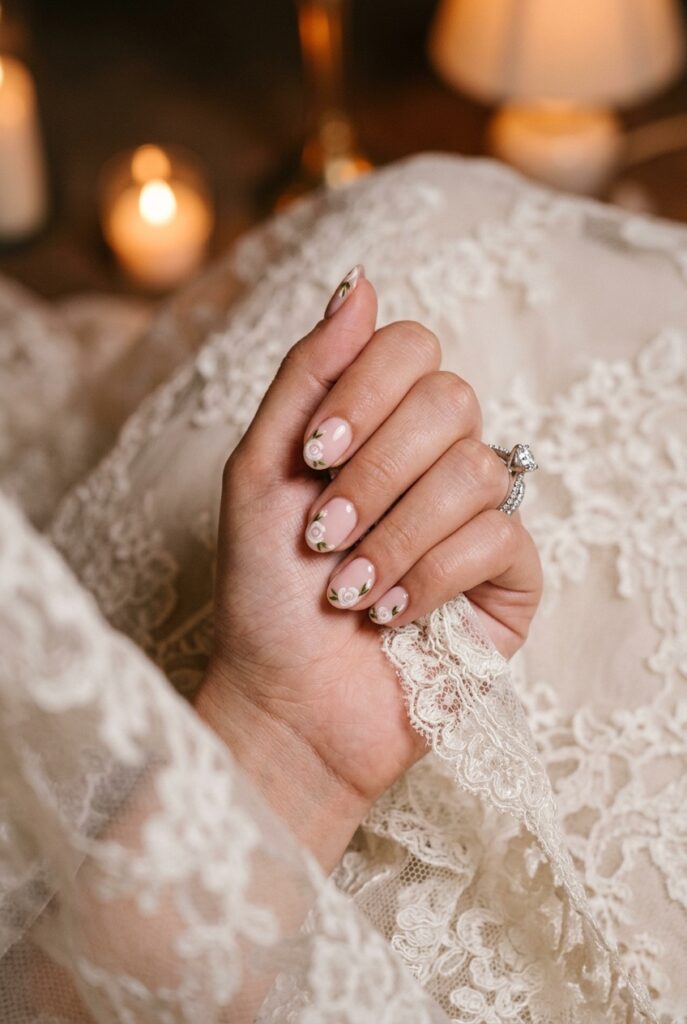
Floral nail art is only worth doing if the flowers are small, soft-edged, and echo something real in your wedding — your bouquet flowers, the lace on your dress, the centerpiece blooms.
The version that reads as prom rather than bridal is when the flowers are large, graphic, brightly colored, or applied to a long square acrylic shape.
The version that works is hand-painted white or blush miniature roses or anemones on a soft pink base, on short round nails, by a tech who can paint at that scale.
If you’re booking a nail artist specifically for hand-painted floral work, find them on Instagram rather than through a generic salon — search #bridalflowernails or #floralnailart and look for consistent fine-detail work in their portfolio. Expect to pay $85–$150 for a full artistic set.
Sally Beauty carries Orly Nail Art brushes ($6–$9) for DIY, though this technique genuinely requires practice.
BUDGET HACK #3: Gel removal is where most brides quietly waste $20–$35 right before the wedding. Salons charge for removal as a separate service when you’re switching from your regular polish to your bridal set. Buy an acetone nail soak kit from Amazon — Beetles Gel Polish Remover Kit runs $14 — and remove your existing gel at home two nights before the wedding. Soak, wrap in foil, 15 minutes. Your nail beds are prepped and clean by the time you walk into the salon for your bridal appointment, and the tech starts fresh with zero removal fee on the invoice.
Decision Filter
If your hands will be photographed heavily — ring exchange, close-up bouquet shots, a documentary photographer — prioritize finish depth over design complexity.
Glazed milky, micro-French chrome, or pearl chrome all photograph reliably across natural and flash lighting.
If your wedding is under 75 guests in an intimate venue with no formal photographer, you have more room to go expressive with floral art or a statement ring finger accent.
If your ring is the visual star of every hand photo (significant stone, distinctive metal), choose a sheer or matte nail that recedes — your nail’s job is to support the ring, not compete with it.
The Real Reason
The honest truth about bridal nails is that every article shows you images and almost none of them tells you that the correct nail choice is determined first by your ring setting, not your dress.
A large solitaire on a thin band reads as intended when the nails are sheer and the hand is clean.
The same solitaire on a hand with crystal-encrusted nails looks chaotic in photos — the eye doesn’t know where to land.
Your ring is the single most photographed object on your body that day. Your nails exist to set the scene for it.
The bold opinion: gel extensions — the kind where length is added to your natural nail — are almost always the wrong call for a bride who doesn’t already wear them daily.
The insider observation, from photographers who shoot 30+ weddings a year: the bridal nails that look worst in photos are almost never the wrong color — they’re the right color applied with a lumpy finish.
Gel that hasn’t been properly buffed before the color coats goes on slightly ridged, and under the directional flash of a camera that detail becomes visible.
Ask your nail tech specifically to buff the nail plate smooth before color application, even if they don’t automatically do this step. Most will.
The ones who hesitate at that request are telling you something about their process.
Mistakes to Avoid
Mistake 1: Scheduling your bridal nails appointment at the salon you always use out of convenience. Most bridal nail content tells you to find a nail tech you trust.
What they should say is: find a nail tech who has specifically done bridal gel work with a documented outcome. Bridal nails are photographed under studio flash, mixed venue lighting, daylight, and candlelight all within six hours.
A regular nail tech who does great color in a well-lit salon may not know how a specific finish reads under flash — or how to troubleshoot a lifting issue at 7am on a wedding morning.
Ask for a portfolio of specifically bridal work before you book.
This is not overthinking; it is the correct professional standard.
Mistake 2: Adding nail art to all ten fingers. The brides who spend $120+ on intricate nail art across every finger almost universally report the same thing when they see their photos: it looked too busy, the hands looked like the focal point rather than the ring.
That $120 spent on a clean glazed gel on natural nails with one detailed ring finger accent is both cheaper and better-photographed.
The single ring finger detail is not a compromise — it is the right design decision.
Mistake 3: Not doing a nail trial. Forty percent of gel applications will begin to lift within 72 hours on certain nail types due to natural oil production.
You will not know if this is your nail chemistry until you test it. If your gel lifts at the trail, your tech can switch to a different bonding system — there are three or four options — before the wedding.
If you find out at 6am on your wedding morning that two nails have lifted, there is no fix except a panicked salon visit.
A nail trial 6–8 weeks out prevents this entirely. Almost no competitor article explains this clearly.
Mistake 4: Choosing your nail shape based on what looks good in other people’s photos. Long coffin nails photograph well when the bride already wears them daily and her hands move naturally in them.
On someone who normally wears short nails, long acrylics create visible physical tension in every candid frame — awkward hand placement, unnatural grip on the bouquet, a visible adjustment in how they hold their partner’s hand during the ceremony.
Your wedding photographer cannot fix stiff hands in editing. Wear the length you actually live in, made better.
FAQ
What type of nails are best for a bride?
Gel polish on your natural nail length is the most reliable bridal choice across photography conditions and longevity. It lasts 2–3 weeks without chipping, photographs cleanly in natural and flash light, and allows normal hand movement.
Gel extensions are appropriate if you already wear them daily and your hands are used to the length.
How long before the wedding should I get my nails done?
Get your final bridal manicure 2–3 days before the wedding, not the day before.
Two to three days gives the gel time to fully cure and harden, allows for any minor repairs if a nail lifts, and means you are not rushing between salon and rehearsal the day before.
Gel polish holds its shine easily through a 3-day window.
Should bridal nails be long or short?
Wear your natural length made better. Short-to-medium nails photograph as clean and intentional; length only improves the visual if you genuinely live in longer nails day to day.
The nail shape — almond or oval — matters more than length: both elongate the finger without requiring added extensions.
Is it worth doing a nail trial before my wedding?
Yes, and it is not optional if you have never worn gel on your natural nails before.
A nail trial tests gel adhesion on your specific nail chemistry, confirms your chosen shape with your engagement ring, and lets you take photos in similar lighting to your venue.
Book it 6–8 weeks before the wedding, exactly as you would a hair or makeup trial.
Budget Table
| Look | What It Is | Salon Price | DIY/Press-On |
|---|---|---|---|
| Glazed Milky White | Sheer gloss gel, milky depth | $65–$90 | Aprés Press-Ons ~$28 |
| Micro-French Chrome Tip | Ultra-thin chrome-tipped French | $70–$95 | Etsy custom ~$18–$26 |
| Soft Pearl Chrome | Iridescent pearl gel finish | $70–$100 | Clutch Nails ~$15–$22 |
| Almond Nude Sheer | Sheer peachy nude gel | $40–$60 | Essie Nail Polish ~$10 |
| Baby Boomer Gradient | Pink-to-white ombre gel | $55–$85 | Beetles Gel Kit ~$22 |
| Ring Finger Accent | Pearl or dried flower detail | Add $15–$30 | Etsy kits ~$12–$18 |
| Short Square Matte Blush | Matte dusty rose gel | $40–$65 | Matte Topcoat ~$12 |
| Lavender Milk | Sheer cool pastel gel | $40–$60 | ILNP Polish ~$10–$14 |
| Floral Nail Art | Hand-painted mini florals | $85–$150 | Artist-dependent |
Your Hands Are In Every Frame
Here is the thing nobody says directly: your nails are part of your jewelry, not part of your beauty routine.
The decision belongs in the same conversation as your ring, your bracelet, and your earrings — not as an afterthought booked the week before.
If you treat it like jewelry — intentional, coordinated with the rest of what your hands are wearing — you will never look at your wedding photos and wish you had made a different choice.
Book your nail trial now, not after the venue deposit and the dress fitting.
Go to The Knot’s real wedding nail gallery to see what actually photographs well across skin tones and lighting conditions.
Then read through BlessedVows’ elegant wedding decor ideas to make sure your nail finish connects coherently to the overall visual register you are building for your day.