The mistake most brides make with wedding shoes is treating the decision like a style choice when it’s actually a sequence of practical calls — venue surface first, heel history second, dress hem third, then aesthetics.
Get those four in the right order and the right pair is almost always obvious.
These ten ideas cover the decisions that determine whether your bridal heels work for the full day or get abandoned under the table by nine o’clock.
1. Stiletto vs. Block vs. Kitten: Stop Letting Style Decide This for You
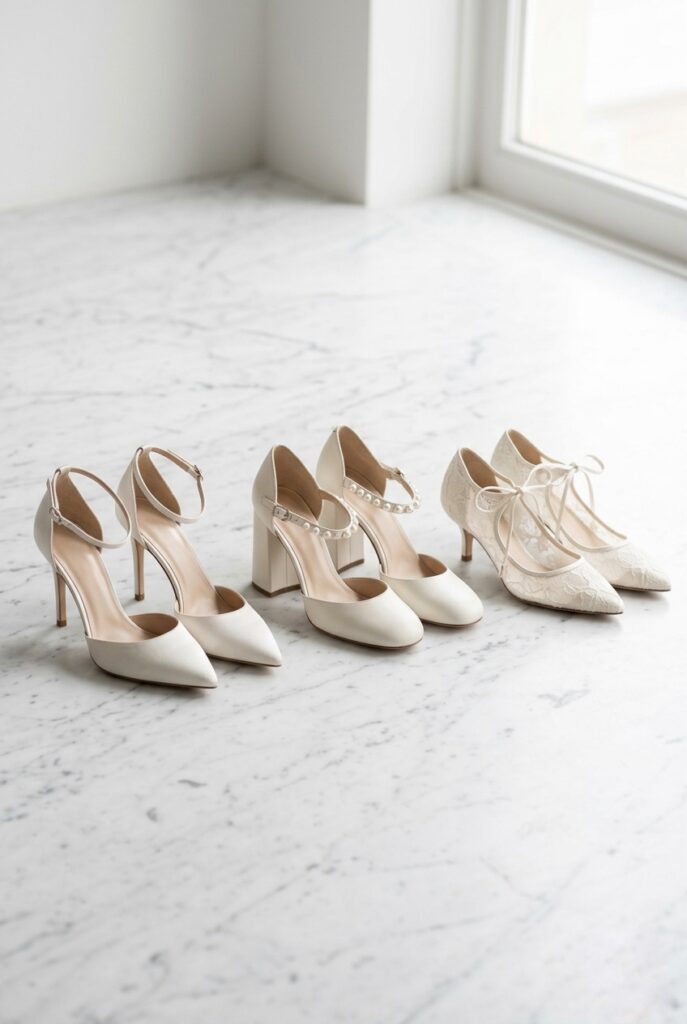
The heel type decision is made by your venue surface and your daily heel habit in that order — stilettos work on indoor hard floors where the narrow tip cannot sink, block heels work everywhere and distribute your body weight across a broader surface area that directly reduces ball-of-foot fatigue after hour four, and kitten heels under two inches are not a compromise but the correct choice for brides who don’t wear heels regularly.
The mistake is treating this as a preference when it’s a physics decision, and for everything that goes into making that call confidently before the appointment, the comfortable bridal heels guide walks through the structural differences in detail.
2. The Ankle Strap Decision Nobody Explains Properly
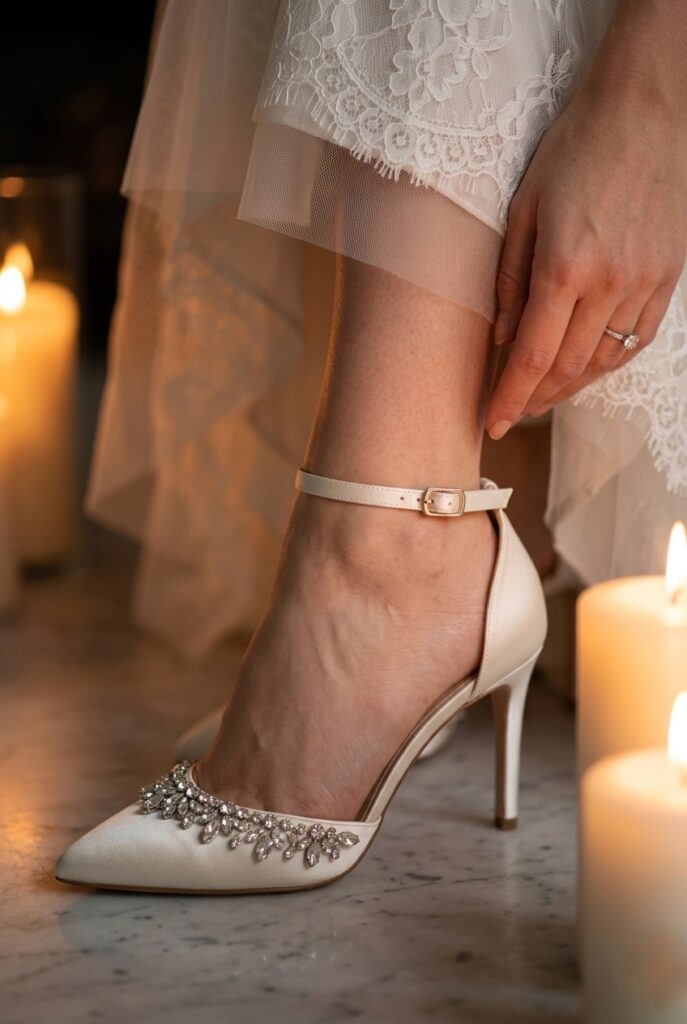
An ankle strap mechanically transfers some of your body weight off the ball of your foot and onto the ankle joint, which is far better suited to bearing load for extended periods — every hour spent in a backless court shoe, your toes grip slightly to keep the shoe on, and that constant gripping is what causes forefoot fatigue and pinky-toe blisters.
The detail that changes how the shoe photographs is strap placement: a strap sitting directly across the ankle bone shortens the visual line of the leg in photos, while a strap positioned a half-inch above the ankle bone keeps the leg line long and still delivers the mechanical benefit — check where the buckle sits on the foot in any product image before buying, a detail covered in the full bridal heel ideas gallery.
3. Heel Diameter and the Ground Pressure Problem
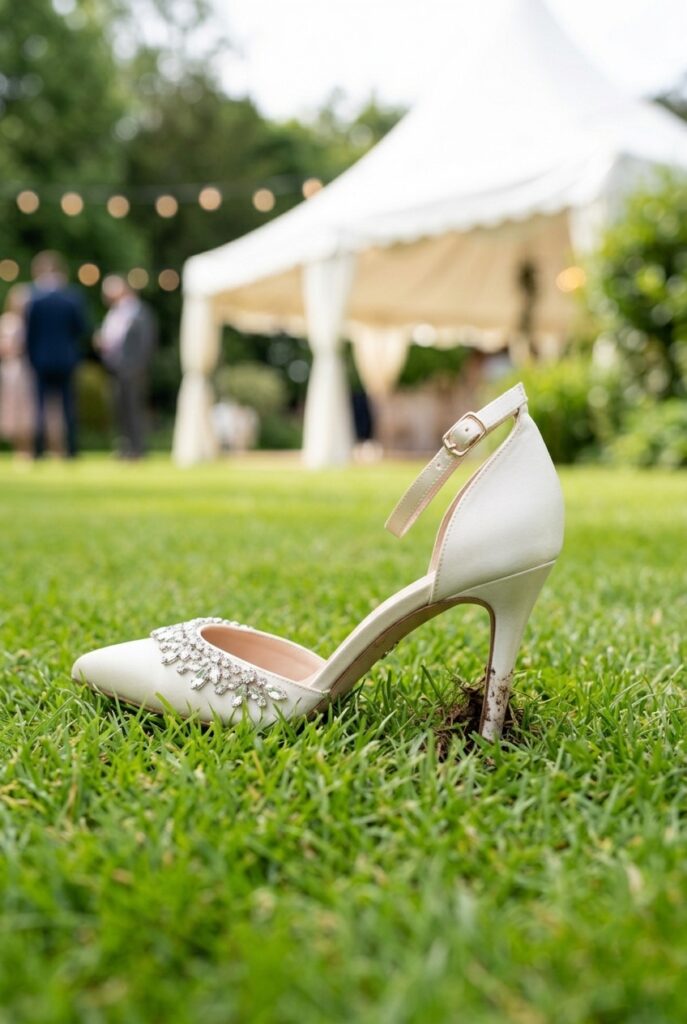
Every guide tells you to choose block heels for outdoor weddings, but none tell you how to test your specific venue surface before the day — visit your ceremony venue in your chosen shoes one week before the wedding and walk the exact path from entrance to altar, then push down on the heel with your thumb: if the tip sinks more than a quarter inch under that pressure, it will sink further under your full body weight during the processional.
A stiletto tip exerts roughly the same pressure per square inch as a commercial truck tyre on soft ground, while a block heel spreads that load across five to eight times the surface area — and for any outdoor venue surface involving grass, gravel, or pavers with gaps, that test tells you what your shoes will do before your photographer does.
Budget Hack #1: DSW runs a buy-one-get-one-half-off promotion on heels multiple times per year — search “DSW BOGO event” on Google to catch the next one. Use it to buy your ceremony heel and your reception flat at the same time. You will routinely save $30–$60 on the second pair, which is money that can go directly into gel inserts and moleskin. Filter the DSW site to “bridal” and “occasion” to find the qualifying styles.
4. Open Toe vs. Closed Toe — and Why It’s a Season and Venue Call, Not a Trend Call
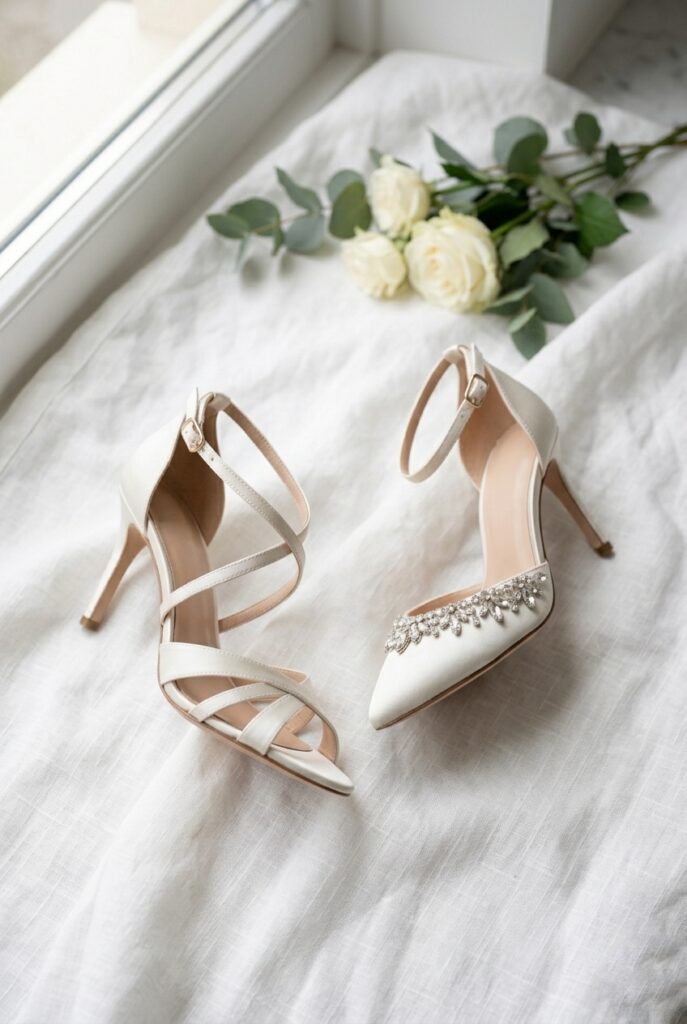
Open-toe heels read lighter and suit outdoor, warm-weather, and garden ceremonies where the visual tone is relaxed and airflow matters; closed-toe pumps photograph with a sharper finish and suit church ceremonies, formal ballrooms, and cooler months where a more complete look reads as correct.
The style rule that gets skipped everywhere: open-toe shoes require a pedicure done 48 hours before the wedding rather than the morning of, because morning-applied polish isn’t dry enough and will smudge inside the shoe by the ceremony — and closed-toe bridal heels are worth a closer look if your processional is long or your venue is stone-floored, where cold marble draws heat from exposed toes during an extended ceremony.
5. The Heel Height–Dress Hem Relationship Is a Two-Way Contract
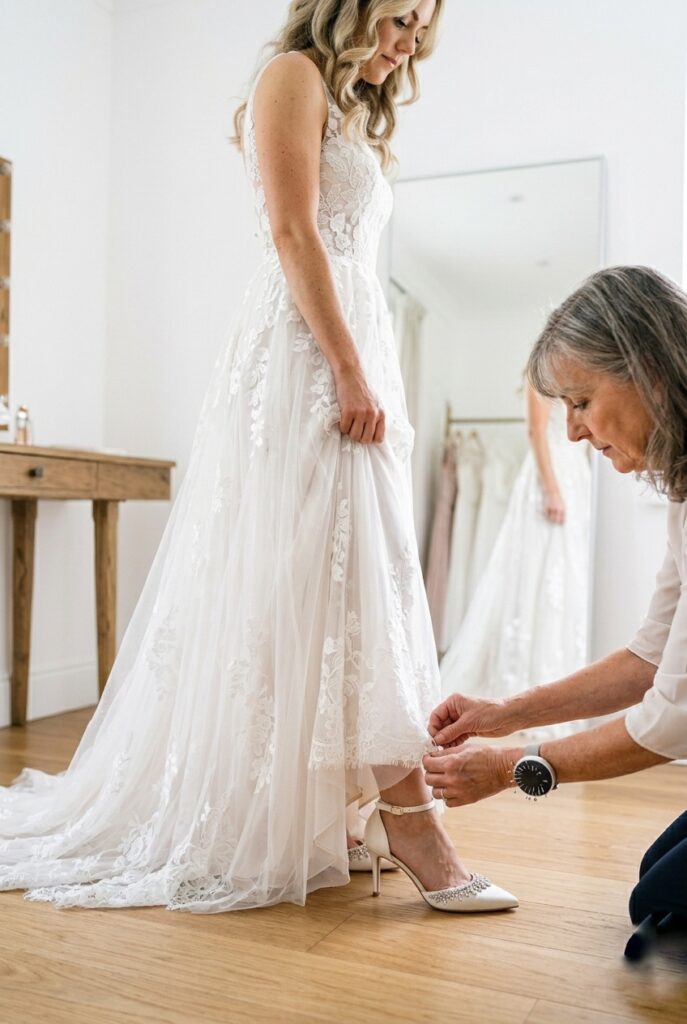
Your dress hem is cut to your specific shoes on your specific feet — not to a measurement — which means the shoes you wear to your first fitting determine every photo involving your hemline, and brides who switch shoes two weeks before the wedding typically face a re-hem cost of $75 to $200 on top of an alteration appointment that may already be fully booked.
Buy your exact wedding shoes before your first alteration appointment without exception, and for guidance on which heel silhouettes work with which dress cuts, the heels with your wedding dress guide covers how hem length, train style, and heel height interact across every major gown silhouette.
6. Matching Heel Finish to Your Dress Fabric
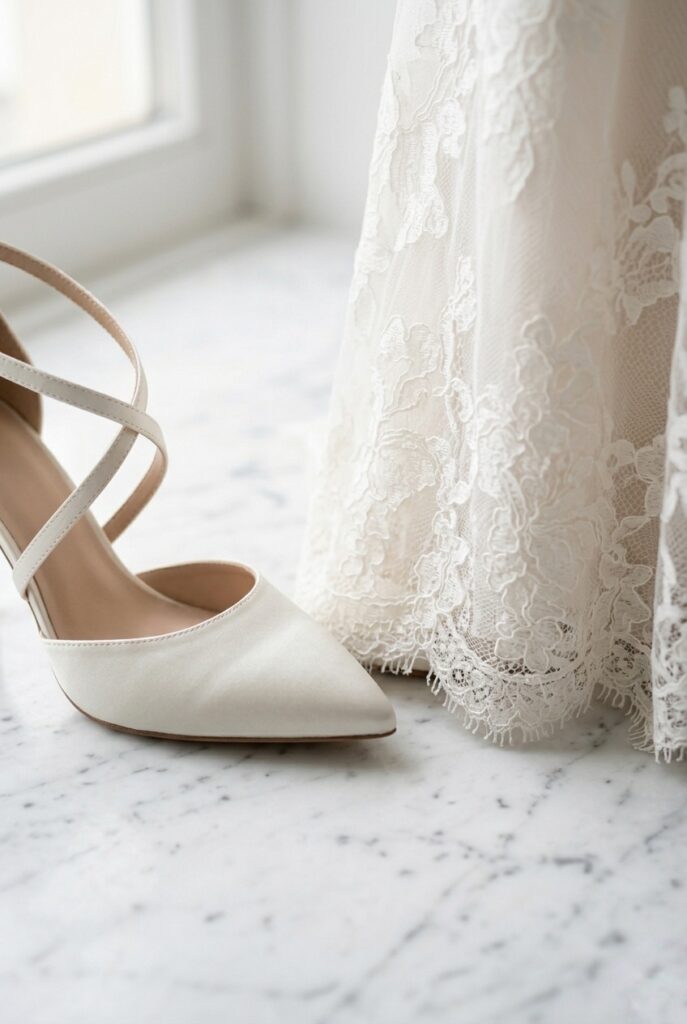
Satin shoes read formal and pair best with structured satin, silk, and crepe gowns; suede heels absorb light and look warm and matte, which works with lace, tulle, and relaxed boho fabrics; and metallic heels in gold, silver, or champagne pick up light without competing with the dress and read as neutral in photographs, making them the most versatile finish across different gown types.
If your dress has texture, embroidery, or beading, a smooth metallic or plain satin heel keeps the eye on the dress rather than at your feet — the same layering principle that underlies any elegant bridal aesthetic where each element supports the others without competing.
Budget Hack #2: For suede and metallic bridal heels specifically, Zappos runs a 365-day free return policy and free two-day shipping. Buy two to three options in your size, wear each one in your house for twenty minutes while walking on hardwood, then return what does not work. You pay nothing until you decide to keep a pair, and you never have to hope that a shoe fits the same in person as it looked on a screen. This removes the single biggest friction point in buying bridal shoes online.
7. The Break-In Window You Are Almost Certainly Underestimating
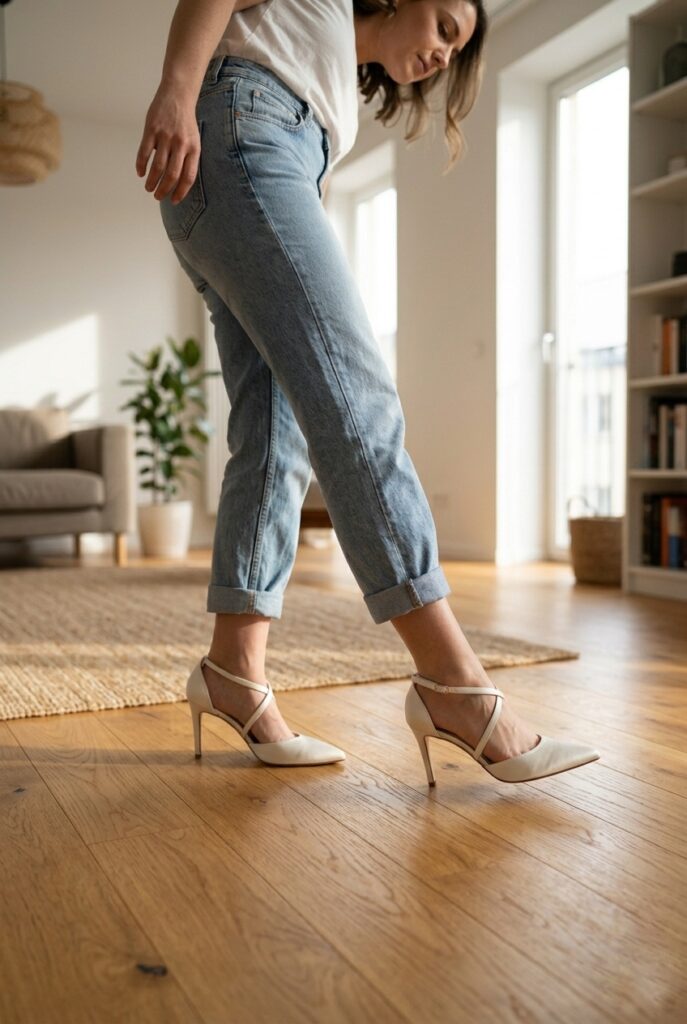
Six wear sessions minimum, starting at least four weeks before the wedding, with each session twenty to thirty minutes on a floor surface that matches your venue — satin and leather stiffness sits in the heel counter and the toe box, and those materials need repeated compression from your actual foot shape to soften correctly; two sessions the week before the wedding isn’t enough for a stiff new heel.
Add moleskin patches cut to size at the back of the heel cup and inside the toe seam before session one — they compress during break-in and are invisible on the day — and apply this same timeline discipline to any block heel break-in, where the wider sole can create unexpected pressure points along the outer edge that only surface after sustained wear.
8. The Reception Shoe Swap — Planned, Not a Retreat
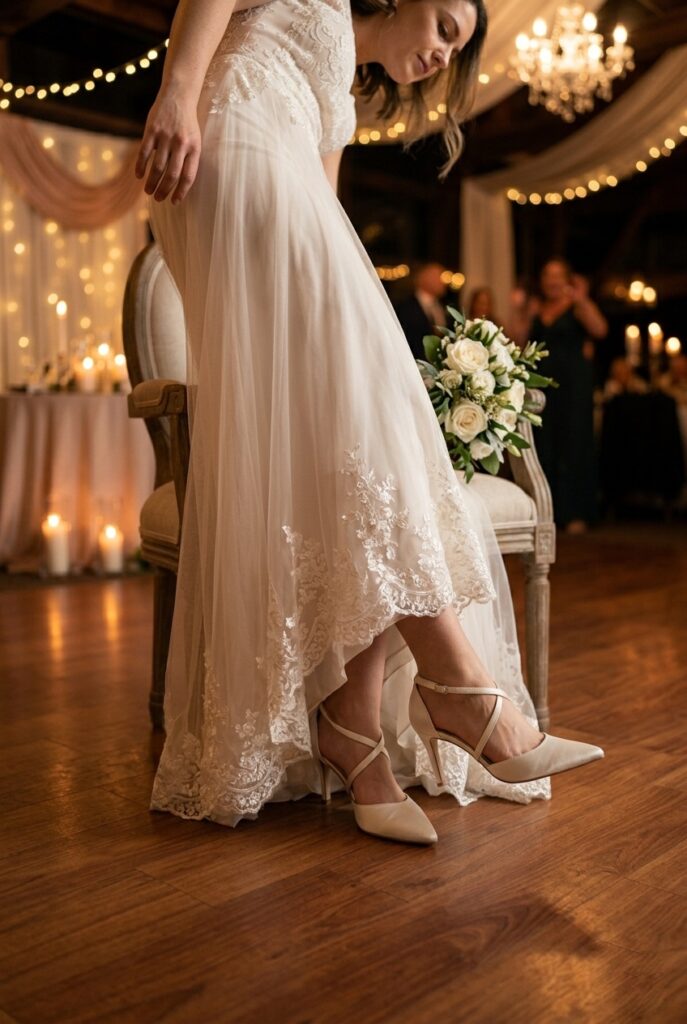
Planning a second shoe for the reception isn’t giving up on heels — it’s protecting your ceremony shoe investment and keeping you present on the dance floor instead of managing pain, and the second shoe should be chosen at the same time as the first, in the same color family and ideally the same fabric, so the transition reads as intentional rather than improvised.
Pack the ceremony heel in a fabric dust bag and hand it to your maid of honour before the reception starts, and for the reception shoe itself, a satin reception heel in a low or kitten height is the combination that keeps the material story consistent while bringing the heel down to something sustainable for three hours of dancing.
9. Color Beyond Ivory — When to Use It and When Not To
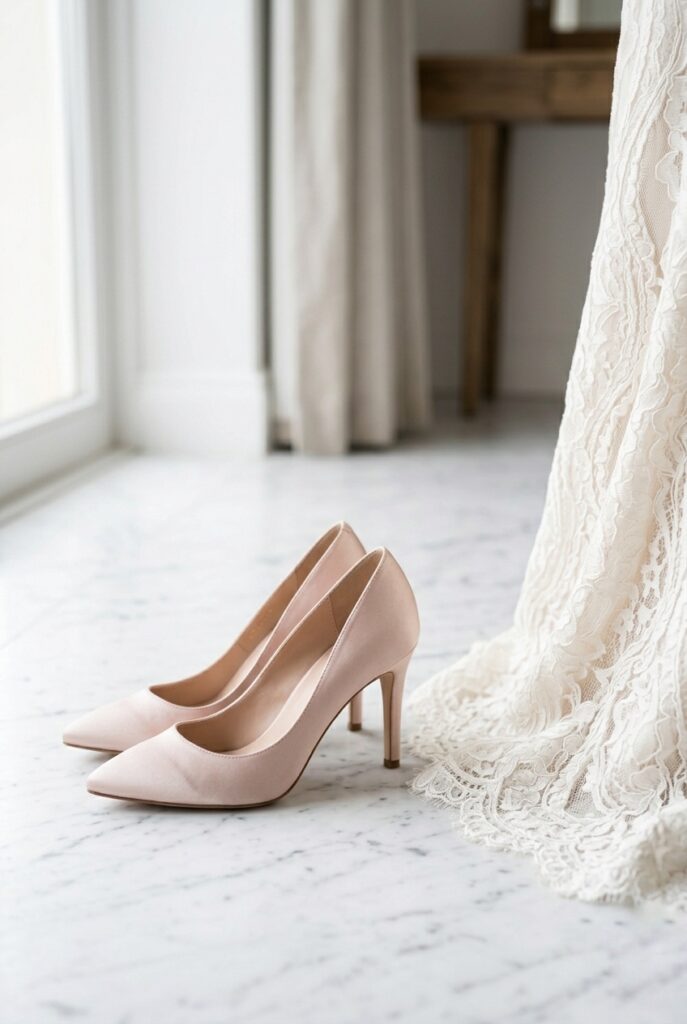
Coloured bridal heels — dusty blue, blush, champagne, sage — work when your dress hemline will be partially hidden for most of the day or when you specifically want the shoe as a focal point; they don’t work well when your hem is visible for the majority of ceremony and portrait photos because the color contrast draws the eye down in every wide shot.
The exception is a true metallic, which reads as neutral in photographs and doesn’t compete with ivory or white the way a saturated color does — and if you want color, blush is the most forgiving choice because it reads as warm-neutral in low light, while something like dusty blue is a statement that will appear in every photo where the hem is visible, so make that decision with full awareness of your photo coverage, a consideration covered in the coloured bridal heels guide.
Budget Hack #3: Amazon’s “wedding shoes” filter, sorted by “Avg. Customer Review” and priced at $55–$100, surfaces a consistent set of brands — Badgley Mischka, Nina, and Vince Camuto — that make genuine leather or satin-upper heels at sub-boutique pricing. Filter additionally to shoes with 4.5 stars and above 500 reviews. Within that filter, you are looking at shoes that cost $140–$200 in bridal boutiques. The specific advantage: Amazon’s review photos from real brides show you the shoe on an actual foot at scale, which product photography never does.
10. Protecting Your Investment on the Day Itself
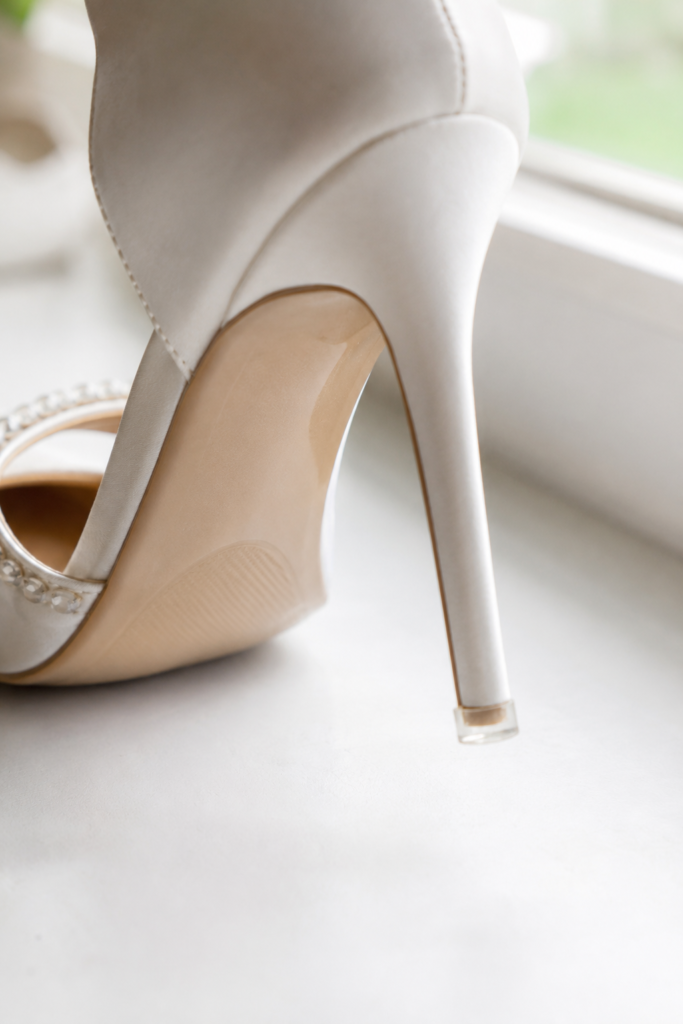
Clear rubber heel caps — small protective tips that slip over a stiletto heel — cost under five dollars a pair and prevent the single most common form of bridal shoe damage: the tip splitting or chipping on stone, brick, or gravel during the transition between ceremony and reception.
Apply them before the ceremony rather than after the first sign of wear, store a spare pair in your emergency kit alongside moleskin and gel inserts, and if your heel is a lower style, a full sole protector applied to the bottom of the shoe before the day protects both the leather and the satin from scuffing on wet grass or rough pavement — the low heel option guide covers which sole materials are most vulnerable and what protection they need specifically.
Your shoes are confirmed once these ten decisions are worked through, and the remaining getting-ready logistics fall into place around them.
The wedding day essentials checklist covers everything that needs to be packed and confirmed the morning of — including the heel care items mentioned above — and the bridal look guide connects your footwear to the rest of your head-to-toe styling so every element reads as part of a single considered look.