
You picked your dress in a fitting room over several months and spent hours on florals — your nails get a 20-minute scroll and a salon appointment booked too late, and that mismatch shows specifically in the ring shots, the bouquet holds, and every detail photo where your hands are front and center.
The nail that works is chosen in relation to three things: your ring’s profile, your dress’s texture, and your venue’s lighting — build outward from those three anchors and you will not go wrong.
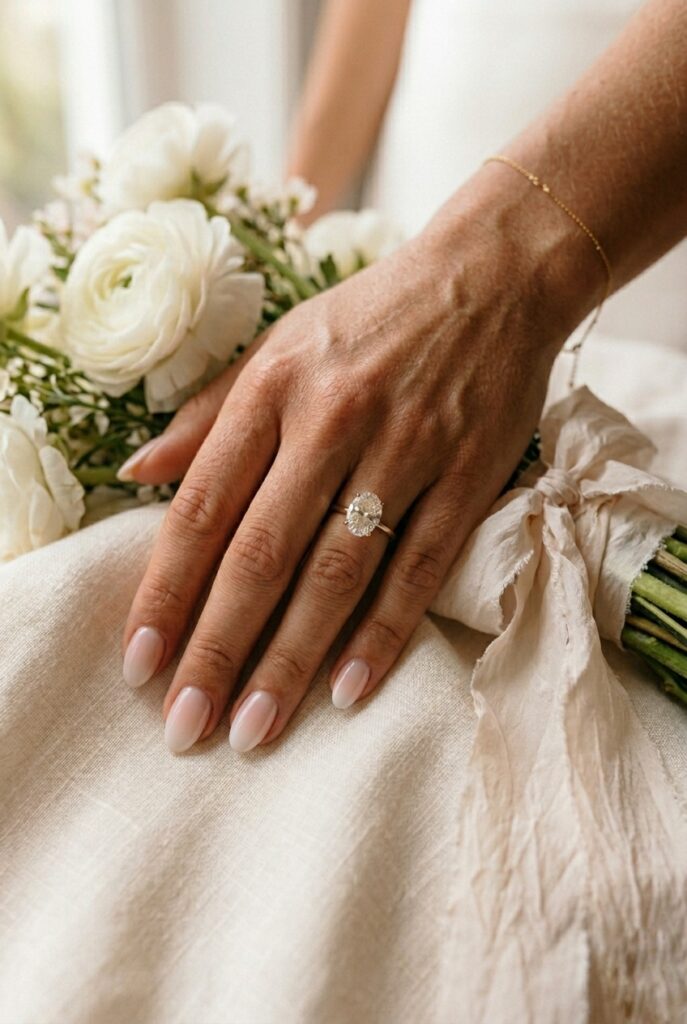
1. The No-Mani Mani: Sheer Tinted Nude
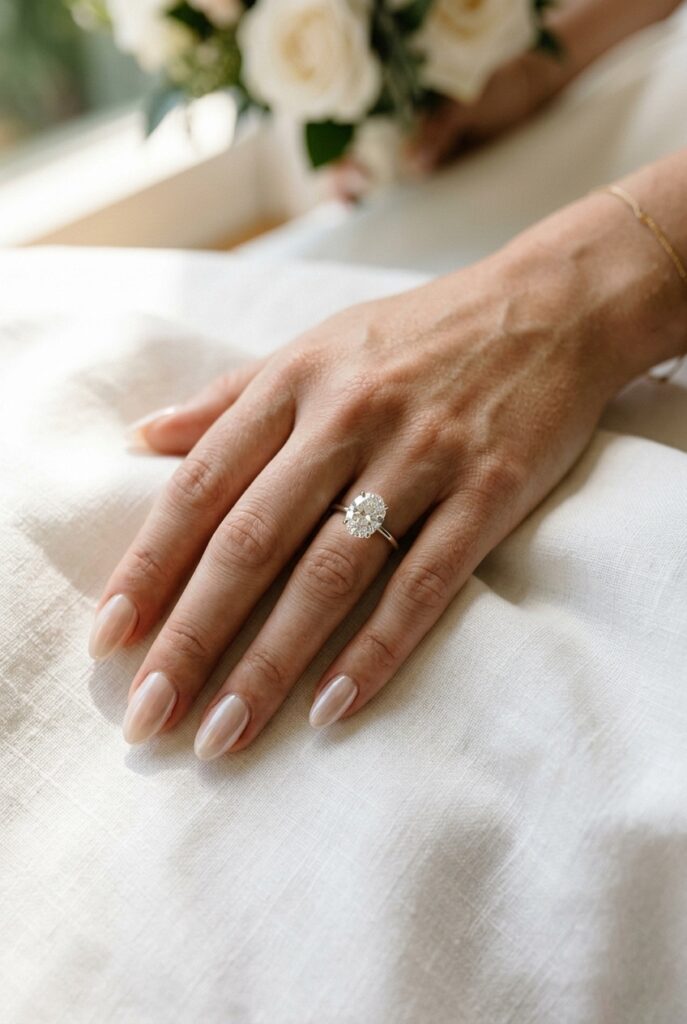
If the ring is the point, the nail’s job is to disappear gracefully — a sheer tinted nude with a whisper of pink or peach but no full opacity gives the hand a finished look while drawing zero attention to itself, and OPI Bubble Bath ($11 on Amazon) has held this position for a reason.
This only works when your ring has genuine presence on its own — a large center stone, high pavé band, or distinctive setting — because on a dainty or minimal ring a sheer nude makes the entire hand disappear, so you will need one half-step stronger (a soft opaque blush) to ensure both register simultaneously, and the bridal nail color by skin tone guide covers exactly which nude-family shade works for your specific undertone.
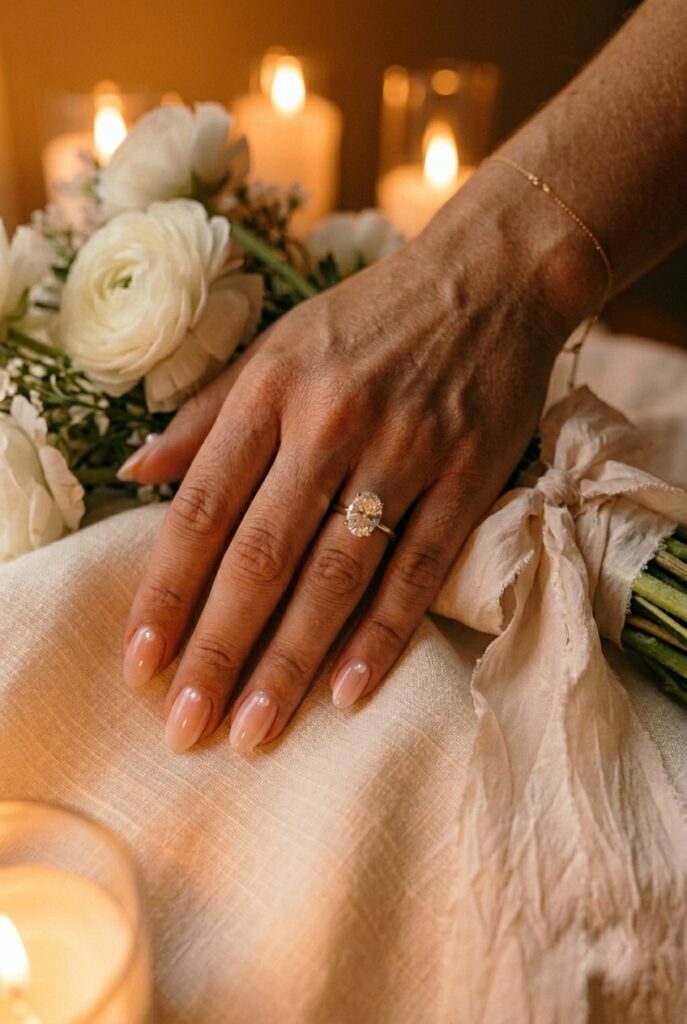
2. Milky White: The Most Reliable Bridal Finish
Milky white is not regular white — regular white is stark and competes with everything, while milky white has translucency built in, a soft cloudy opacity that reads warm rather than clinical and creates continuous softness against white florals and ivory gowns while receding perfectly beside a bold gemstone ring.
Build it with a white jelly gel or a BIAB milky base — The GelBottle’s BIAB in shade 19 (around $18 at thegelbottle.com) topped with a glass-finish coat gives a luminous, three-dimensional result that cannot be replicated with opaque polish — and the bridal nail photography guide covers why this finish performs better than any other under the full range of lighting conditions across a wedding day.
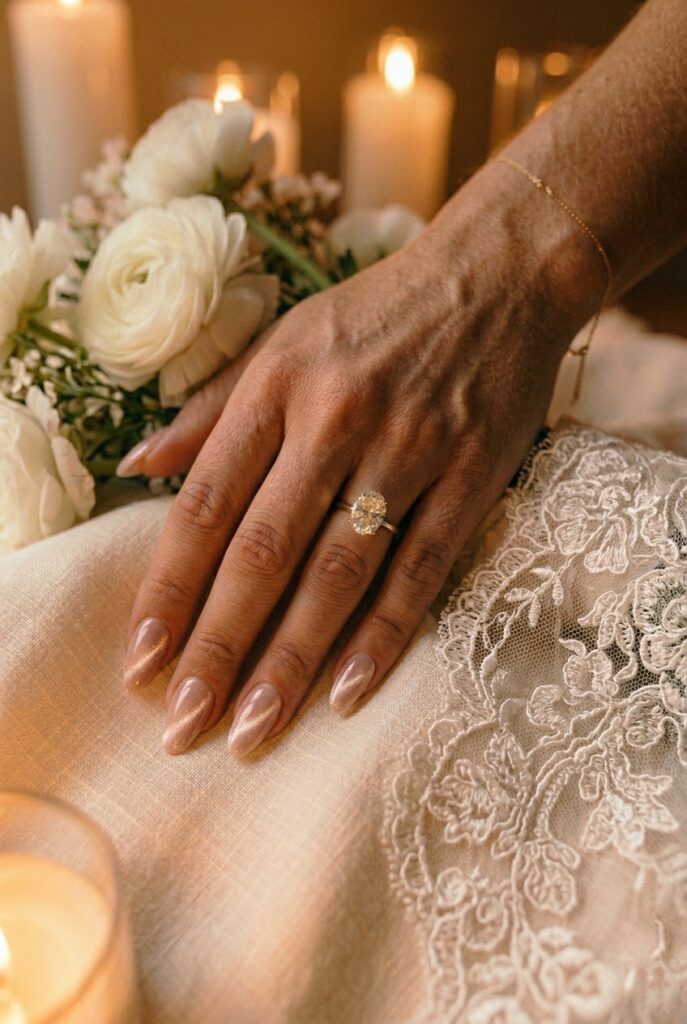
3. Pearl Chrome: The Upgrade That Justifies Itself in Every Photo
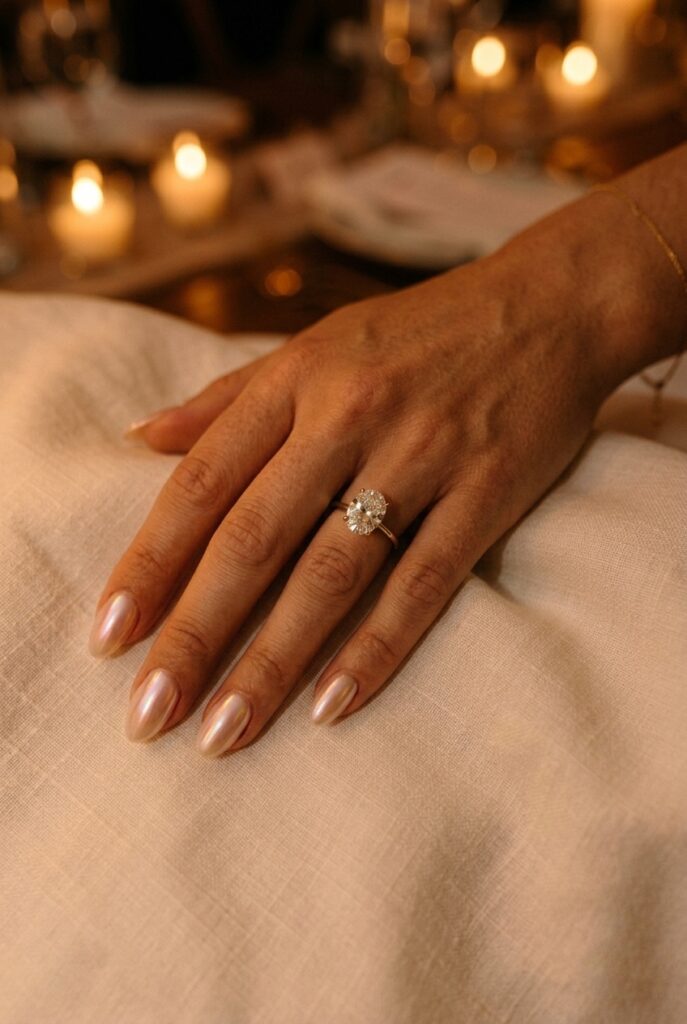
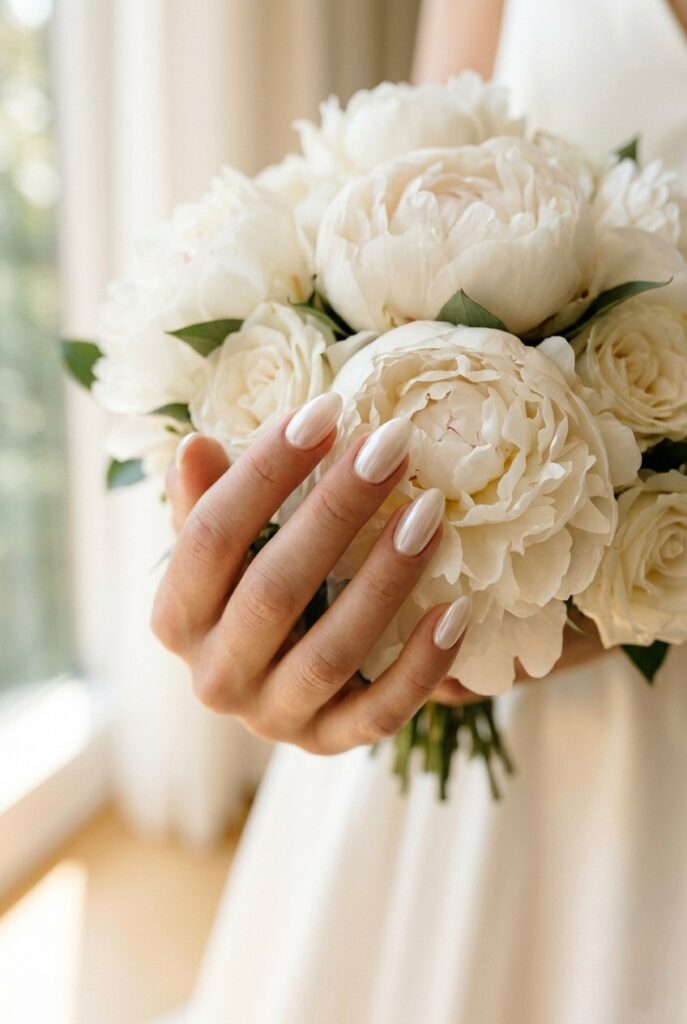
Pearl chrome looks different in every photograph because it shifts color with angle and light — under morning window light it reads as soft silver-pink, under candlelight it shifts toward ivory and amber, under flash it catches cleanly without blowing out — and it works best when your dress has lace, crystal, or beading detail that the finish can echo rather than compete with.
Apply chrome powder over a sheer white or milky base gel ($12–$18 chrome powder on Amazon, professional application $65–$90 at nail studios), and for brides planning an indoor candlelit reception pearl chrome is one of the most photographically rewarding choices because warm amber light is specifically what activates its iridescent shift.
💡 Budget Hack after Idea 3: Pearl chrome at a salon runs $65–$90 for the gel-plus-chrome service. The alternative: buy a chrome powder kit from Amazon ($12–$18, brands like Beetles or Born Pretty), bring it to your regular gel appointment, and ask your nail tech to apply it after the gel cures. Most techs are happy to use a client-supplied product and will charge labor only — keeping the total under $45. The final result is indistinguishable from a premium salon chrome application.
4. Micro French Tip: The Classic Done Correctly
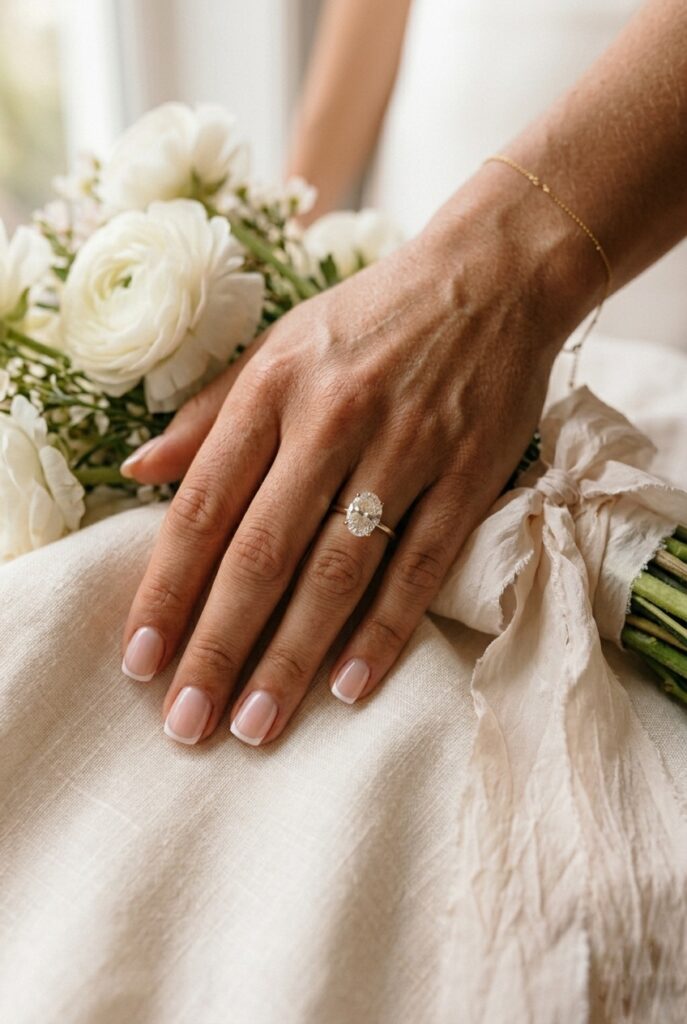
The thick white band of a traditional French tip has been replaced by a hairline tip 1–2mm wide at most that you almost don’t notice until you look closely, and on short-to-medium nails this reads as genuinely sophisticated — but the base must be a warm sheer pink like Essie Mademoiselle rather than the old clear coat, because the warm base adds depth to the nail bed and stops the tip reading as isolated white lines floating above nothing.
Avoid the nail tech who uses a French tip guide sticker — those create a mechanical straight line that reads as stamped rather than placed, and that distinction becomes immediately visible in macro photography — the micro technique should be hand-painted, which most specialist nail studios can execute for $35–$65, and the bridal shoes guide is worth checking alongside this if you want both accessories working in the same refined, understated direction.
5. Soft Ombré: The Design That Photographs Better Than It Looks
Ombré is one of the few nail designs where the camera does it more justice than the naked eye — in person a soft blush-to-white fade looks gentle and understated, but under macro photography the gradient reads with depth and three-dimensionality that a solid color cannot produce.
Ask specifically for a sponge-blended ombré rather than dip-blended, because sponge creates the softer transition that photographs cleanly rather than showing a visible seam, and for brides planning an outdoor or garden ceremony with soft natural light and diffused floral arrangements, ombré nails tie into that blended aesthetic more naturally than any graphic or chrome finish.
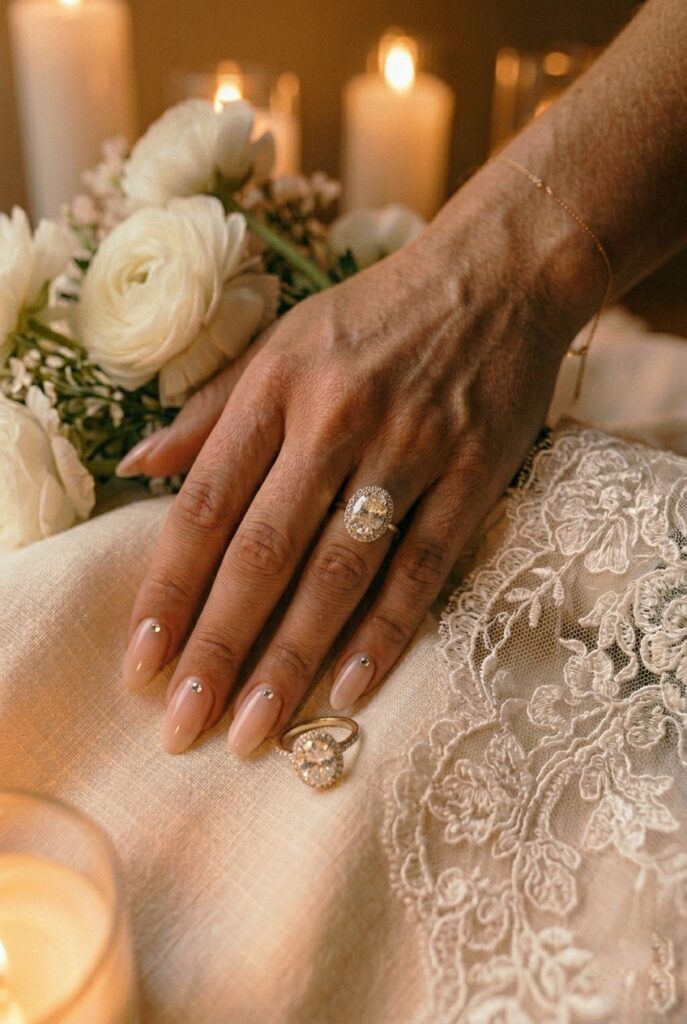
6. Delicate Pearl Accents: One Detail, Correctly Placed
One flat nano-pearl per nail placed at the cuticle transforms a standard pink or nude gel into something deliberately bridal without tipping into costume territory — and the key word is flat, not dome, because raised dome pearls catch on fabric, snag veils, and fall off within days while flat nano-pearls sit flush against the nail surface and hold through the entire wedding.
Nail Charm flat pearls on Amazon ($8–$12 for 100) applied over cured gel with a dab of gel and sealed under top coat last three to four weeks without loss, and this is the one nail detail that works best alongside a DIY wedding approach because you can apply them yourself at home the morning before the wedding rather than paying $20–$35 salon add-on for a 10-minute application.
💡 Budget Hack after Idea 6: Apply pearl accents yourself at home the morning before your wedding, not at the salon. A gel tech applying individual pearls in a salon charges $20–$35 for the add-on. With a flat nano-pearl kit from Amazon ($8), a UV nail lamp ($15 on Amazon), and 10 minutes, you can apply and cure them yourself over an existing gel manicure without disturbing the underlying color. Doing this the day before gives them 24 hours to fully bond — they’ll survive a bouquet grip and every handshake on the wedding day.
7. Lace Nail Art: Context-Specific, Not Universal
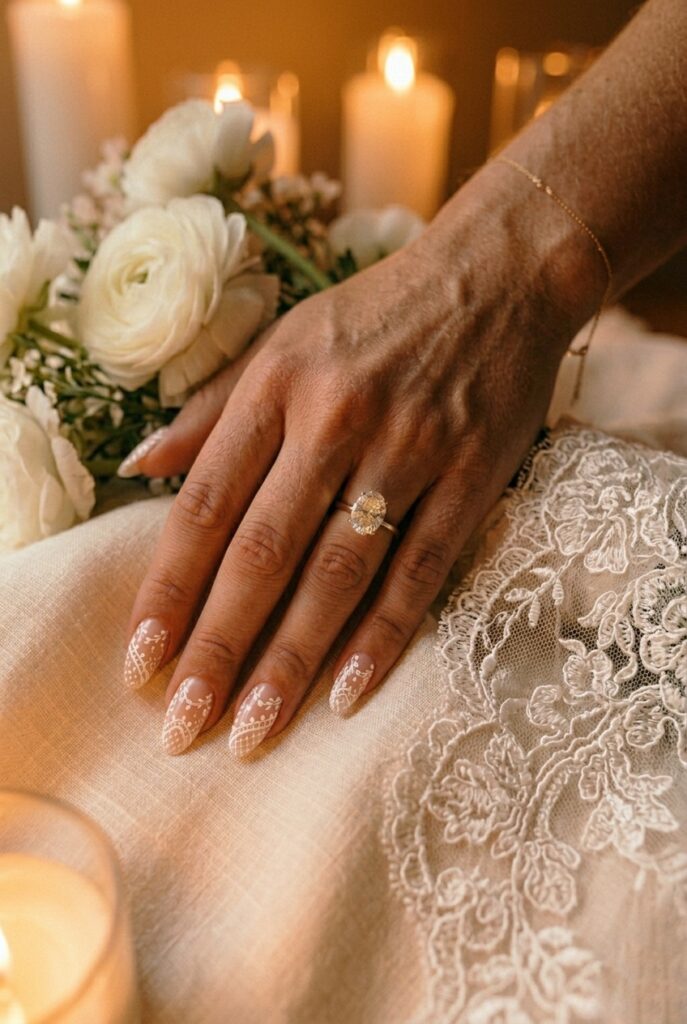
Lace nail art only works when it directly mirrors something real in your wedding — if your dress has lace, your veil has lace, or your venue has genuine vintage architecture then lace nails read as cohesive and intentional, but on a bride in a clean modern satin column gown at a minimalist hotel venue they read as mismatched regardless of how beautifully they are executed.
These designs require a specialist nail artist using ultra-fine detailing brushes rather than a standard salon tech, so budget $90–$150 and look specifically at their bridal nail art portfolio before booking — the bridal nail art guide covers how to source and vet nail artists for detail work at this level and what to look for in a portfolio before committing.
8. Velvet Cat Eye in Champagne or Blush
Cat eye gel uses a magnetic polish and a magnet wand to pull iron particles into a soft dimensional stripe across the nail that shifts as the hand moves — bridal cat eye keeps this in champagne, blush, or ivory tones that give the same optical interest without departing from a bridal palette, and the wrong version is a stripe that is too sharp and high-contrast which reads as evening nails rather than ceremony nails.
Brands like LV GEL or Modelones produce cat eye gel kits at $14–$18 on Amazon, and for brides with unique wedding aesthetics that already lean slightly editorial, champagne cat eye is exactly the right amount of unexpected — present and interesting in close-up but quiet enough to recede in wide shots.
9. Rhinestone Accents: Know Where the Line Is
One clear AB rhinestone per nail placed at the base is the bridal version — four crystals clustered on an accent nail with smaller stones scattered across the remaining fingers is the party version — and the difference photographs as the difference between composed and costume in formal wedding imagery, especially when placed beside a serious ring.
A single 3mm Swarovski AB flat-back crystal per nail (Amazon, $8–$12 for 100) catches flash photography beautifully without drawing the eye away from the ring, and sourcing the crystals yourself and bringing them to your gel appointment saves $15–$25 off the standard salon rhinestone add-on fee — the kind of practical saving that adds up quickly when you are managing a tight beauty budget across multiple pre-wedding appointments.
💡 Budget Hack after Idea 9: Swarovski flat-back crystals from a craft supplier cost 60–80% less than the same stones added at a nail salon. Michael’s and Hobby Lobby both carry them in the craft jewelry section — a bag of 100 clear AB 3mm flat-backs runs $6–$10. Bring them to your gel appointment in a small zip bag and ask the tech to apply them while the gel is still tacky before curing. Application with no sourcing charge saves $15–$25 off the standard salon rhinestone add-on fee.
10. Bold Floral Nail Art: Earn It First
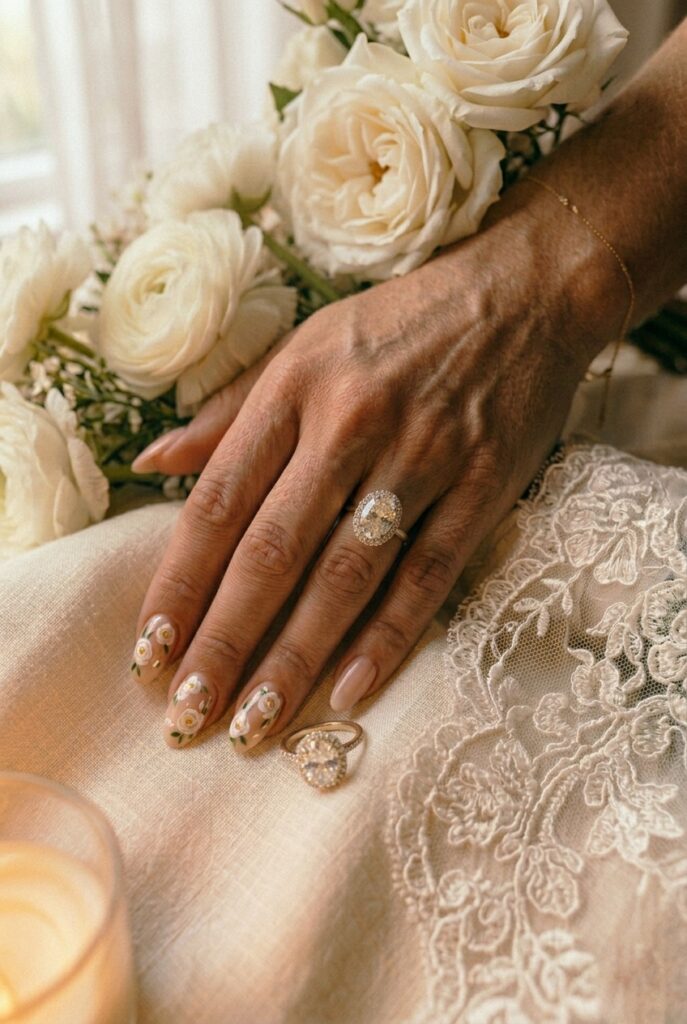
Floral nail art earns its complexity when it directly references a real flower in your bouquet — white roses on the nail beside white roses in the hand is a cohesive composition that photographers actively seek for detail shots — while generic painted flowers that don’t reference anything specific, or overly detailed work where the execution is slightly imperfect under macro photography, read as craft rather than design.
This requires a nail artist with a strong portfolio in botanical nail art specifically, not just gel manicures, so verify their portfolio before booking and budget $100–$180 for the right specialist — the bridal nail art designs guide covers what to look for in a portfolio and how to brief a nail artist on your specific bouquet flowers so the result reads as genuinely referential.
11. Single Chrome Accent Nail: The Restraint Move
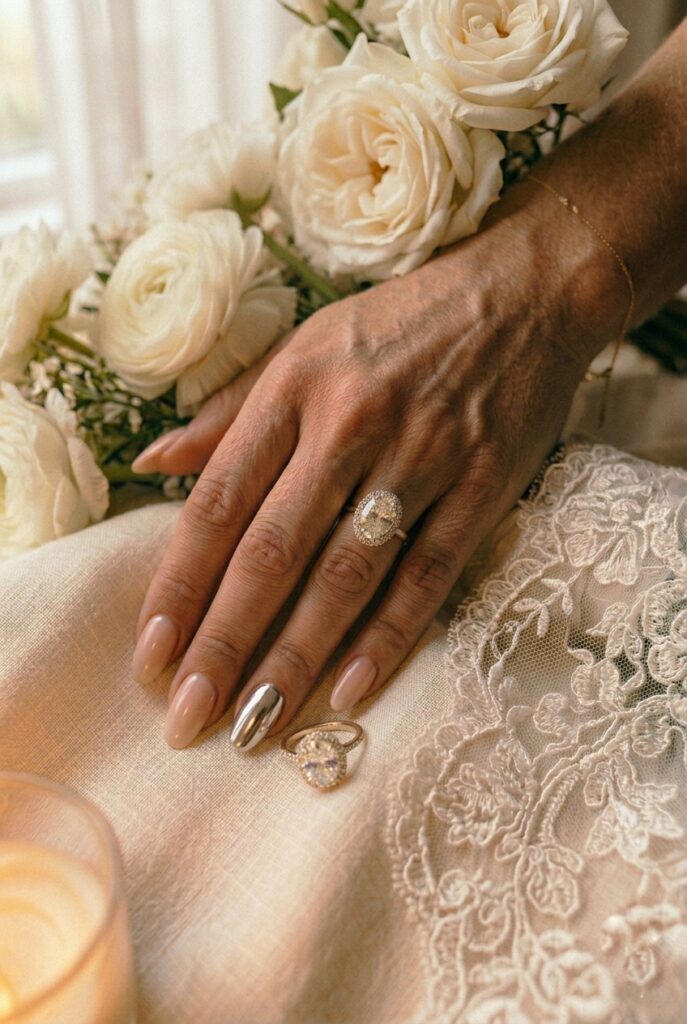
A single chrome accent nail on the ring finger — in a tone that mirrors your ring’s metal setting directly — creates a deliberate visual echo in ring photography: silver chrome beside platinum or white gold, champagne or gold chrome beside a yellow gold band, and the remaining four nails in clean nude or sheer blush keep the composition grounded.
This is a designer’s move — choosing one element for contrast and letting everything else recede — and it sits comfortably within the clean, minimalist wedding visual register where restraint is the design choice rather than a budget limitation, requiring only a standard gel plus chrome application on a single nail that most salons execute for $45–$65.
12. Deep Tonal Nails for the Non-Traditional Bride

The idea that bridal nails must be pale or neutral is a convention, not a rule, and for a bride planning a moody autumnal ceremony, a black-tie evening reception, or a jewel-toned aesthetic, a deep berry or oxblood nail is compositionally correct in a way that a sheer pink is not — but the color needs a visual companion in the frame, chosen from the same family as the bouquet or bridesmaid dresses, to read as intentional rather than contrary.
OPI Malaga Wine or Essie Bordeaux ($9–$11 at Target) are the starting polishes, and this approach connects most naturally with the visual register of an elegant evening reception where the entire room already operates in the same deep, saturated palette — on a pastel garden wedding this nail reads as a mismatch, not a statement.
Your nails will be in more photographs than your shoes, your earrings, or your veil — and the bride who treats this as a deliberate design choice rather than a beauty afterthought is the one who looks at her ring shots and sees exactly what she intended.
Book your nail trial before your nail appointment, test your chosen finish under your actual venue lighting, and when you are ready to think about how the nails sit within the full visual story of the day, the wedding table decor guide covers the same principle of finish-over-color applied to every surface in the room.

