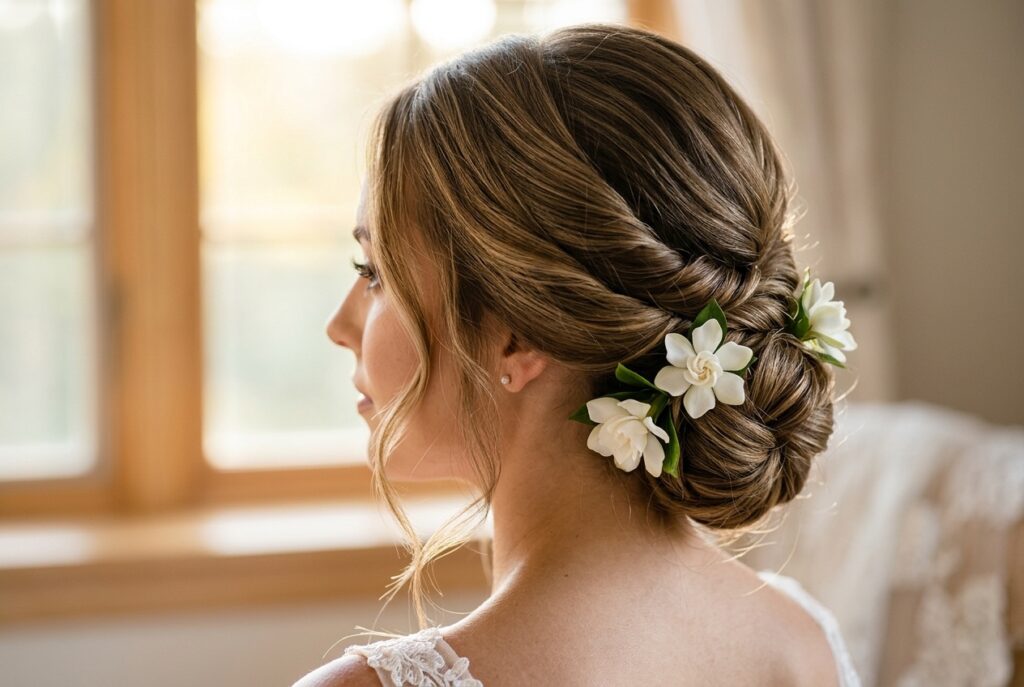
You spent months on your dress and hours on your florals — your nails deserve more than a late-night scroll and an appointment booked too close to the date.
The nail that works is chosen in relation to three things: your ring’s profile, your dress’s texture, and your venue’s lighting.
Build outward from those three anchors and the decision becomes clear.
1. The No-Mani Mani: Sheer Tinted Nude
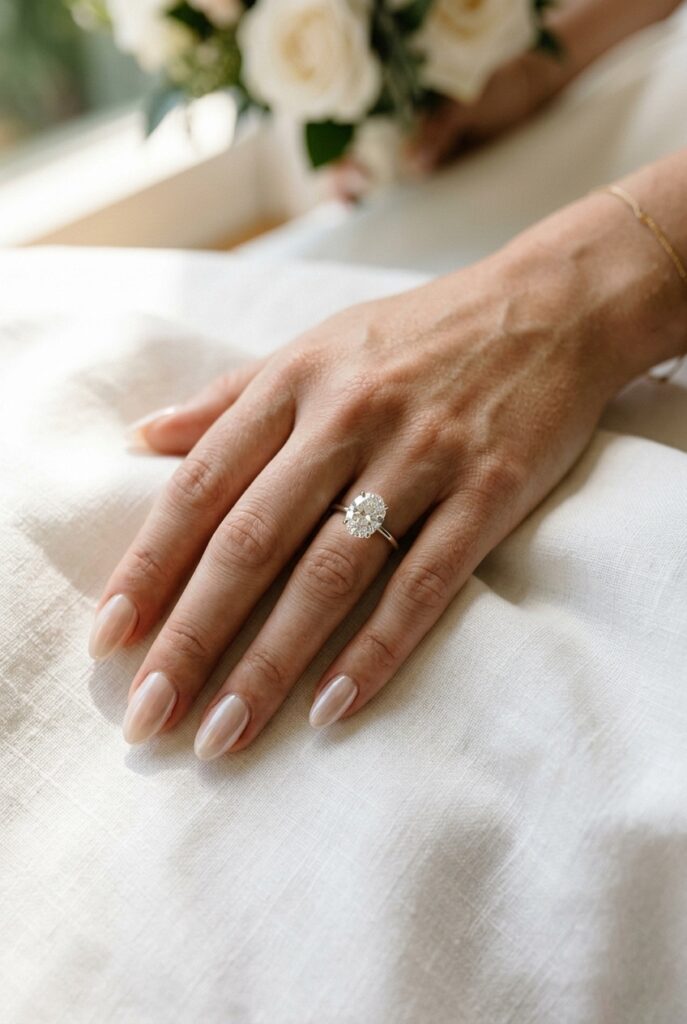
If the ring is the point, the nail’s job is to disappear gracefully — a sheer tinted nude with a whisper of pink or peach gives the hand a finished look while drawing zero attention to itself, and the difference between this and a clear topcoat over unprepared nails is significant in photography because bare nails without a tinted base read as “didn’t book in time” rather than “intentionally minimal.”
If your ring is dainty or minimalist, go one half-step stronger than sheer to a soft opaque blush so both ring and nail register at the same scale — and for the full range of understated nail approaches that work on this same principle, the simple bridal nail guide covers every low-maintenance option worth considering.
2. Milky White: The Off-Duty Model of Bridal Nails
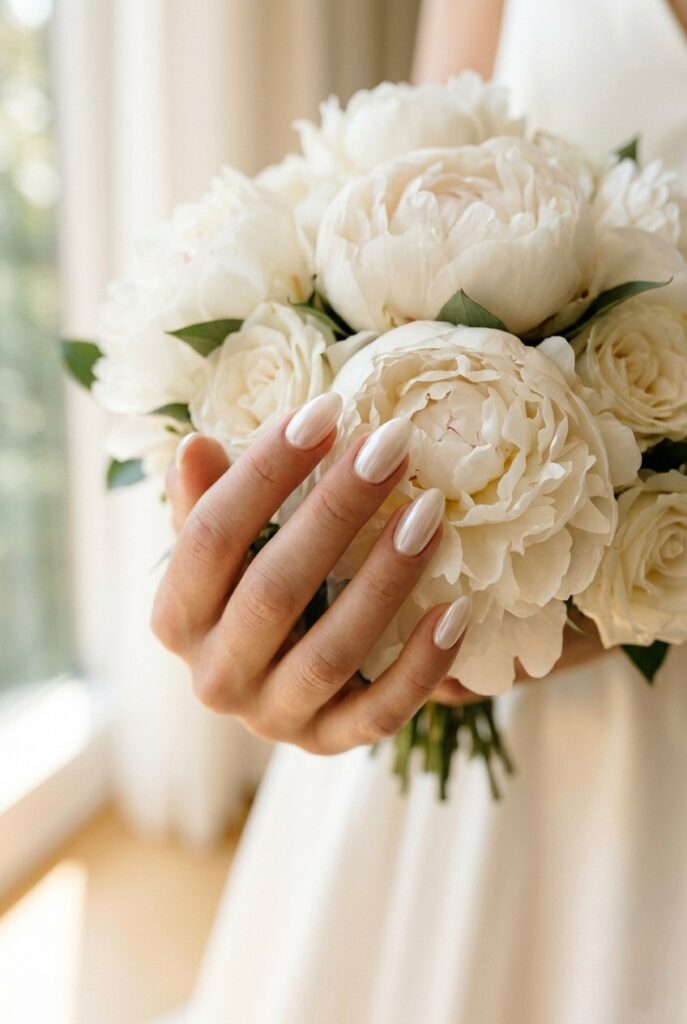
Milky white is not regular white — it has translucency built in, a soft cloudy opacity that reads warm rather than clinical, and against white florals and ivory gowns it creates a continuous softness while against a bold stone ring it recedes perfectly.
Build it with two coats of a white jelly gel or a BIAB milky base and finish with a glass-effect top coat for a luminous three-dimensional result — it is the most consistently reliable bridal nail design across all venue types and lighting conditions, and the bridal nail ideas gallery shows how it sits alongside the full range of other nail styles if you want to compare it against more detailed options before deciding.
3. Pearl Chrome: The Finish That Changes Under Every Light
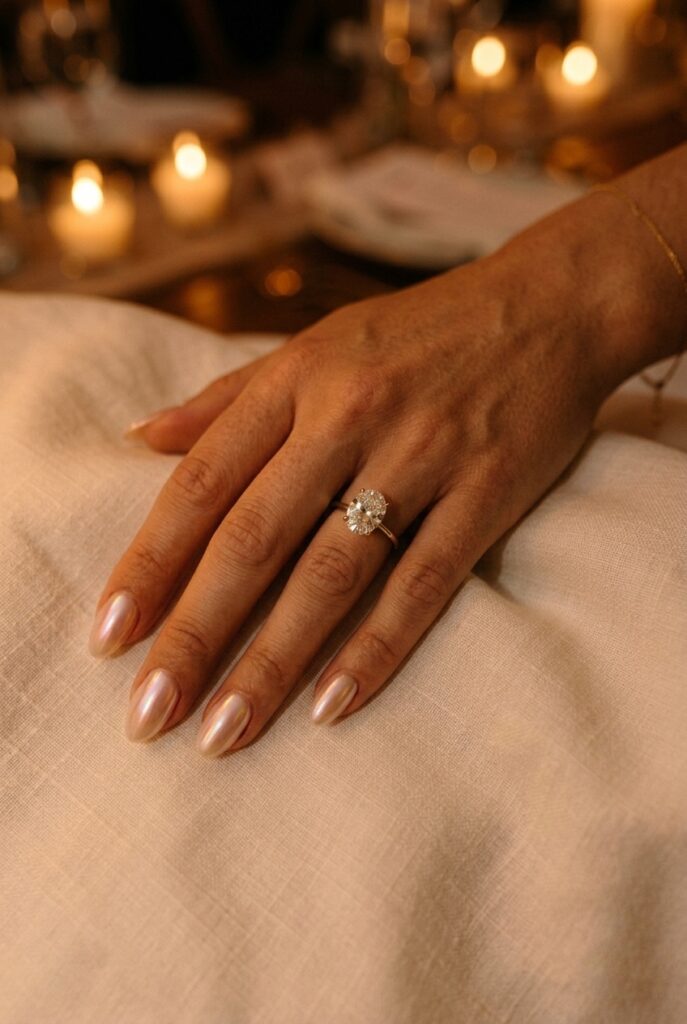
Pearl chrome is a finish with a specific optical property — it reads as soft silver-pink under morning window light, shifts toward ivory and amber under candlelight, and catches cleanly under flash without blowing out — which makes it one of the most photographically intelligent choices for a full wedding day with varied lighting conditions.
Skip it if your gown fabric is also iridescent or has heavy metallic beading since two opalescent surfaces in the same frame compete rather than harmonize, and for indoor reception venues with warm candlelit lighting specifically, this finish becomes more visually interesting as the evening progresses rather than fading.
Budget Hack after Idea 3: Pearl chrome at a salon runs $65–$90 for the gel-plus-chrome service. The alternative: buy a chrome powder kit from Amazon ($12–$18, brands like Beetles or Born Pretty), bring it to your regular gel appointment, and ask your nail tech to apply it after the gel cures. Most techs are happy to use a client-supplied product and will charge labor only — keeping the total under $45. The final result is indistinguishable from a premium salon chrome application.
4. Micro French Tip: The Classic Done Correctly
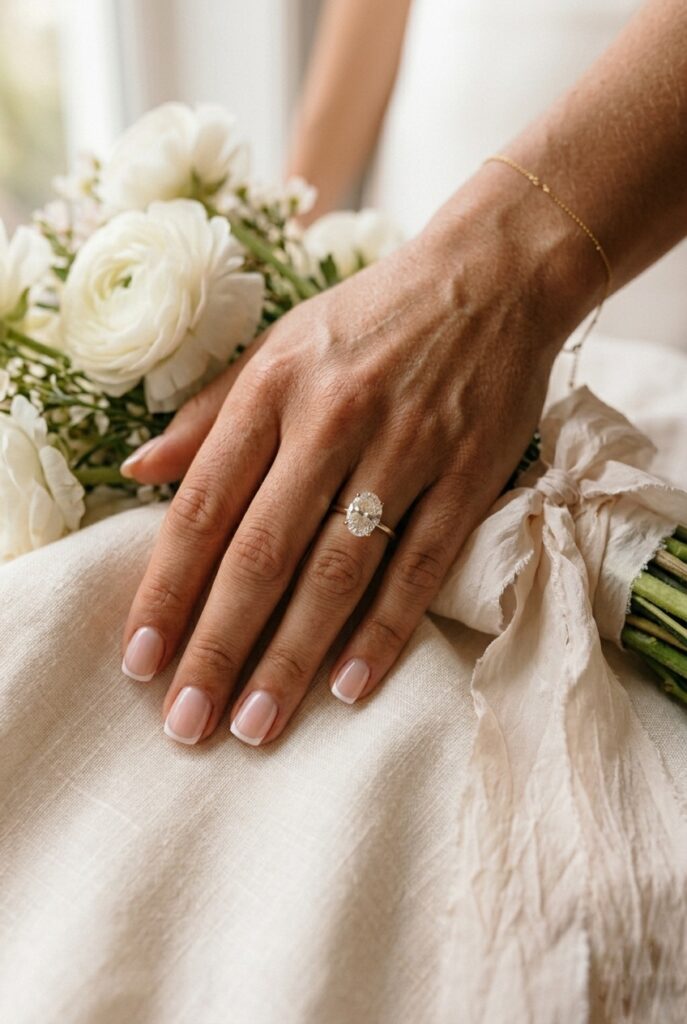
The traditional thick white band of a French manicure has been replaced by something far more refined — a hairline tip 1–2mm wide that reads as a well-groomed natural nail in most frames and only reveals itself as a manicure in the close-up ring shots where you actually want the detail.
The base should be a warm sheer pink rather than a clear coat so the nail bed has depth and the tip reads as placed rather than isolated floating white lines — and every variable that makes the difference between a micro French that photographs like elegance and one that looks like a smudge is covered in the French bridal nail guide, including tip width by nail shape, champagne versus pink base choices, and what to ask your technician specifically.
5. Soft Ombré: Better in Photos Than in Person
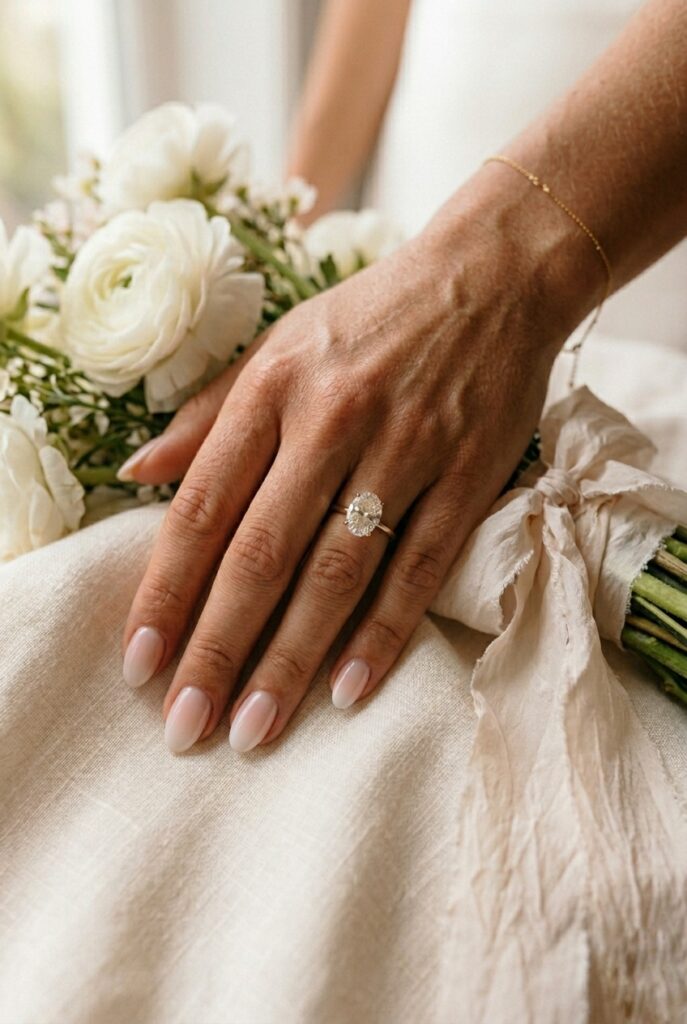
Ombré is one of those designs where the camera adds more than the naked eye sees — a soft blush-to-white fade that looks gentle and understated in person photographs with genuine depth and three-dimensionality under close-up lenses, which means the design earns its place in your wedding album more than it earns it in the salon chair.
The failure mode is a visible seam rather than a true fade, caused by a rushed application, so ask specifically for a sponge-blended ombré rather than a brush-blended one, and for brides with outdoor or garden ceremony settings the blended gradient of an ombré nail ties directly into the diffused, layered aesthetic of botanical florals and natural light.
6. Delicate Pearl Accents: One Detail, Maximum Return
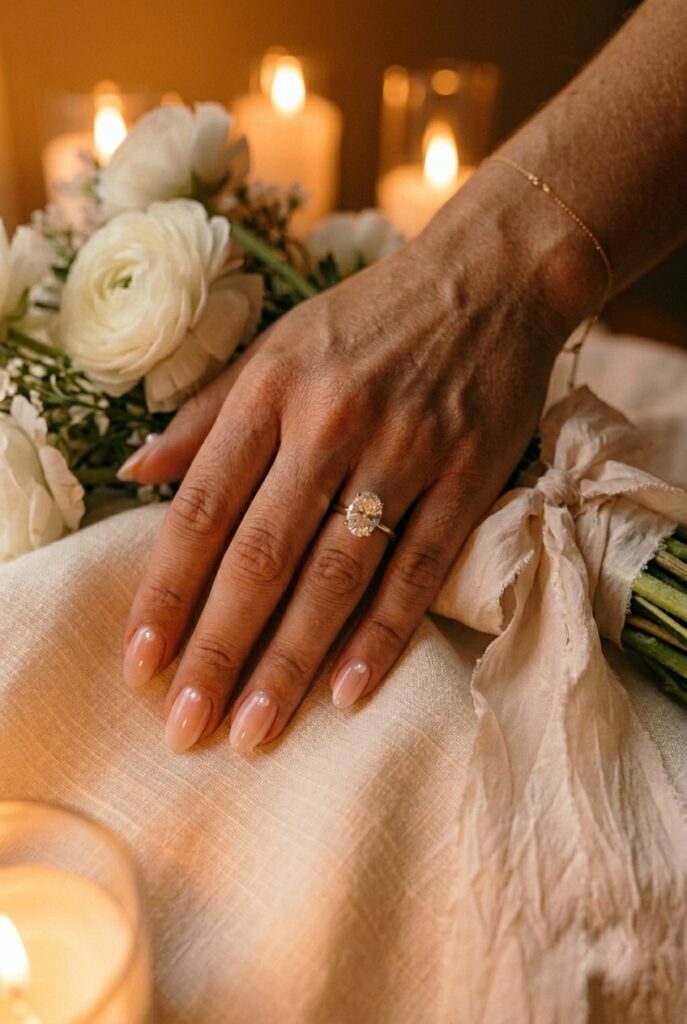
One flat nano-pearl per nail at the cuticle transforms a standard nude or pink gel into something deliberately bridal without tipping into costume — flat nano-pearls sit flush against the nail surface, stay put through dancing and handshakes, and look like they were always part of the manicure rather than applied on top.
The key is flat, not dome — raised dome pearls catch on veil fabric, snag on dress lace, and fall off within days, while nano flat pearls sealed under a gel top coat last through the entire wedding and honeymoon — and the elegant bridal nail guide covers exactly how pearl details sit within the broader range of elevated, restrained bridal looks.
Budget Hack after Idea 6: Apply pearl accents yourself at home the morning before your wedding, not at the salon. A gel tech applying individual pearls in a salon charges $20–$35 for the add-on. With a flat nano-pearl kit from Amazon ($8), a UV nail lamp ($15 on Amazon), and 10 minutes, you can apply and cure them yourself over an existing gel manicure without disturbing the underlying color. Doing this the day before gives them 24 hours to fully bond — they’ll survive a bouquet grip and every handshake on the wedding day.
7. Lace Nail Art: Context-Specific, Not Universal
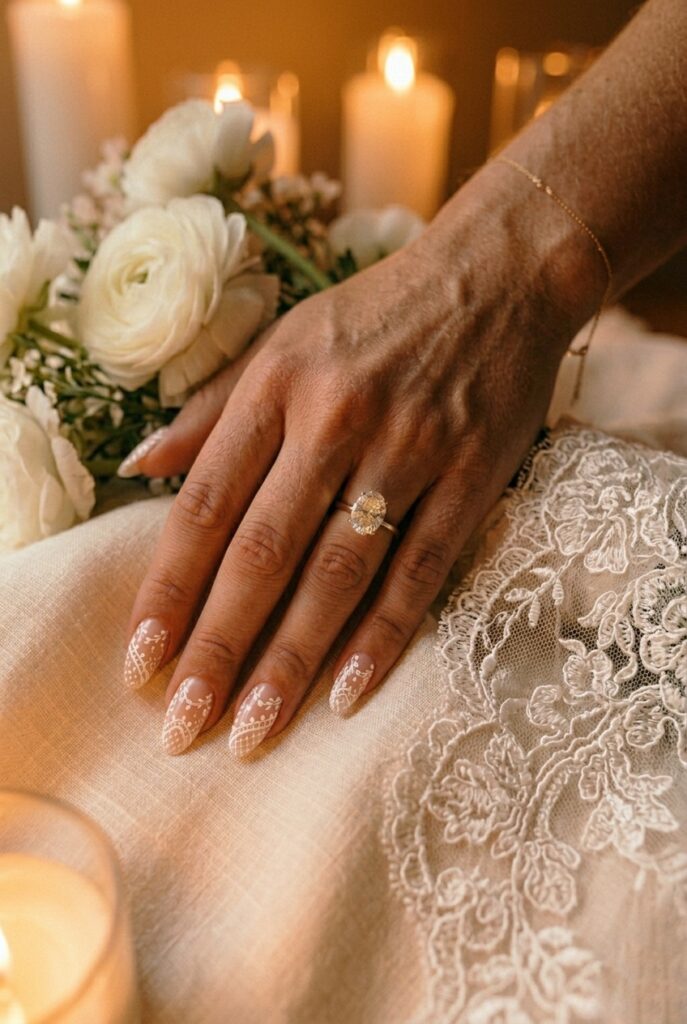
Lace nail art only works when it mirrors something in your wedding — a lace gown, a lace veil, or genuine vintage architecture in the venue — because on a bride in a clean modern satin column dress at a minimalist hotel it reads as mismatched in a way that photographs more clearly than it looks in the salon mirror.
This design requires a specialist nail artist using ultra-fine detailing brushes, not a standard gel technician, and booking four to six weeks out is the minimum lead time you need to find someone with an actual bridal lace portfolio — once you’ve confirmed your artist, the bridal nail art guide gives you the context to brief them well on what photographs versus what just looks good in-hand.
8. Velvet Cat Eye in Champagne or Blush
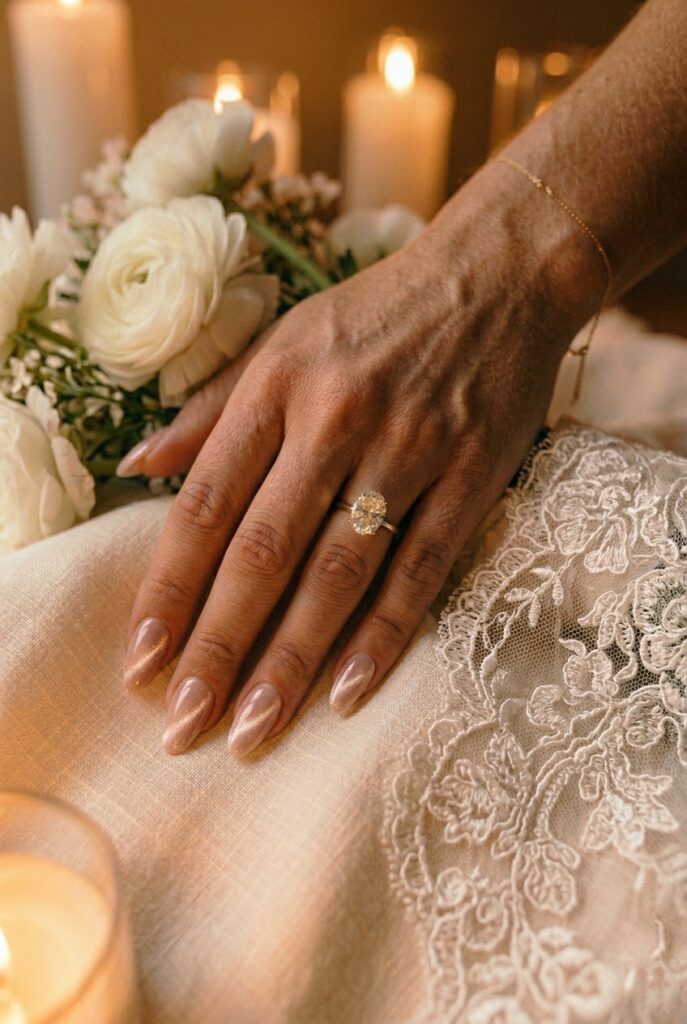
Cat eye gel in champagne or blush uses a magnetic polish and a magnet wand to pull iron particles into a visual stripe across the nail — the resulting effect is soft, dimensional, and shifts as the hand moves, giving you the optical interest of a statement nail without departing from a bridal palette.
The wrong version has a stripe that is too sharp and high-contrast or applied over too dark a base, which reads as evening nails rather than ceremony nails — stick to ultra-soft tones with a wider, subtler stripe, and if your overall wedding aesthetic runs editorial and unexpected, this is the exact right fit alongside unique wedding decor choices that also break from the conventional bridal register.
9. Rhinestone Accents: Two Crystals Is the Maximum
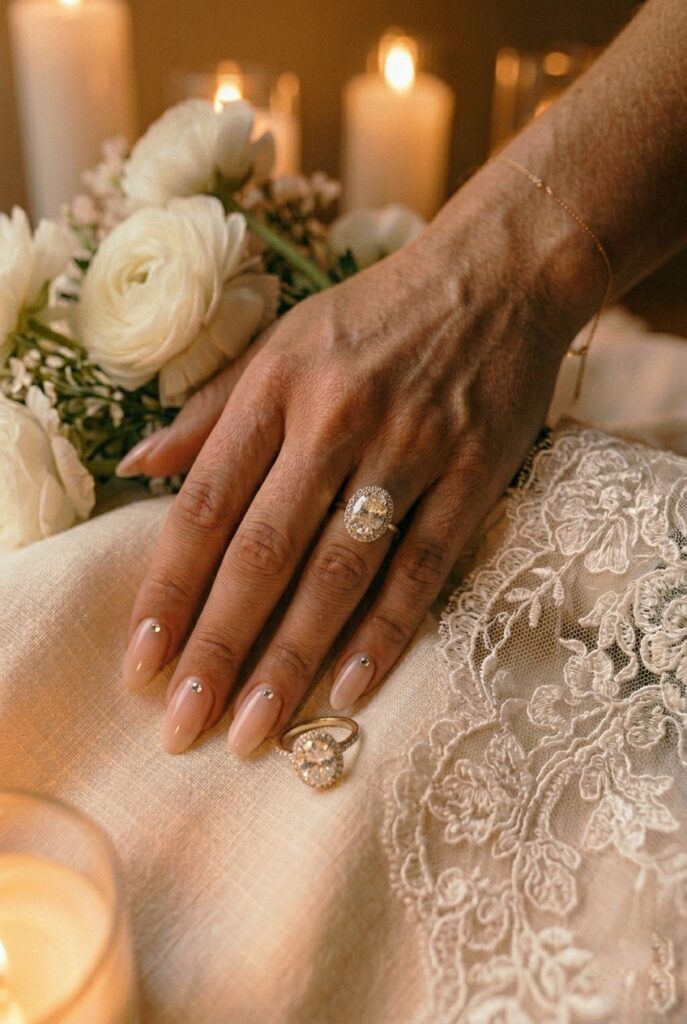
One 3mm clear AB crystal per nail at the base — that is the bridal version — and the moment you add a second stone per nail or cluster three or four on an accent nail, the result tips from bridal into party nail, which reads as costume rather than composed when photographed beside a serious ring.
Skip rhinestones entirely if your gown has heavy beading or crystal embellishment since crystal-on-crystal-on-ring is sensory overload in any frame that should read as elegant — and for every skin tone and undertone combination where the stone color, the nail base, and the skin itself need to work together, the bridal nails by skin tone guide maps exactly which finishes and accent colors suit your specific complexion under wedding lighting.
Budget Hack after Idea 9: Swarovski flat-back crystals from a craft supplier cost 60–80% less than the same stones added at a nail salon. Michael’s and Hobby Lobby both carry them in the craft jewelry section — a bag of 100 clear AB 3mm flat-backs runs $6–$10. Bring them to your gel appointment in a small zip bag and ask the tech to apply them while the gel is still tacky before curing. Application with no sourcing charge saves $15–$25 off the standard salon rhinestone add-on fee.
10. Bold Floral Nail Art: Earn It First
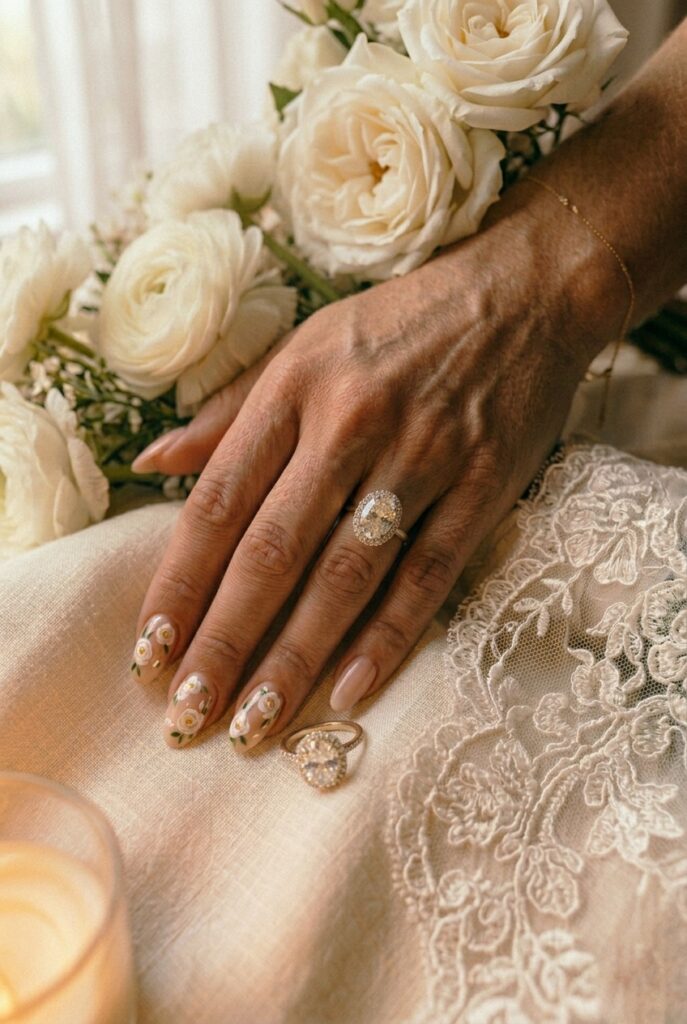
Floral nail art earns its complexity when it directly references a real flower in your bouquet — white roses on the nail beside white roses in your hand is a cohesive composition that photographers seek out for detail shots, while generic painted flowers that don’t reference anything specific look like decoration without a reason.
This design requires a nail artist with a strong portfolio in botanical nail art specifically, not a general gel technician, and the bridal nail art designs gallery is the right starting point for seeing the full range of what botanical nail art looks like across different complexity levels before you brief an artist or set a budget.