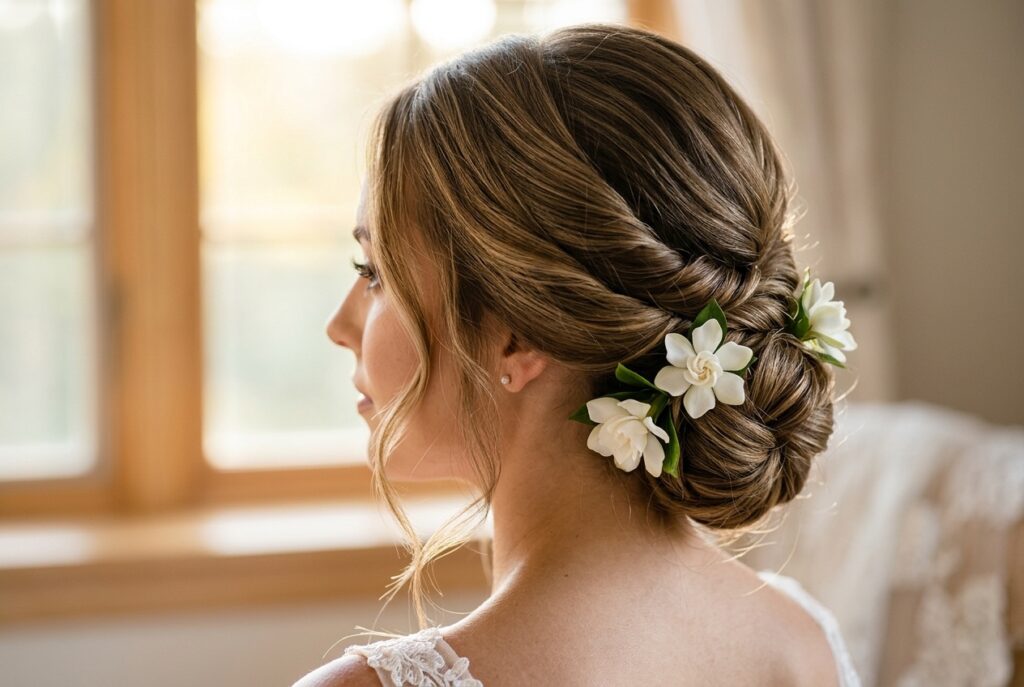
Most bridal heels are bought for how they look in the fitting room mirror and abandoned under the sweetheart table by 8pm.
The styles here are chosen for what they can actually do across a full wedding day — a ceremony, cocktail hour, dinner, and a reception floor — because the shoe that photographs well but fails by the toasts isn’t worth what you paid for it.
The right heel for your wedding is the one matched to your heel history, your venue surface, and the specific demands of your day.
1. Block Heels — The Most Forgiving Structure Available
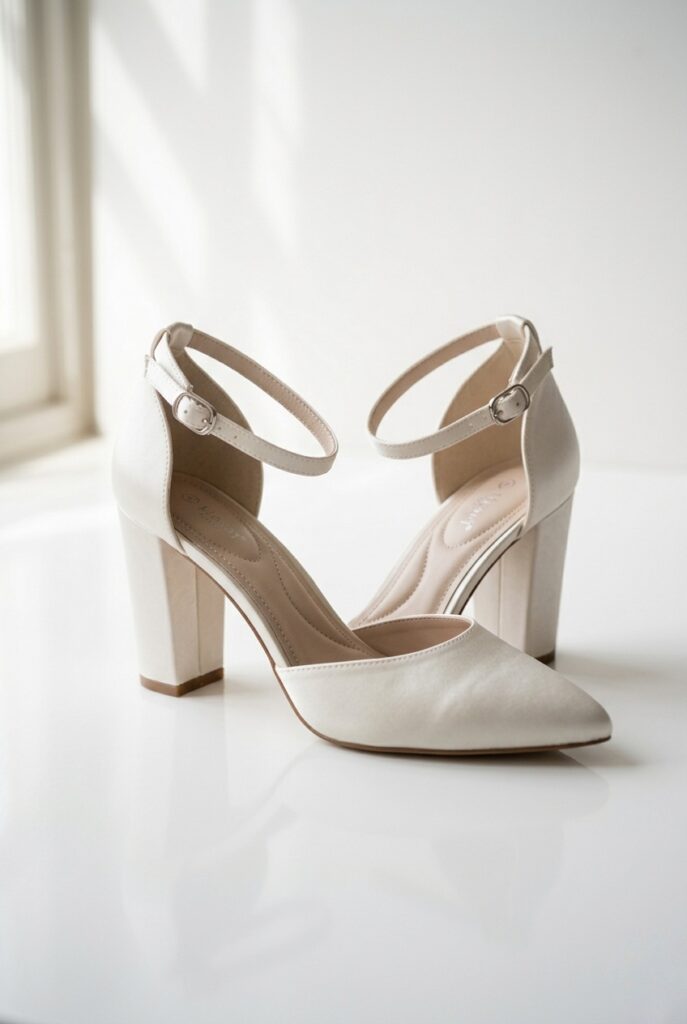
A block heel distributes your weight across a wider base than a stiletto — a stiletto concentrates your body weight onto roughly one square centimetre of heel, while a block spreads it across five to eight square centimetres, which is the difference between manageable and excruciating across a ceremony, cocktail hour, and three-hour reception.
Look for block heels in the two-to-three inch range with padded insoles, and specifically check that the heel base is flat rather than slightly tapered — some “block” heels narrow toward the bottom and defeat most of the structural advantage.
2. Platform Heels — Height Without the Foot Angle
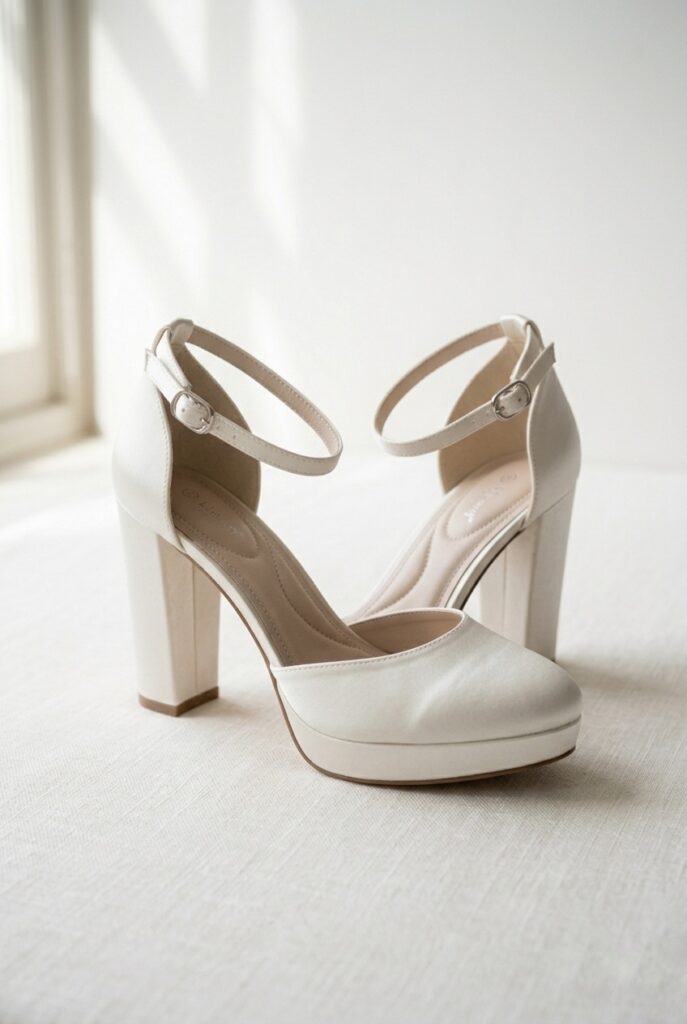
A four-inch heel with a one-inch front platform is biomechanically equivalent to a three-inch heel with no platform — the pitch of your foot is the same — which means brides who want height but can’t sustain a steep foot angle all day can go significantly taller in a platform heel than in a comparable stiletto.
The caveat is your venue surface: platforms with thick front soles catch on uneven pavement, cobblestone, and stone steps in a way that creates a genuine trip risk, so platforms are specifically right for smooth interior flooring and wrong for most outdoor ceremonies — see the elegant platform heels guide for which styles handle that distinction best.
3. Kitten Heels — The Practical Choice Nobody Respects Enough
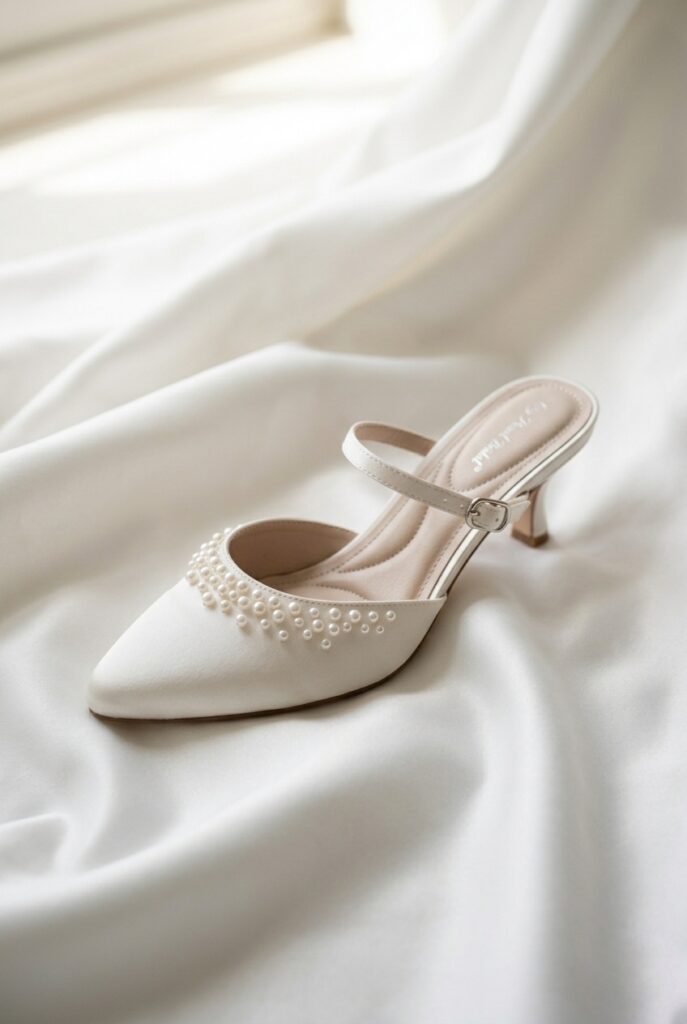
Kitten heels — one to two inches, narrow heel — are the most underrated comfort choice in bridal footwear and they photograph just as cleanly as a stiletto in full-length ceremony shots because the height differential is invisible when your dress covers the foot.
At that height your foot sits at nearly its natural angle with almost zero arch strain, but the version to avoid is a cheap, stiff kitten heel with no insole padding, because it concentrates impact at the ball of your foot with every step — look for a leather-lined footbed and some flexibility in the sole, both covered in the low bridal heels guide.
💸 Budget Hack #1: The Dream Pairs Women’s Chunk Low Heel Pump Sandal on Amazon runs $35–$48 and is the #1 bestseller in Women’s Heeled Sandals with over 15,000 reviews. The open toe, ankle strap, and padded insole hit every structural comfort marker podiatrists recommend. They come in ivory, champagne, and white. For brides working with a tight shoe budget, this is the pair that consistently punches above its price in real wedding wear. Order two weeks out, break them in for three sessions of 45 minutes each before the wedding, and they will outperform a $200 heel that wasn’t designed with all-day wear in mind.
4. Ankle Strap Heels — The Structural Anchor Most Brides Skip
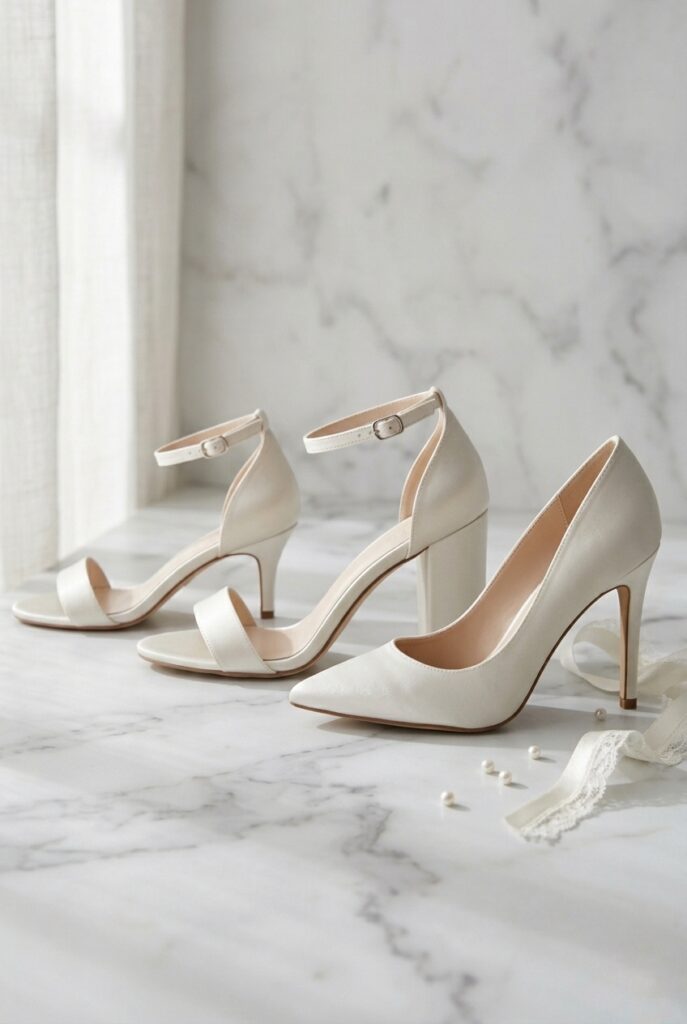
An ankle strap keeps the shoe anchored to your foot, which eliminates the constant micro-adjustment your foot muscles make when a heel is slipping — that gripping reflex is one of the primary causes of calf and arch fatigue in heels worn for hours.
The specific detail to check is that the strap is adjustable with multiple buckle positions rather than a fixed loop, because feet swell through the day and a fixed strap that fits in the morning feels tight by dinner — for the full range of styles that get this right, the bridal heel ideas gallery covers both the structural and aesthetic options.
5. Wedge Heels — The Only Heel for Grass, Gravel, and Sand
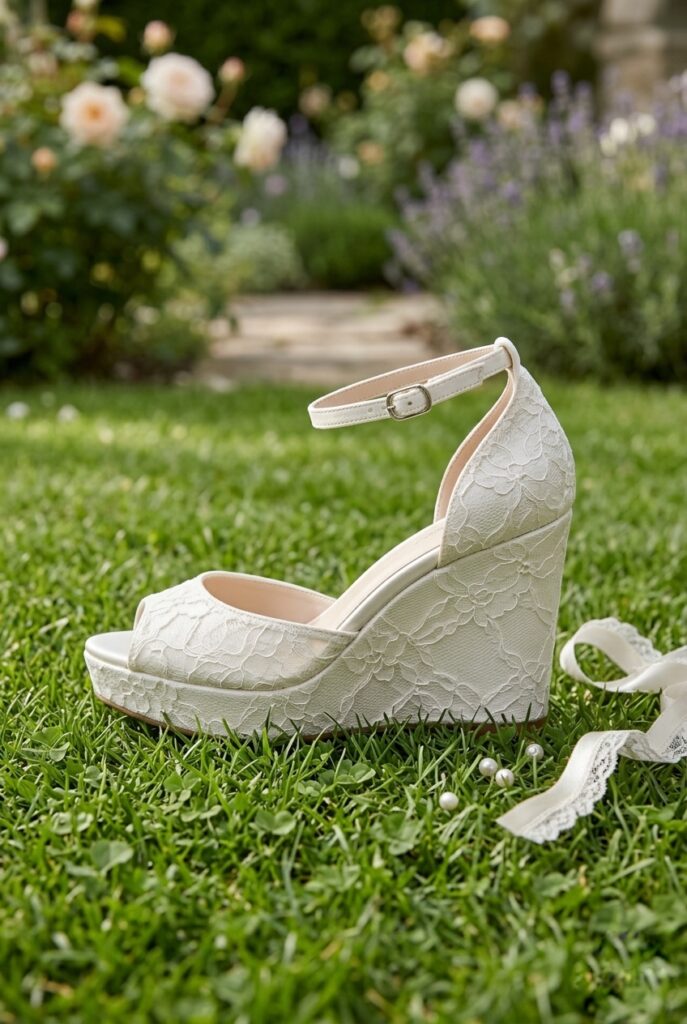
Any bride having an outdoor wedding on grass, gravel, sand, or soft earth who chooses a stiletto or narrow block heel is making an expensive mistake — narrow heels sink into lawn turf up to an inch on a warm day, and every step becomes a posture battle that shows in photos.
A wedge heel’s full-length sole distributes weight across the entire bottom of the shoe, making it impossible to sink, and provides true ankle stability on uneven terrain — for any outdoor wedding venue where grass is part of the equation at any point in the day, the wedge is not a stylistic choice, it’s a structural requirement.
6. The Heel Height Decision — Be Honest About Your History
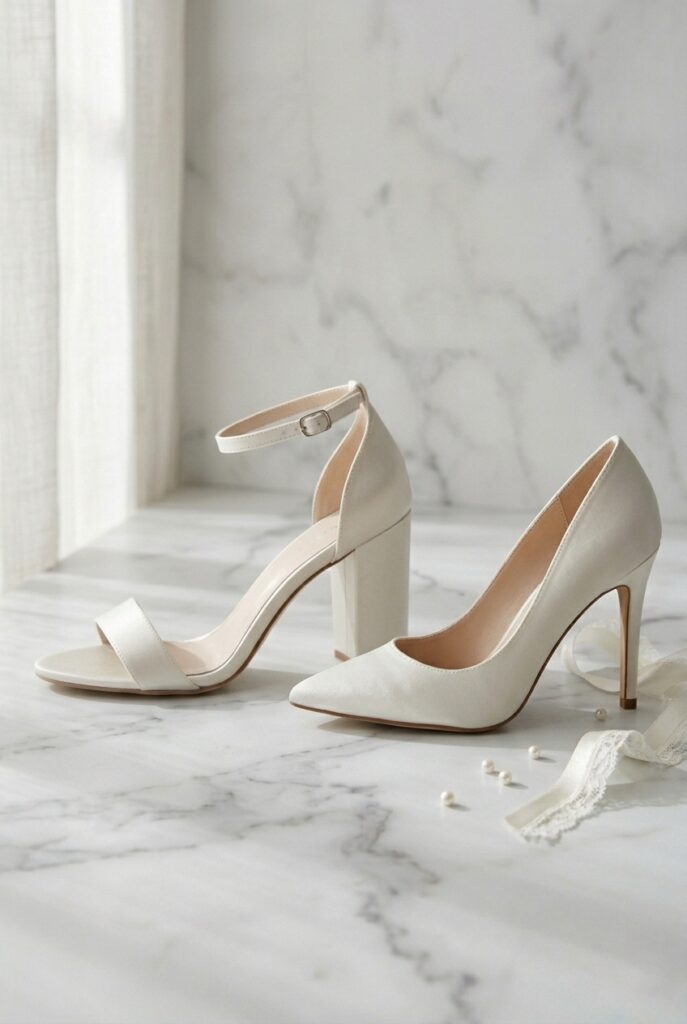
Your wedding day is not the occasion to debut a heel height you haven’t sustained for more than two hours in everyday life — the pattern is consistent: a bride who attempts four-inch stilettos for the first time looks composed for the ceremony, uncomfortable during cocktail hour, and visibly pained by the reception toasts.
The podiatrist-endorsed rule is to stay at least one inch below whatever heel height you wear regularly, so three-inch heels if you’re a regular three-inch wearer, and no more than one-and-a-half inches if you rarely wear heels at all — understanding how that height decision interacts with your specific dress hemline is exactly what the heel height with your dress guide walks through.
💸 Budget Hack #2: Buy a $12–$18 pair of Vivian Lou Insolia heel inserts from Amazon before you buy your wedding shoes. Insolia inserts shift your body weight from the ball of your foot back toward your arch — the biomechanically correct weight distribution for sustained heel wearing. Test them in a pair of heels you already own for a full evening before shoe shopping. If they make your existing heels bearable for three hours, they’ll make your wedding heels last the full day. Order two pairs: one for your shoes, one as backup if the adhesive shifts. This $15 investment changes what heel heights are accessible to you.
7. Toe Box Shape — The Detail That Causes Blisters, Not the Heel
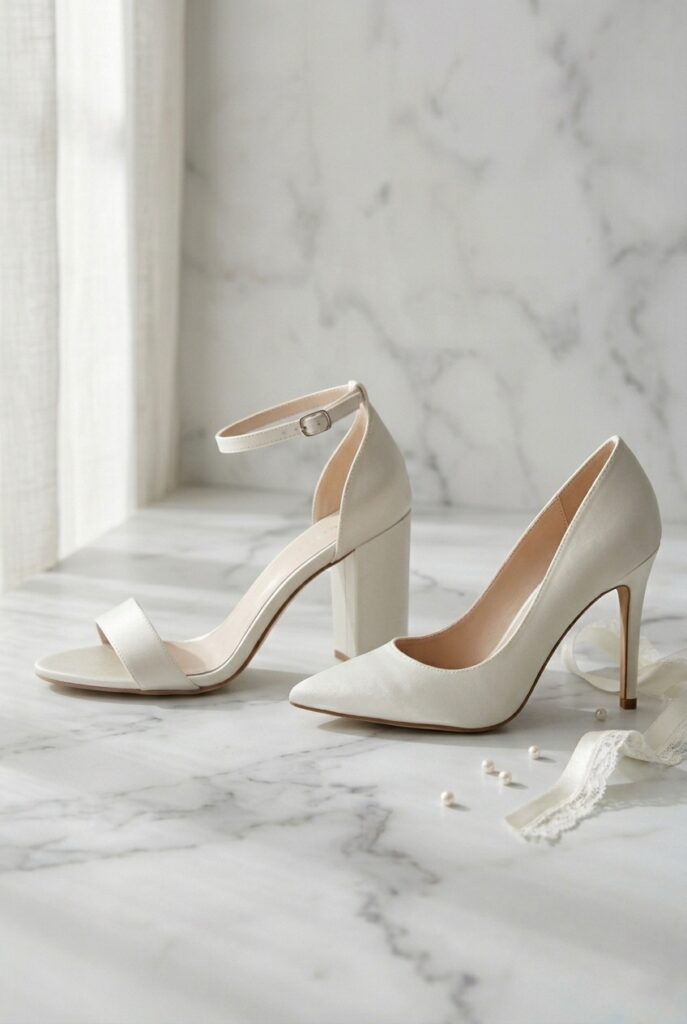
Pointed-toe shoes push all five toes into a converging space, which causes lateral compression — this is the source of the blisters and pinching most brides attribute to “the heel,” when the real culprit is the box.
Open-toe, round-toe, and square-toe silhouettes allow your toes to flex naturally while walking rather than pressing against a rigid sidewall, which is why these shapes dominate every all-day wearable recommendation — and if you need a pointed toe for aesthetic reasons, size up at least a half-size from your measured size to allow breathing room and account for afternoon swelling, the same principle behind the most comfortable chunky bridal heels that build in that extra space by design.
8. The Foot Swelling Timeline — Shop Accordingly (Gap Idea 1)
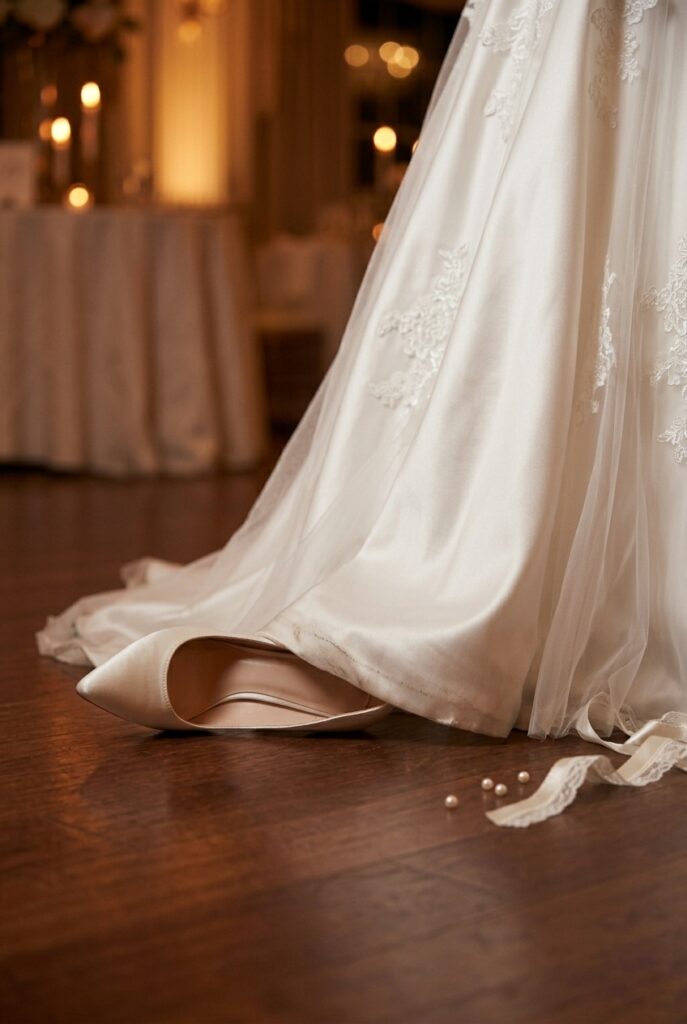
Feet reach their smallest volume in the morning and swell steadily through the day as you stand and walk, typically reaching a full half-size larger than your morning measurement by late afternoon — which means shoes bought at a morning fitting appointment that fit precisely will feel tight by four o’clock.
Shop for your wedding shoes between 2pm and 6pm so you’re sizing at your daily maximum, and if the shoes have a small amount of give that makes you tempted to size down, that give is correct — those bridal heels will fit you perfectly by the time your reception is in full swing.
9. The Venue Floor Test — Match Your Heel to Your Surface (Gap Idea 2)
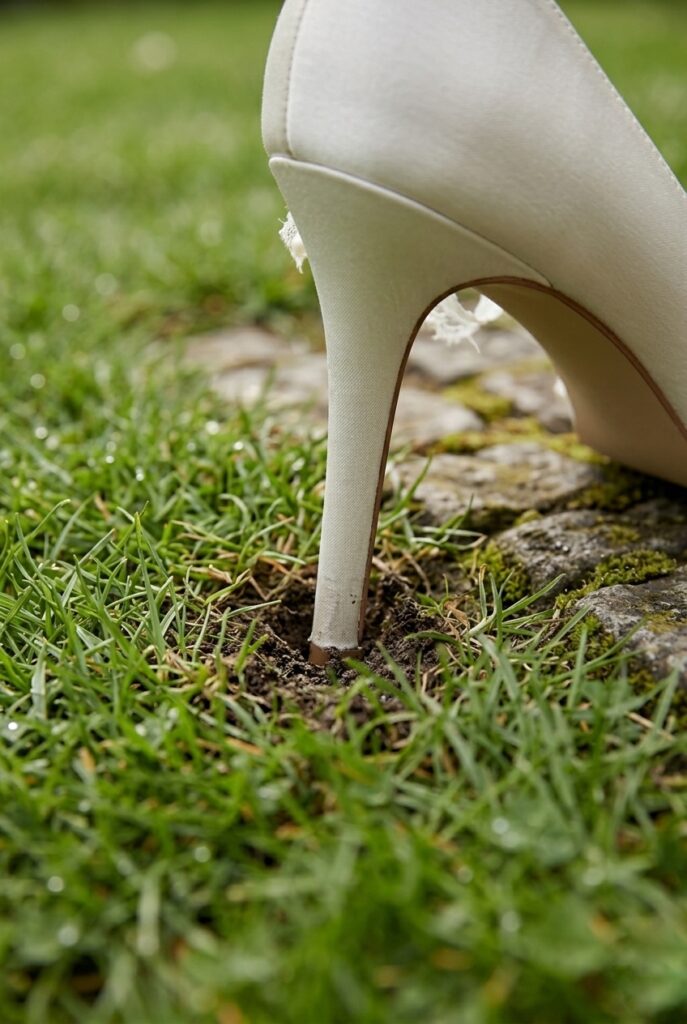
The right heel depends on your floor as much as your preference: smooth hardwood ballroom flooring actually favours a stiletto tip because it grips the wood grain rather than sliding, while polished marble or stone tile calls for a wider heel or platform because stilettos skip across high-gloss surfaces, and concrete pathways and brick favour a mid-block heel because narrow heels catch in mortar gaps.
Before buying, visit your venue or request photos of both your ceremony and reception flooring and match your heel type to the most challenging surface you’ll encounter — the bridal heel shoes guide covers which sole materials perform on which surfaces specifically.
10. Breaking In Your Shoes — The Method That Actually Works
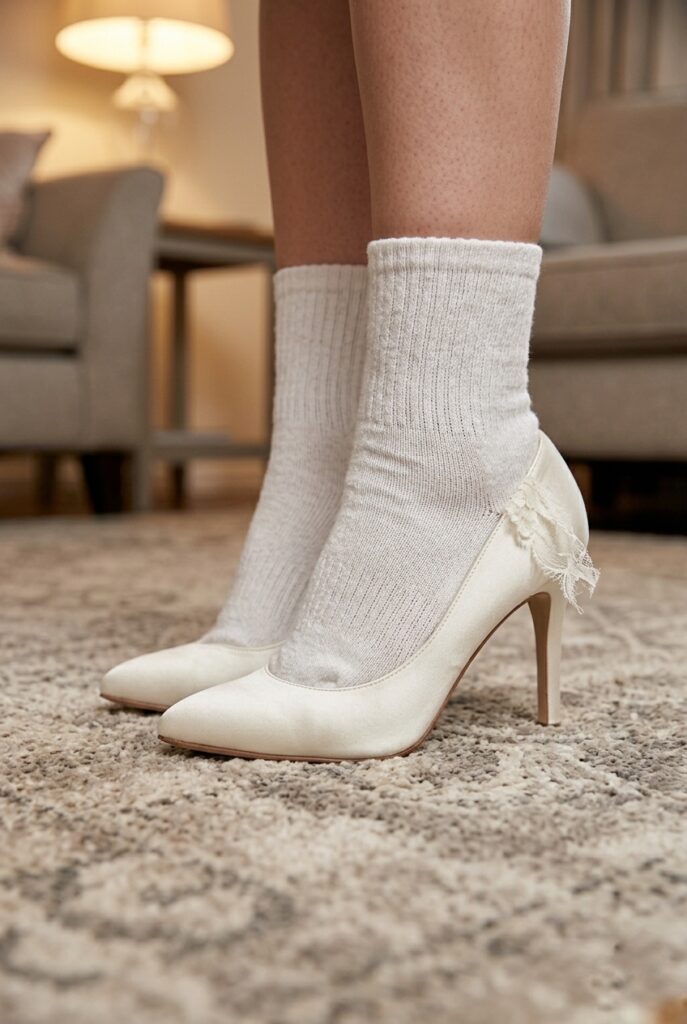
Breaking in bridal heels works when the sessions are long enough to actually soften the material and form the shoe to your foot — three sessions of forty-five minutes walking around the house is not enough, and brides who follow that advice are often surprised to find their shoes still stiff on the day.
Aim for at least six sessions of two to three hours each on hard flooring, wearing the same thickness of tights or hosiery you’ll wear on the wedding day, and apply moleskin or gel padding to any point of friction you identify early in the break-in process — the satin bridal heels guide covers specific care instructions for satin uppers during break-in, because the material scratches easily and needs protecting.
Once your shoes are decided, the rest of the getting-ready plan locks in around them — what hosiery you need, which heel protectors to pack for outdoor sections, and which accessories photograph well with your specific shoe silhouette.
The wedding day checklist covers everything that needs to be confirmed and packed the morning of, and the bridal look guide connects your footwear choice to the rest of your head-to-toe styling so the whole look reads as considered rather than assembled.