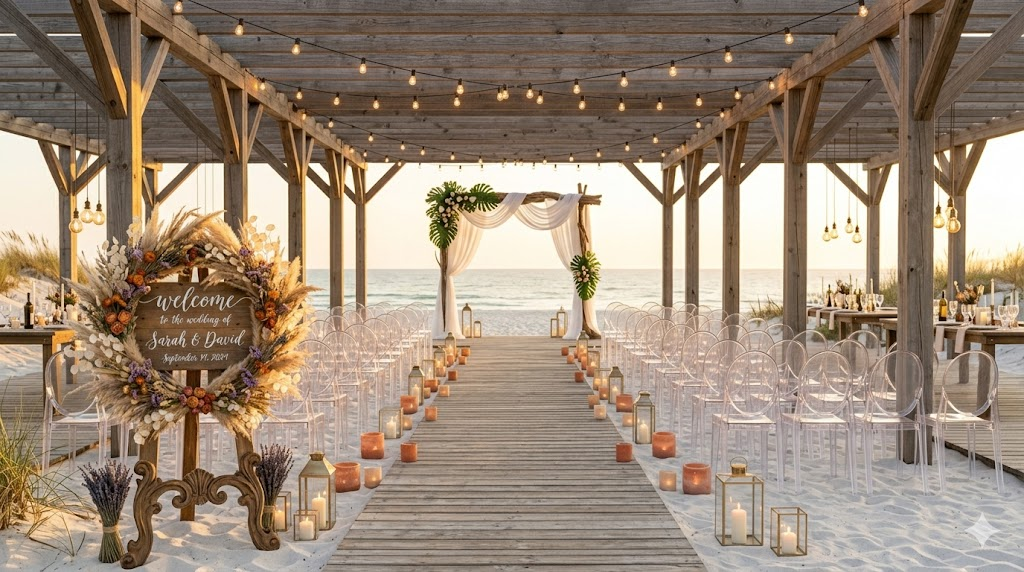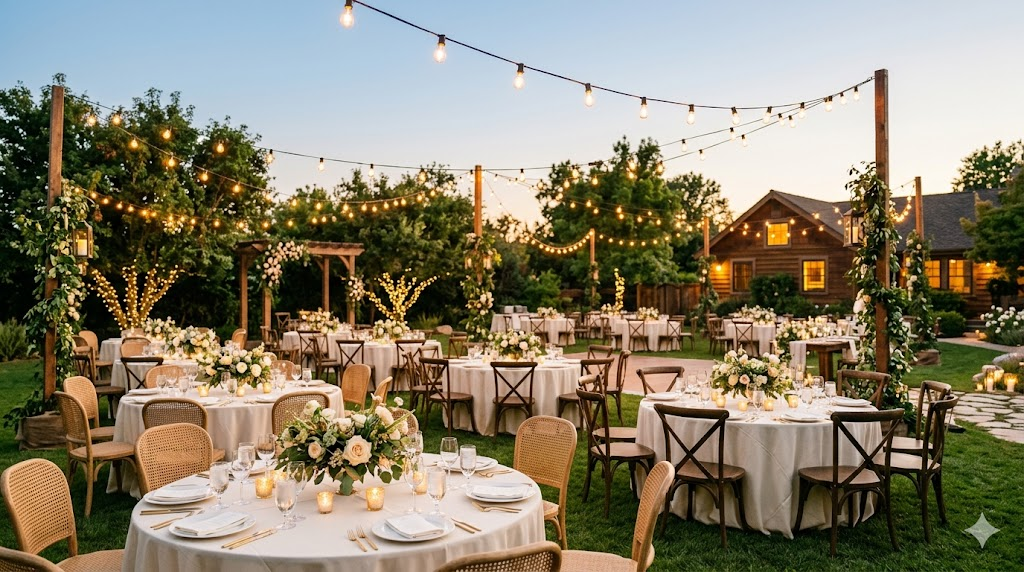
You can DIY centerpieces that look intentional without spending thousands or leaving your guests wondering if you assembled them in a panic the night before.
The real problem isn’t that DIY centerpieces look cheap — it’s that most people start with the wrong materials, like craft-store foam that crumbles or thin vases that look plastic under candlelight.
Build strategically, store wisely, and time it right, and nobody will ever know you made them yourself.
1. Wholesale Flowers + Grocery Store Greenery (The Budget Foundation)
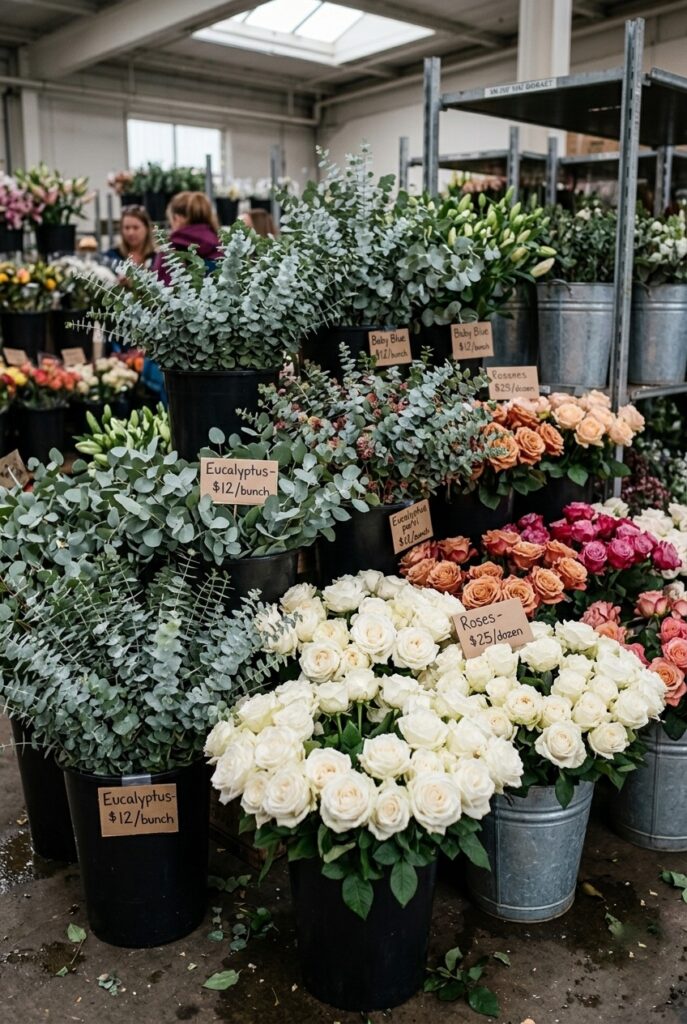
Order focal flowers and greenery in bulk from a wholesale florist or even Trader Joe’s instead of a craft store, where florals are dyed and dried and read as fake under any light.
Two to three bunches of focal flowers plus four to five bunches of greenery fills roughly 20 centerpieces for well under what a florist would charge — the wedding decor ideas on a budget guide has more sourcing swaps in this same spirit.
2. Glass Hurricane Vases or Wide-Mouth Cylinders (Not Narrow Bud Vases)
Skip narrow bud vases — they don’t hold enough stems and force a stiff, overly arranged look — and buy wide-mouth glass cylinders instead, since hurricane-style vases hide stems and give a polished finish.
Glass is non-negotiable here; plastic looks plastic under candlelight no matter how good the flowers are, and the wedding centerpieces ideas guide covers more container choices worth considering.
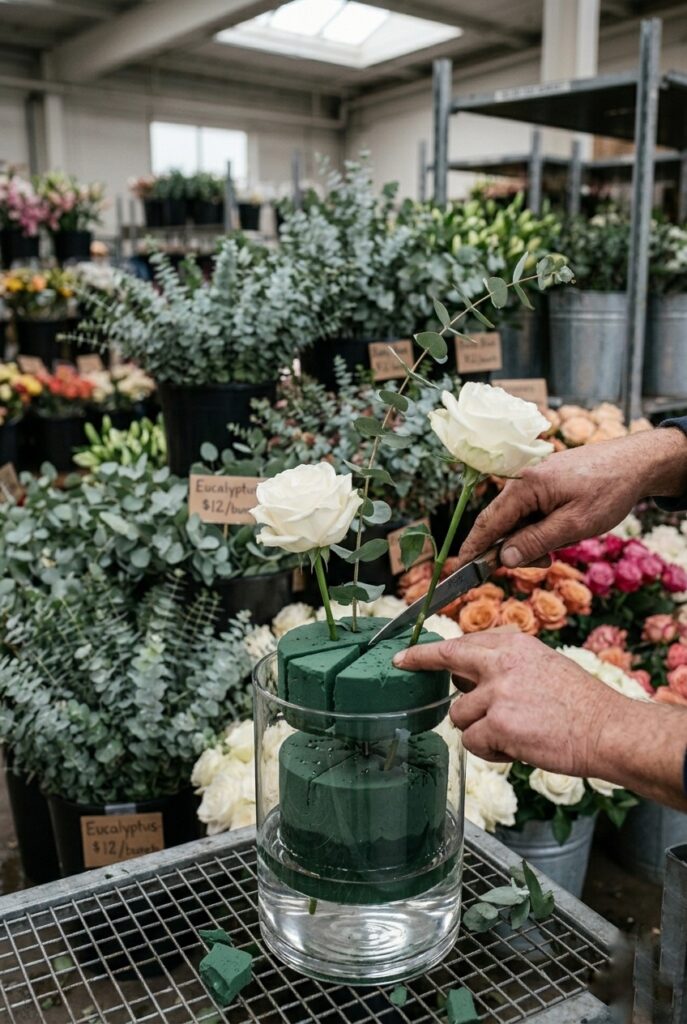
3. Floral Foam or Water + Flower Food (The Structural Choice)
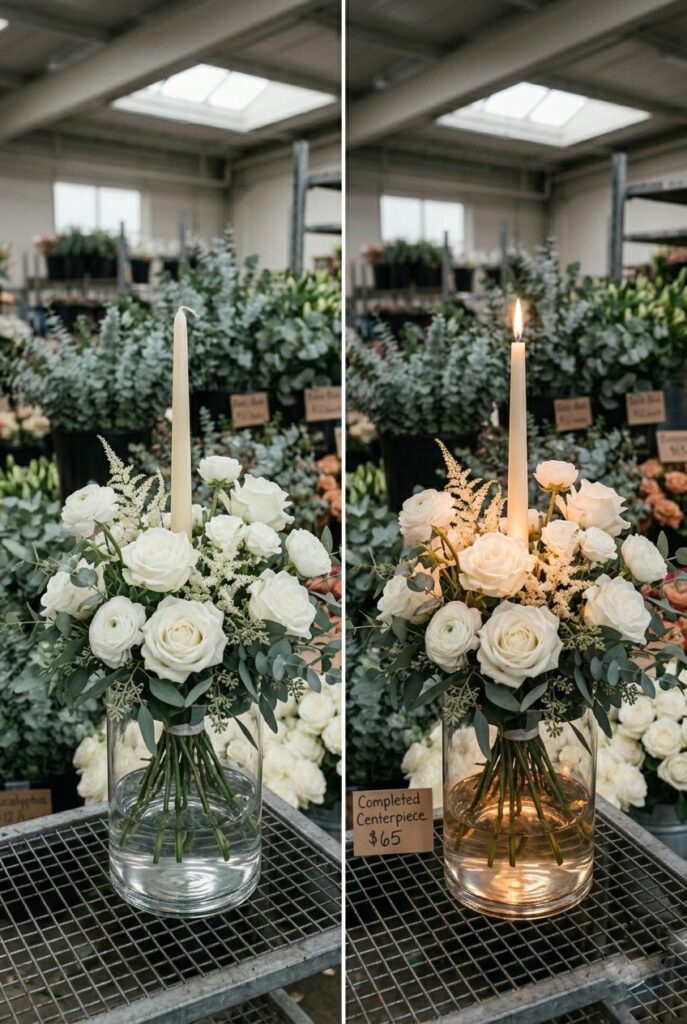
Cheap craft-store foam crumbles as you cut it and leaves visible particles in the water, so most wedding pros skip foam entirely and just use water with flower food to anchor two or three focal stems.
This method costs next to nothing and looks cleaner than foam ever does — the more thrifted wedding decor guide has more zero-cost swaps like this one worth building into your plan.
4. Candlelight (The Multiplier)
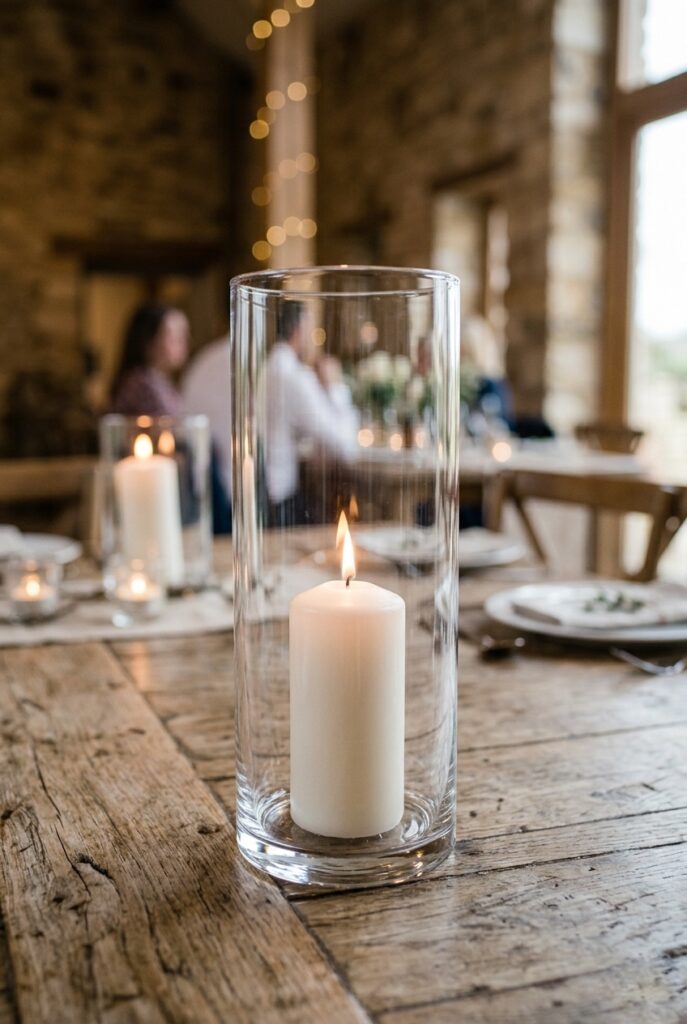
A centerpiece with no light source looks flat and unfinished, so add one taper candle beside each vase or a short pillar candle in a second hurricane glass next to the flowers.
Skip battery candles entirely — the light reads cold and obviously fake — and the wedding centerpieces with candles guide has more pairing ideas if you want to build the whole design around this element.
5. Height Variation with Branches or Filler Greenery (The Visual Trick)
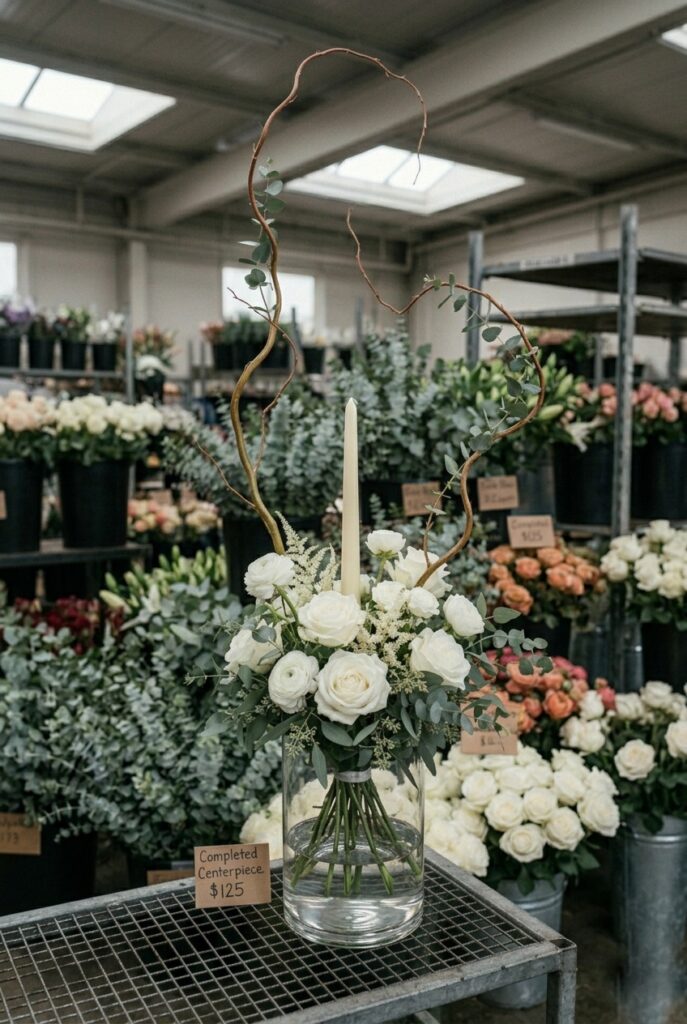
A flat centerpiece reads as boring no matter how good the flowers are, so tuck one tall branch — curly willow, twisted willow, or a few extra-long eucalyptus stems — into the back of each arrangement to create an asymmetrical silhouette.
This costs nothing extra if you’re already buying stems in bulk, and the wedding centerpiece flowers guide covers more ways to build visual weight without adding volume.
6. White or Cream as the Base Color (Never Full Rainbow)
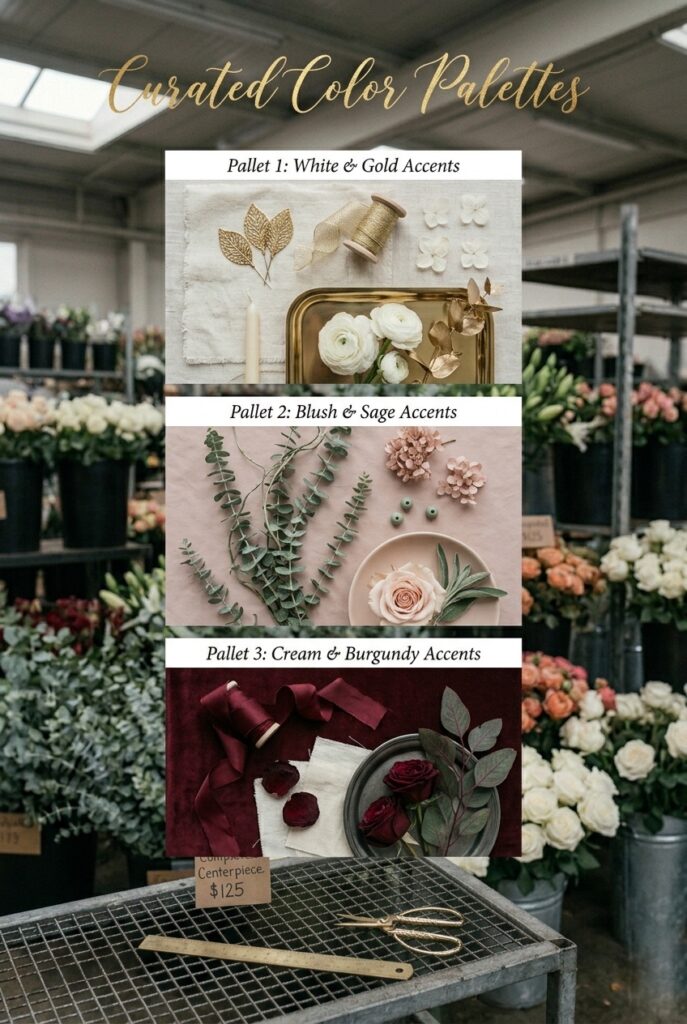
Pick one dominant color — white, cream, blush, or sage — and add a single accent color rather than spreading your budget across a rainbow of stems, since a tight two-to-three color palette is what reads as professionally designed rather than assembled.
The simple wedding centerpieces guide covers this same one-dominant-color approach in more depth if you want to build your whole design around restraint.
Budget Hack After Idea 6: Buy 50% of your flowers 8 days before the wedding from wholesale suppliers (they last longer in a cool space), then buy the final 50% 3 days before from Trader Joe’s or a grocery florist. This staggered approach keeps flowers fresh longer and gives you backup inventory if stems die. Total saved: 20-30% on waste. Specific action: Place your wholesale order for July wedding by July 10th; buy final grocery-store flowers on July 19th. Store wholesale flowers in flower buckets in a cool room (basement or cooler) until assembly day.
7. Assembly-Line Production (Not Scattered Evenings)
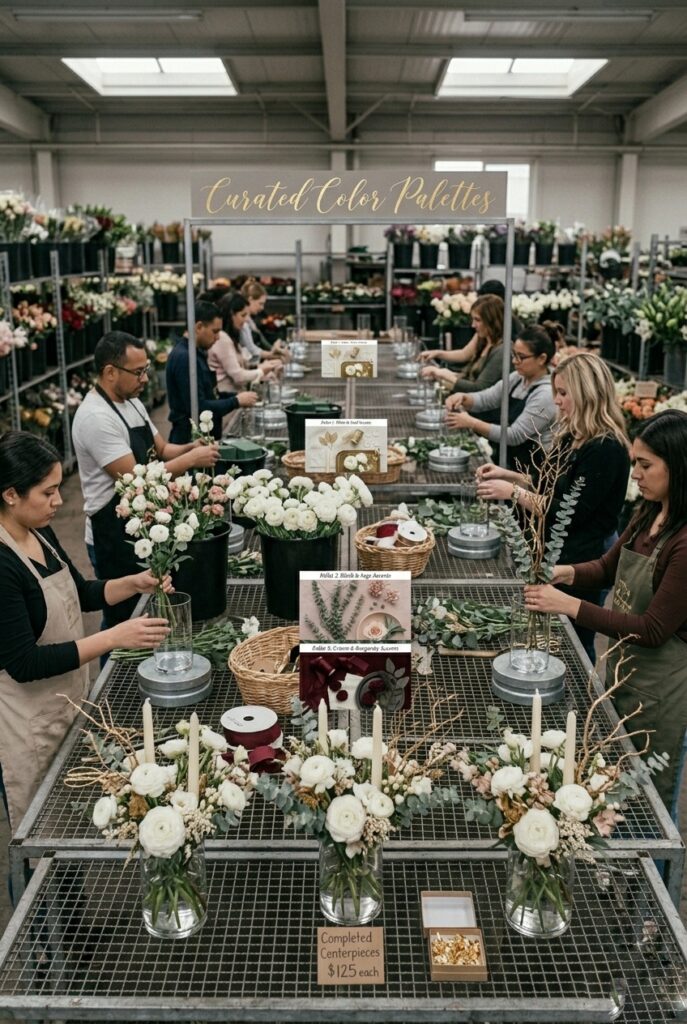
Set aside one full day rather than an evening here and there — lay out all your vases, add water or soaked foam to every one first, then build all your centerpieces in one sitting while you’re working fast and catching mistakes early instead of repeating them 20 times.
This is one of the easy wedding decor ideas that costs nothing but a few hours and completely changes how consistent your finished pieces look.
8. Storage in Shallow Bakery Boxes or Flat Plastic Bins (Not Upright)
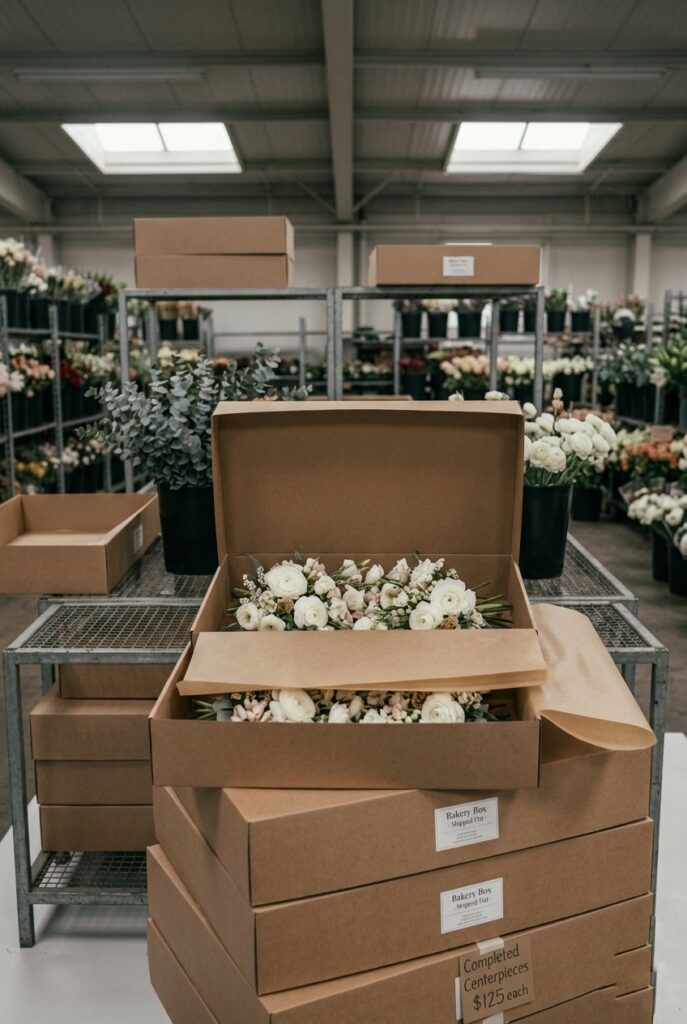
Lay finished arrangements flat in shallow bakery boxes with parchment between layers rather than storing them upright, and keep them in a cool room until you’re ready to set them in their final position two to three hours before guests arrive.
Transport them the same way — flat, stacked, and covered — and once they’re upright on the table, they’ll read like the elegant round table centerpieces you were picturing from the start.
Build one centerpiece first, photograph it, and fix whatever’s off before you repeat the process twenty more times.
The DIY wedding decor guide covers this same batch-and-test approach across the rest of your reception, and the minimal wedding centerpieces guide is worth a look if you’d rather lean even further into restraint.